Happy Travel Tuesday Loves! I’m so excited to dive back into Travel Tuesdays, because to tell you a little secret, Travel posts are always my favorite to write!
We’re kicking off 2018 with a new type of travel series on Savannah Said It! When going through comments and emails, I realized that a lot of you compliment my travel photos, and wish yours turned out the same. So I decided, why not share my secrets to capturing your vacations?! That way, wherever this year takes you, you’ll be prepared to capture every memory, picture perfectly.
Every Tuesday this month, I’m bringing you tips on taking photos, videos, streaming/sharing, editing and of course, my favorite technology to help you up your travel photography game. (Sounds pretty great, right? Make sure you’re subscribed to get each and every post delivered to your inbox!) No. I’m not an expert. And I’m far from being a professional. But I do love taking pictures… and I’ve found that all of these tips and tricks are what work for me!
So, let’s get started with capturing the moments, shall we?!
Vacations are EVERYTHING, am I right?! For those of us that aren’t lucky enough to have an endless supply of money, or travel for a living, these perfect little breaks from reality keep us going from one work day to the next until we get our next vacation. So it’s no surprise that we want to capture those perfect little moments in time.
But for some reason, 95% of the time, we don’t capture the moment right. The lighting is off, it doesn’t look like it does in person, or the feelings you have just aren’t conveyed through the photo. And when we don’t capture it perfectly, we find ourselves trying to tell everyone how amazing it was.
This is where I come in to save the day. I’m about to save you those 1,000 words it takes to describe that moment in time, and help you get your picture perfect photo.
Without further ado, here are my 10 Tips for Capturing Picture Perfect Memories!
Tip #1: Invest in a good camera, and know how to use it.
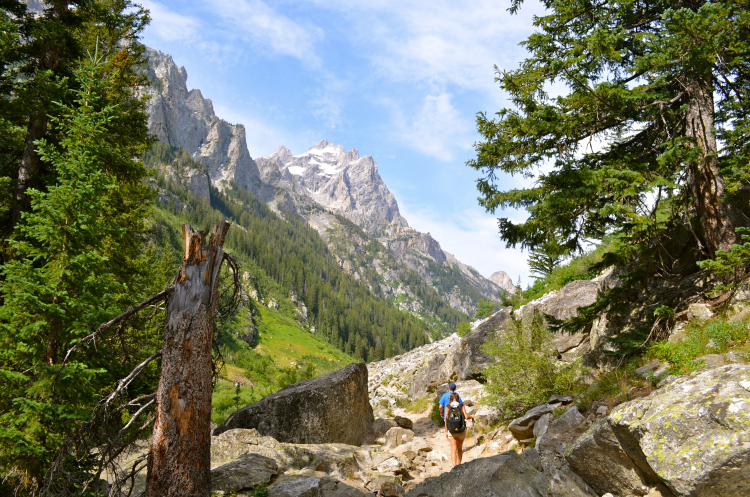 Cascade Canyon, Grand Teton National Park, Wyoming. Taken with a Nikon D5100.
The key to beautiful photos is having a good camera. iPhones have amazing cameras on them, and will take beautiful candid photos. However, I’m still a firm believer in a high quality camera to take 95% of your travel photos. Whether you want to invest in a DSLR with every lens you could dream of, or choose a smaller camera that doesn’t take as much time to learn to use, an actual camera will bring your photo game to the next level. (I’ll share my recommendations later in this travel series!) Once you have your camera, make sure you know how to use it. Most importantly? Know the settings, how to delete just one photo at a time, and how to use the self-timer.
Tip #2: Pack Your Patience.
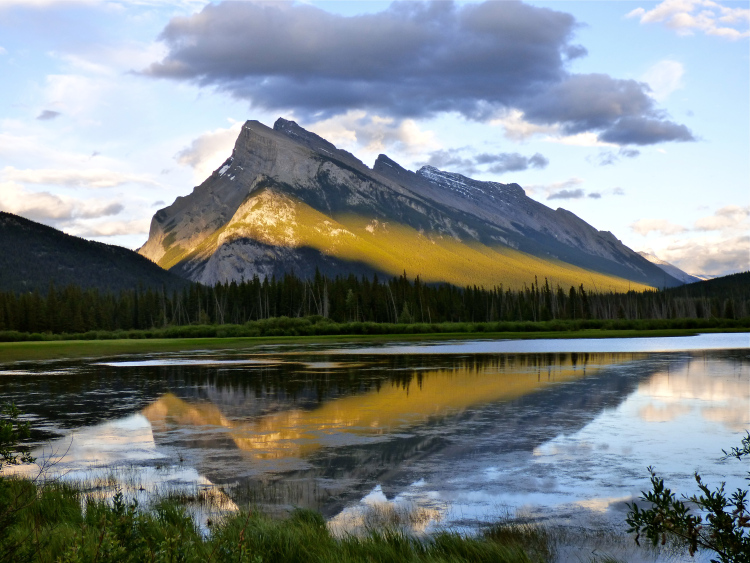 We waited for awhile to get this photo. But when we saw a small strip of light beginning to grow, we knew the wait would be worth it! Plus, can you really complain about sitting and enjoying a mountain sunset?!
If there is one thing I’ve learned about taking “perfect” photos, it’s that timing is everything. And getting just the right timing takes A LOT of patience. Sometimes, you sit for a solid 20 minutes until just the right moment comes along. But I can totally tell you that the wait is ALWAYS worth it. Speaking of waiting for just the right moment…
Tip #3: Timing is Everything.
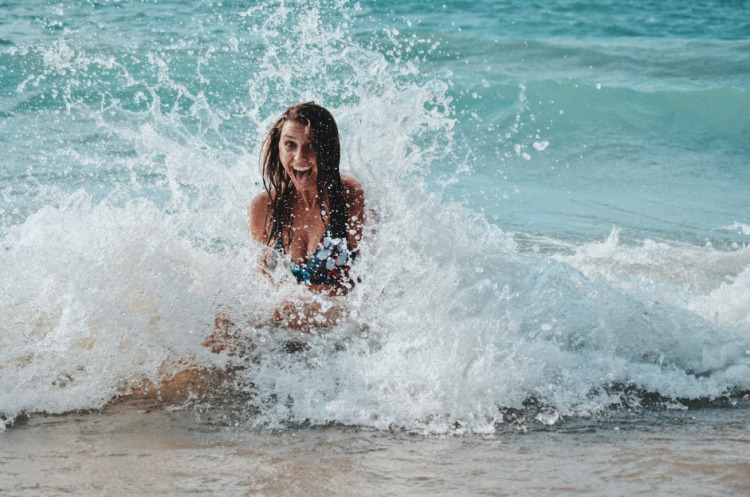 My mom took 300 frames to get this one perfect shot.
Timing really is everything when it comes to getting the perfect photo. Sometimes, perfect timing is just dumb luck. But other times, it takes hours and hours of planning so you can show up when you know the lighting will be perfect. I always try to put myself in the best situation I can when it comes to timing. I go early or late to avoid crowds, I do my research to see what time of day the photos in a certain location look best, and I always check my surroundings for things that might be around that just so happen to take my photo to the next level.
Tip #4: Have inspiration… but not expectations.
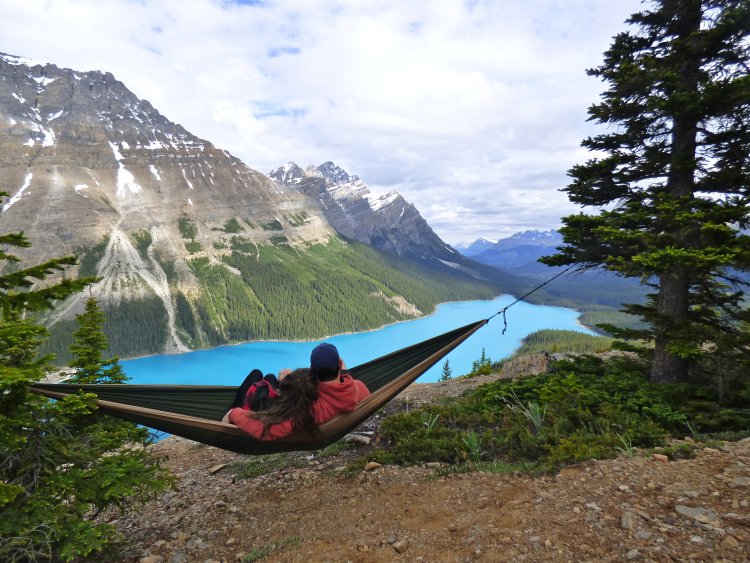 Probably my favorite photo of all time. Trev and I on our honeymoon; Peyto Lake, Banff National Park, Alberta Canada. (Taken with a tripod and self-timer!)
The best way to get a great photo is by using someone else’s as inspiration. For example… when we were planning our honeymoon to Banff, I spent a lot of time checking out Instagram for pictures that I wanted to take on my own. I came across this photo from one of my all time favorite bloggers, Amber FIllerup Clark. I was obsessed with the idea of taking a hammock to Peyto Lake. But, when I imagined my photo, I wanted it to be our hiking hammock, a slightly different angle of the lake and I wanted my hubby in it. I was inspired by her photo, but I didn’t copy it. It’s also super important to go without really high expectations. (Something I’m terrible at.) It’s SO HARD to see a perfect photo and to show up and not get that same perfect photo of your own. Just remember, you are showing up on a different day. Even if you chose the same month, week, and time of day, your picture will never be exactly the same as someone else’s. So don’t expect it to be. Think outside the box, and try to capture whatever you’re shooting with your own unique eye. Your picture will turn out way better in the end.
Tip #5: Bring a tripod.
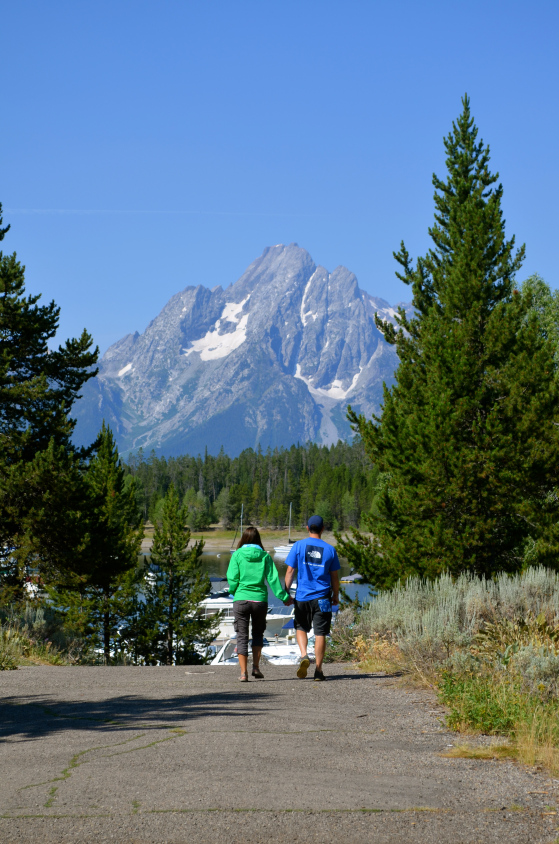 Jackson Lake, Jackson, WY
We ALWAYS take a tripod on our adventures with us! Not only does a tripod help to take a clearer photo, but you can be in it too! Plus, you can set it up exactly where you want it, and not worry about having the person holding the camera accidentally changing the angle. Because let’s be real, sometimes, you only have a split second to capture the moment exactly how you want it.
Tip #6: Self-Timers will be your best friend.
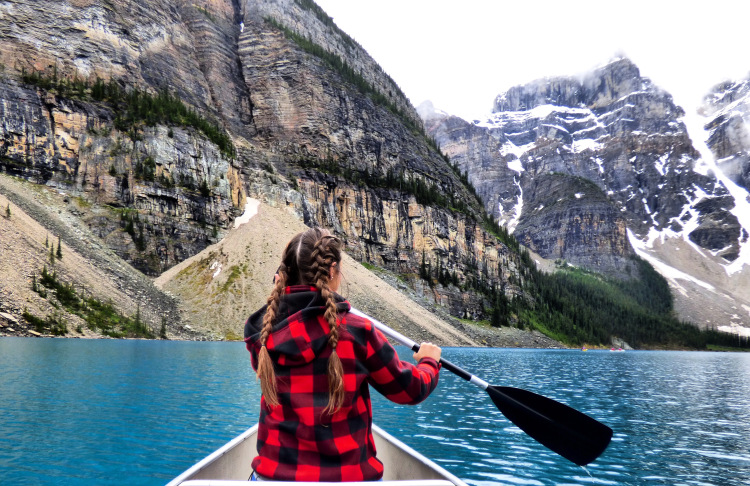 Canoeing on Moraine Lake, Banff National Park, Alberta Canada.
And if you’re using a tripod, your self-timer will be your best friend! Never be ashamed of using self-timer to get the perfect photo. Set up shop and do your thing…. And don’t worry about what other people might be thinking. If you don’t want to be worried about running and hopping in place in 10 seconds or less, get a remote for you camera. It will make taking your photos and absolute breeze! (PS… I totally recommend purchasing a remote. We don’t have one and I like sprint around and it takes ten times longer to get the photo I want because I’m blurry in 2 of the 3 photos my camera takes at a time.)
Tip #7: The rule of thirds.
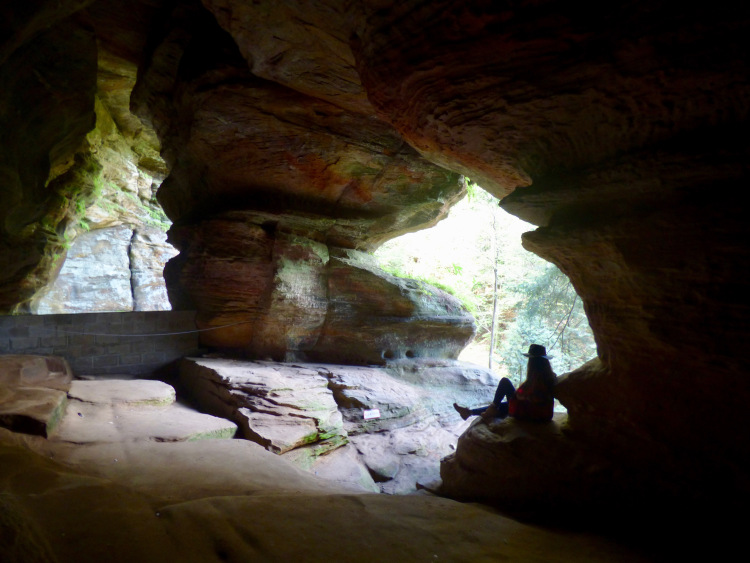 If you were to lay a grid over this photo, you’d see that I lined up perfectly with a horizontal line and so does the top of the cave opening. It’s the two places that draw the eyes the most. Hocking Hills, Ohio.
Just like in design, the rule of thirds is the easiest way to get the best photograph. The best way I’ve ever had this rule described to me was to think of my soon to be photo with a tic tac toe board over it. Where the lines meet is where your subjects should be. iPhones and cameras usually come with a “grid” feature to help you with this right while you’re shooting your picture! This is a tricky rule to get the hang of, but once you do, you’ll do it without even thinking about it. The rule of thirds isn’t always the answer, but it really helps if you want the “perfect” shot but aren’t sure how to get it.
Tip #8: Know your angles.
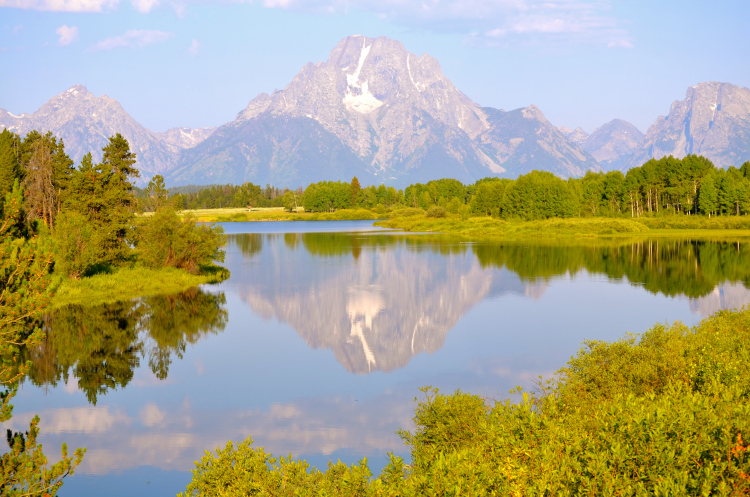 This photo wouldn’t be nearly as perfect if it were taken from a different angle. You wouldn’t see the mountain’s reflection, and the lighting wouldn’t show off that perfect mountain glow. Mount Moran, Grand Teton National Park, Jackson, WY
Just like taking the perfect selfie, anything you shoot will look better from one angle than another. I like to walk around a bit and look through my lens until I see exactly the angle that I want. And I always take from different angles too… just in case. Just like I wouldn’t take a picture of my face from down below (it always makes me look so much fatter!), I wouldn’t take a picture of a mountain from “above”. (You know, like with the camera above my head shooting down). You just have to take a little time to get the right angle, especially if you’re shooting something/somewhere you’ve never been before.
Tip #9: You don’t always need a subject… but they don’t hurt!
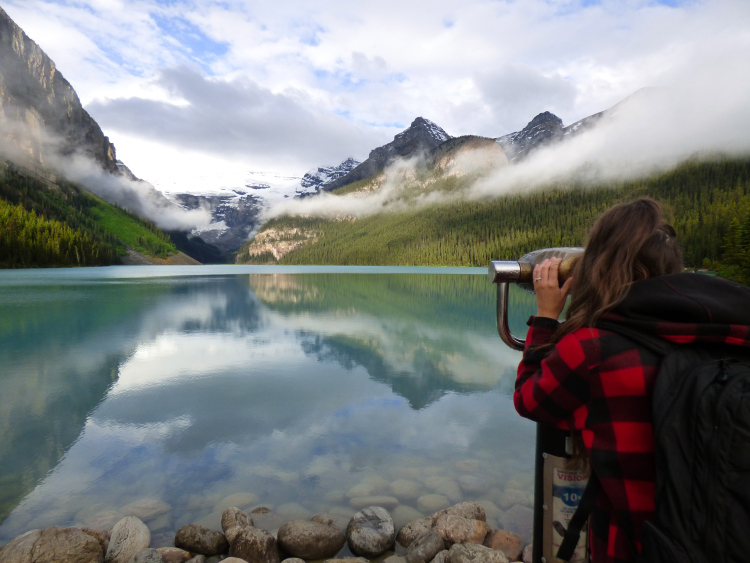 The last thing Lake Louise needs is anyone standing in the way of it’s beauty. However, don’t you wish you were the one standing there looking through those binoculars? (PS… I know those aren’t binoculars but I literally don’t know what they are called.)
Sometimes, landscapes speak for themselves. However, I personally always like pictures with a subject in them. Pictures with subjects in them seem a bit more personal, more engaging, and ultimately, help you to picture yourself in that same spot too. Which of course, leads to serious wanderlust… and booking a ticket on your own. Which brings me to…
Tip #10: Capture a feeling.
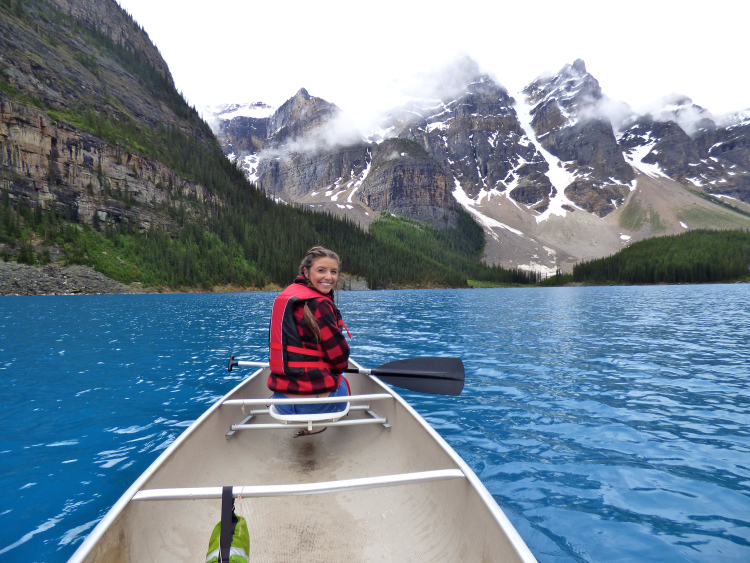 This may not be the most “perfect” photo we captured on this trip… but look at my face. Whenever someone asks what my favorite photo from Banff is this is one that I pull out. Because in this moment I was SO happy. Everything in my little world was absolutely perfect at this moment in time. And that speaks louder to me than a perfect photo.
This is the most important piece of advice I can give you. If you want a “perfect” photo, you need to capture the feeling you have while you’re there. It’s impossible for other people to see how much you love a place/event/excursion/person/activity if they don’t see it the way you see it. That’s the beauty of having a camera, you get the opportunity to capture the things you love, exactly how you see them.
So, are you ready to get out there and start taking beautiful photos?! What tips am I missing?! Leave your favorite Travel Photography tips in the comments below!
(If any of these pictures look like a place you’d like to visit, check out out my Banff Travel Guides here, my Jackson Hole Travel Guides here, and my Hocking Hills Travel Guides here, and any of my other travel posts here.)
Have a wonderful Tuesday, loves! I’m back tomorrow for #WhatUpWednesday!
Xx.
Savannah
Advertisements Share this:


