Y’all it has happened! Finally after 3 weeks, the accent wall has been completed! And I have our very first before and after for you!!!
Here is the before of a drab bare wall in my kitchen…
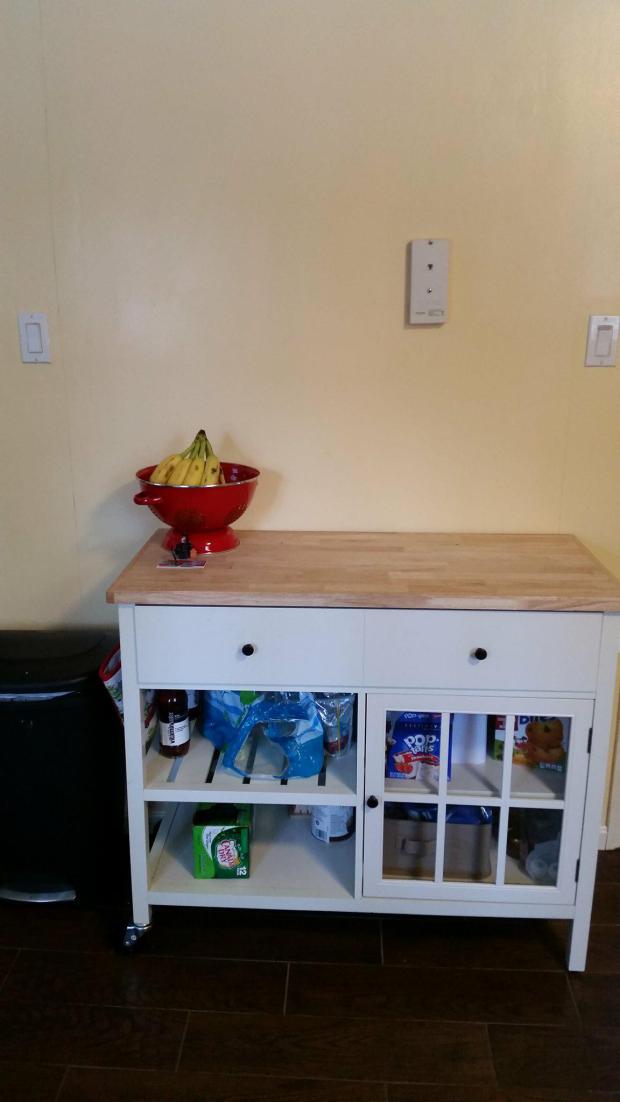
And here is the after…
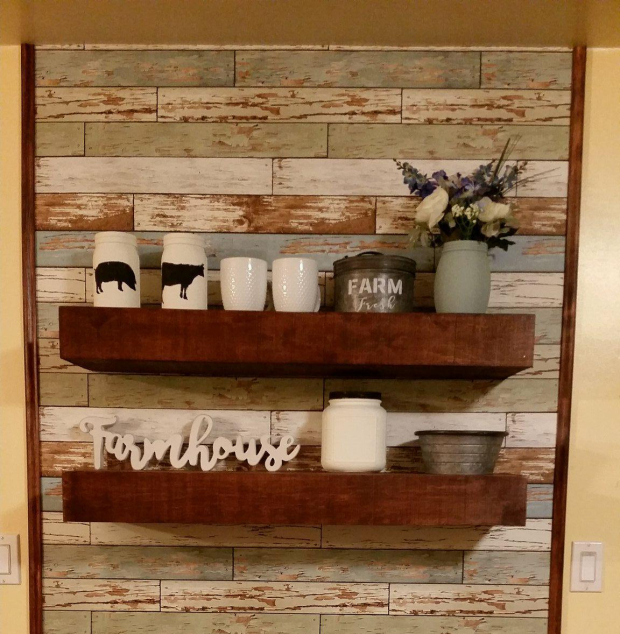
And wait here is one more comparison because I am slightly (LARGELY) obsessed with this transformation!
Before…
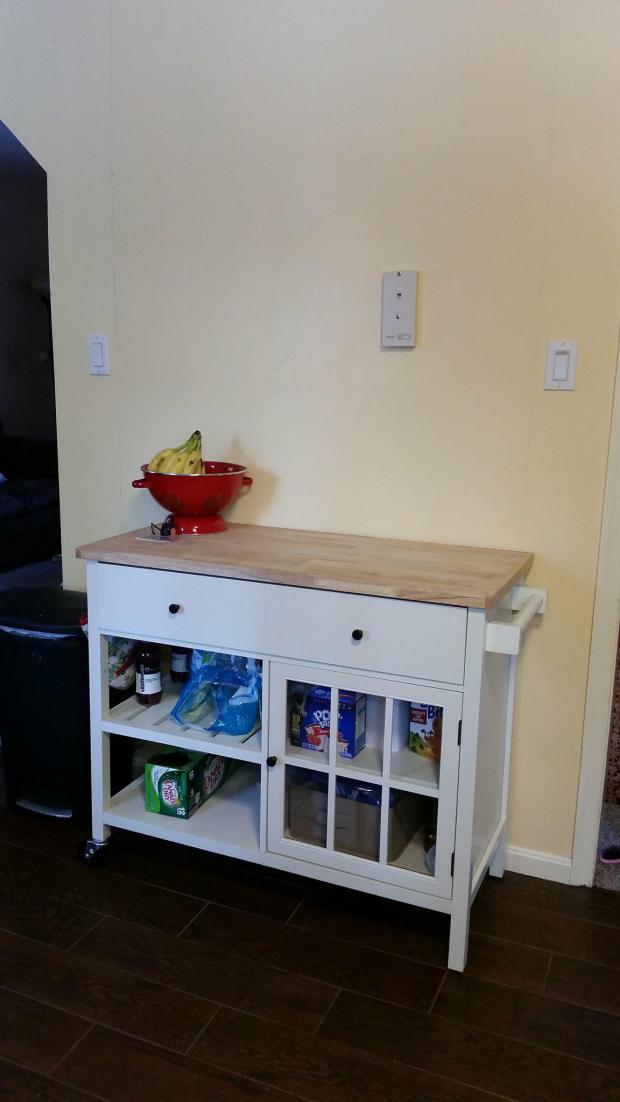
After…
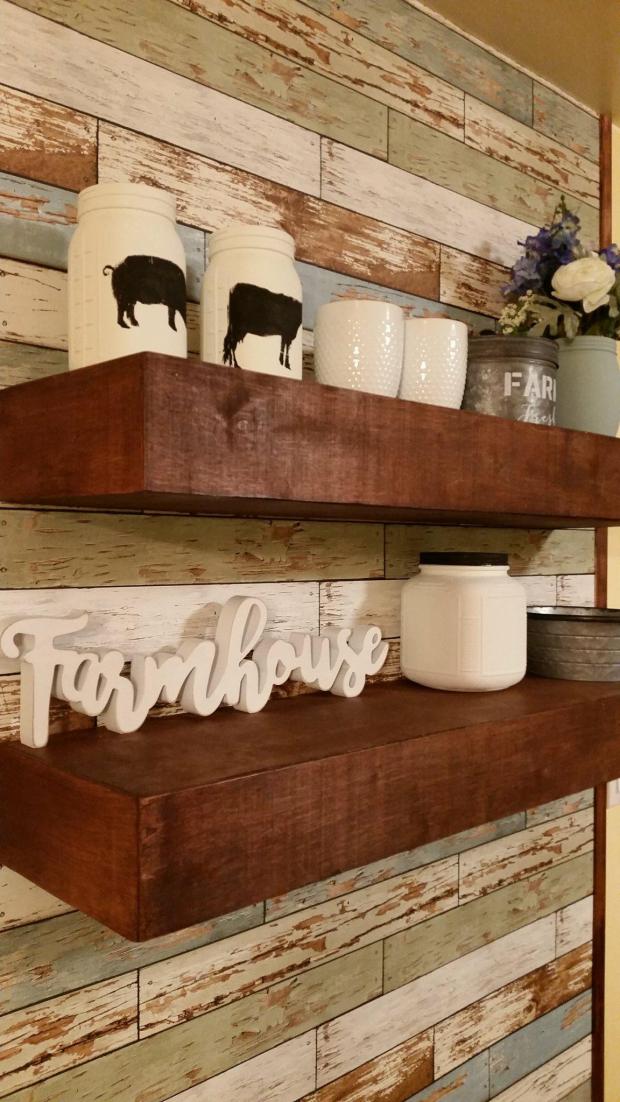
So let me take you through how we went from boring drab yellow to this outstanding show stopper wall!
So I chose the wallpaper first, it was my inspiration for what the rest of the kitchen will look like, I wanted rustic but fun colors mixed with wood and white for a classic yet modern farmhouse look.
We had a hole in the wall from a phone jack that we will never use, so to make everything easy and even we actually threw up a panel on the wall with some construction adhesive and nails to ensure that we had a flat even surface. This meant we didn’t need to spend time and money patching a wall. Then we took this wallpaper, NuWallpaper Peel and Stick in Old Salem Vintage, and ran it down the panel, lining up edges as we went for a seamless look across the wall.
Then we put up the shelves that by the way were completely home made! These babies will hold a person!! I knew I wanted some wood open shelving but I was running into issues with weight limits on every pre-made shelf I could find…not really ideal when you are thinking about putting some dishes, jars, sugars and other kitchen items up on display.
So we constructed these 3 foot shelves with 2×4’s and plywood and then covered them with a wood panel that we stained mahogany. We screwed them into studs to ensure they would stay put! Anyone who wants specific instructions let me know, I can get them! Building these from scratch allowed me to tailor them to the size I wanted, these shelves are 9 inches deep…just enough to hold a lot of items but not too much that people will be walking into them.
To define the accent wall we stained some trim the same mahogany as the shelves and lined either side of the wallpaper from floor to ceiling to elongate the space.
And then I was able to decorate!!
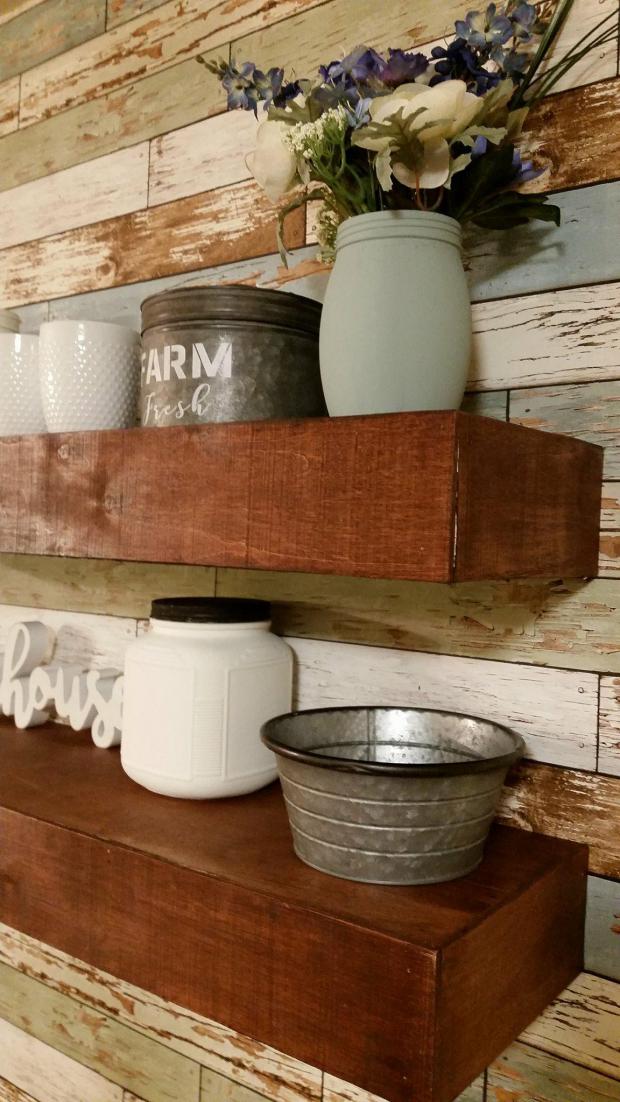
The white and green jars were simple mason and cookie jars that I painted with chalk paint. The other decor were some of my sweet discount finds at the Hobby Lobby (guys my shameless, no money made off this at all pitch, is if you have never been to a Hobby Lobby store you NEED to find one and go!!! Set aside a few hours, you will need all of the time possible LOL!)
If you can’t tell I am over the moon excited that this part of the kitchen is done. Of course it has fueled my fire to keep going…expect some more before and afters coming at you soon!! Thanks for being here on this journey with me!
Boring 90’s to Modern Farmhouse coming up!
Advertisements Share this:- More
