 Relief work involves creating an embossed design onto a surface using any sort of material that gives a 3D finish. Gilding/ Gold Leaf Decoupage involves covering a surface using faux gold leaf.
METHOD:
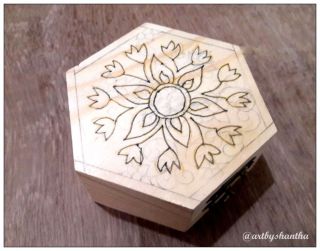
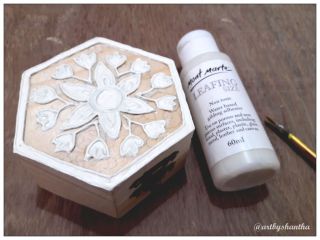
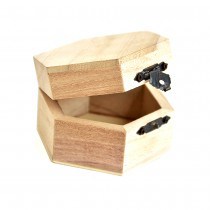
I picked up a small wooden alterable a Trinket box to be precise and sketched a simple design on its lid.
Relief work involves creating an embossed design onto a surface using any sort of material that gives a 3D finish. Gilding/ Gold Leaf Decoupage involves covering a surface using faux gold leaf.
METHOD:
I picked up a small wooden alterable a Trinket box to be precise and sketched a simple design on its lid.
 I then worked on the design using Puffy Paint cones (white) to give an embossed effect (Relief Work) to the design. I made sure to leave a day’s time for the embossing to dry well.
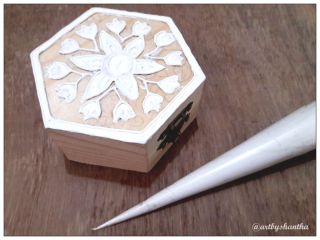 To do the Gilding on the embossed design, I have used Mont Marte Leafing size and Mont Marte Copper Leaf. I used a brush to apply the Leafing Size (adhesive) only on the relief work that I made. The adhesive is milky and turns glossy and tacky when left for about 10 minutes.
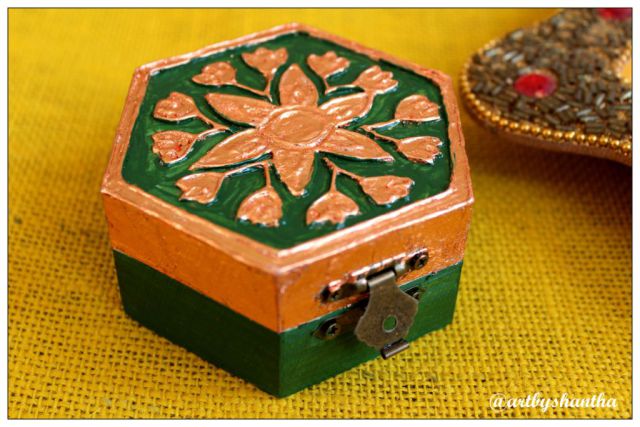
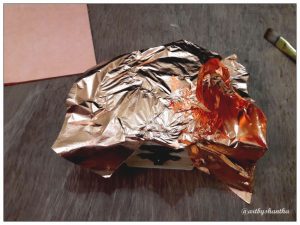
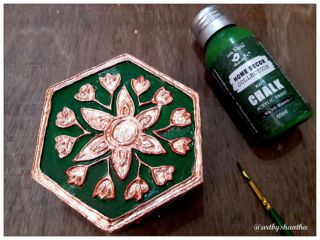
 Giving the adhesive about 10 mins time to turn tacky, I then gently placed the Copper Leaf onto the lid of the box. I gave it a couple of minutes to adhere onto the surface.
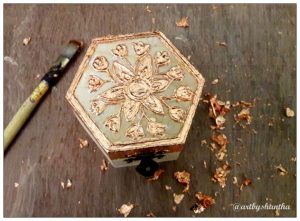
Using Chalk Paint: Wild Moss, I painted the remaining section of the trinket box.
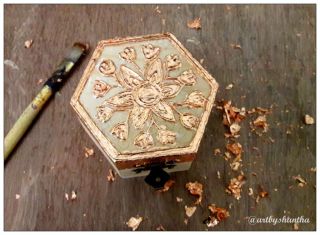
 I then made sure to varnish the box using Spray Varnish.
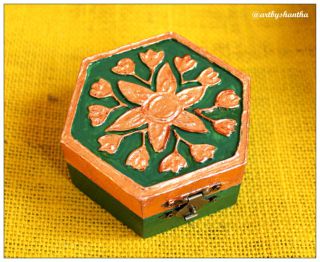 It’s a great idea to add a personal touch to these boxes to give away gifts this festive season!!
MATERIALS USED:
It’s a great idea to add a personal touch to these boxes to give away gifts this festive season!!
MATERIALS USED:
|
|
|
|
|
|
|
|
|
|
|
 Wooden Alterable: Trinket Box
 Brushes
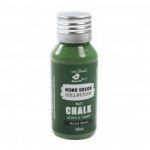 Chalk Paint: Wild Moss
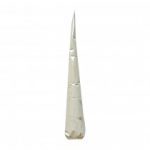 Puffy Paint: White
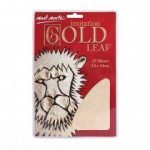 Mont Marte: Gold Leaf
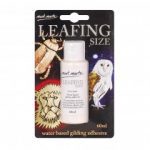 Mont Marte: Leafing Size
 Artists Picture Varnish Spray
Article for Itsy Bitsy

Advertisements Share this: