Soooo my “Baking Diary” is taking a bit longer than anticipated due to travel but also because I’m being discouraged from baking by my family (as always, we’re trying to lose weight T_T).
I was asked to make puff pastry from scratch because my mother had made some fresh apricot jam and she wanted something that we could bake with her jam. I’ve made croissants before (they took 3 days but it was worth it) but I have never made puff pastry so I was up for the challenge. And yes, it was a HUGE CHALLENGE! The end result was great, but would I make it from scratch again? Probably not. I think the croissants were worth more effort than the puff pastry. The puff pastry recipe I used is Bouchon Bakery’s recipe, but there are tons of recipes you can find online that probably don’t require 3 days of your time.
Day 1:
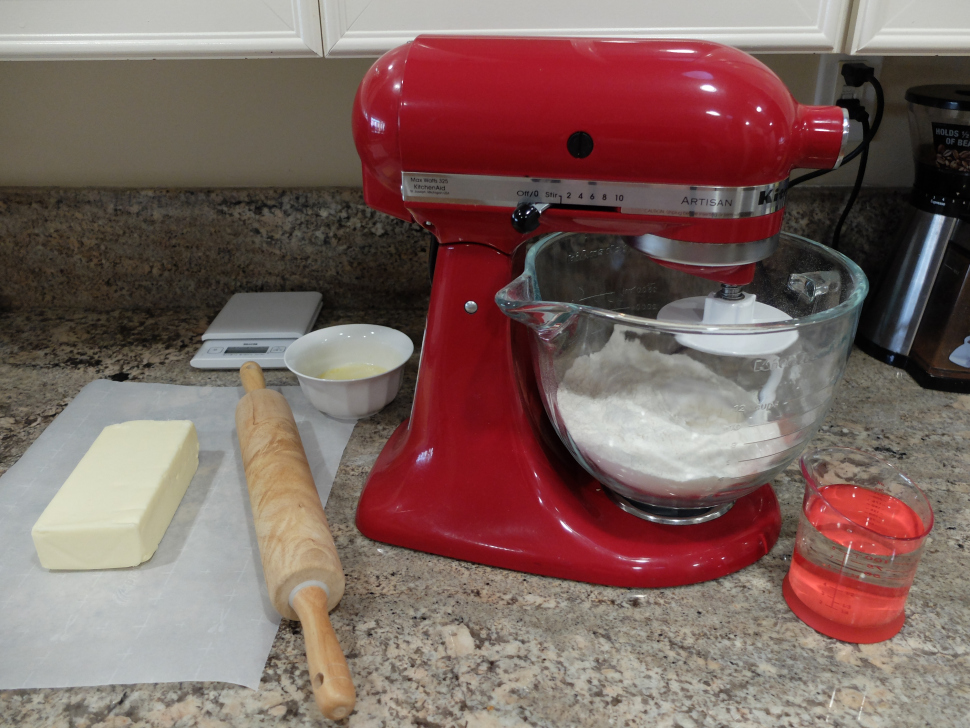
The first day of the puff pastry making included mixing the dough (basically just water, a bit of a butter, flour, salt and vinegar) and making your “butter block”.
If you’ve never made a butter block before, fear not, it is easy as long as you have your workspace, a proper rolling pin and some parchment paper. You’ll also need a ruler (or measuring tape) to make sure you roll out the block into the proper proportions. The butter block required some elbow grease (there’s a lot of pounding) but it’s a nice stress reliever. It does make a ton of noise while pounding so if you have thin walls that you share with grumpy neighbors- beware.
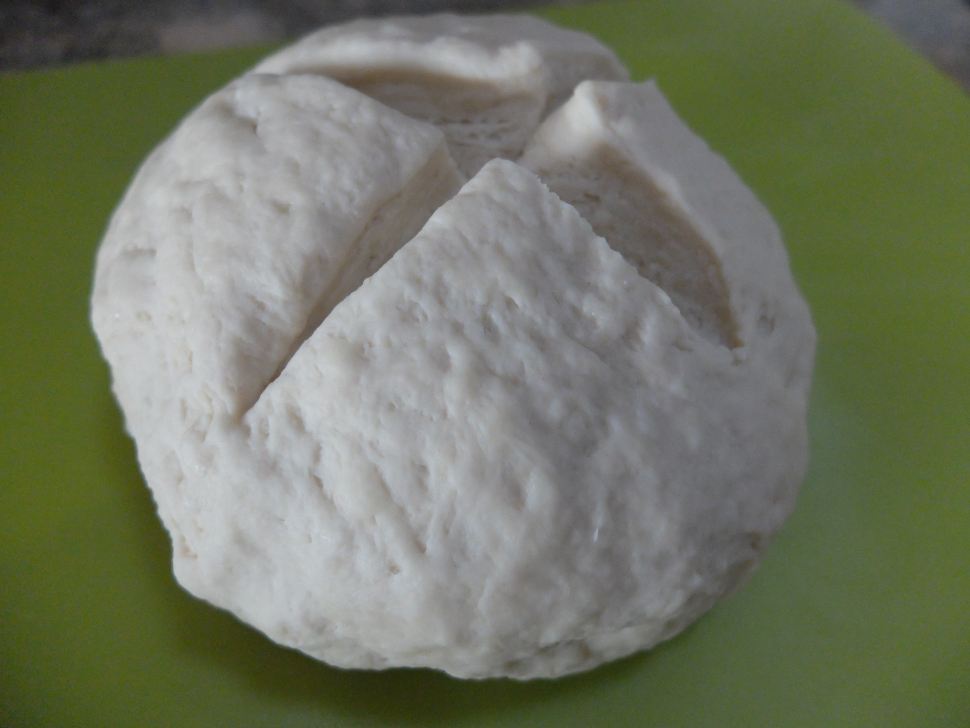
Once the dough’s been mixed, you form it into a ball and cut an “X” into it (to let it relax?) and then you have to let it rest overnight in the fridge.
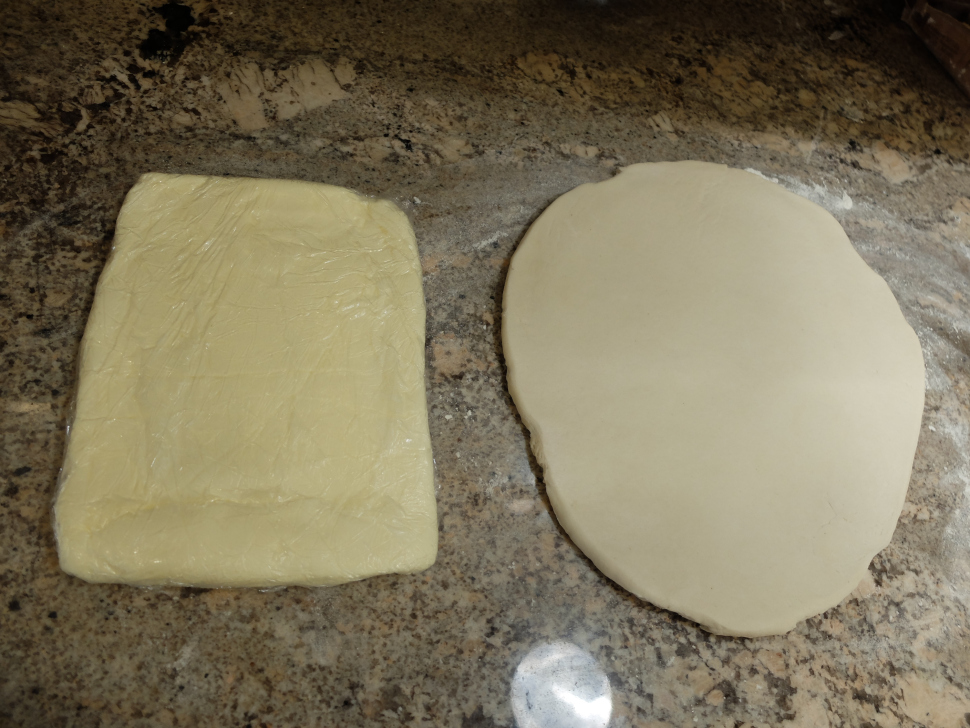
 Dough
Dough
Day 2:
Day 2 is the most time consuming day of the 3 days it takes to make this puff pastry so I literally needed the ENTIRE day to dedicate to the puff.
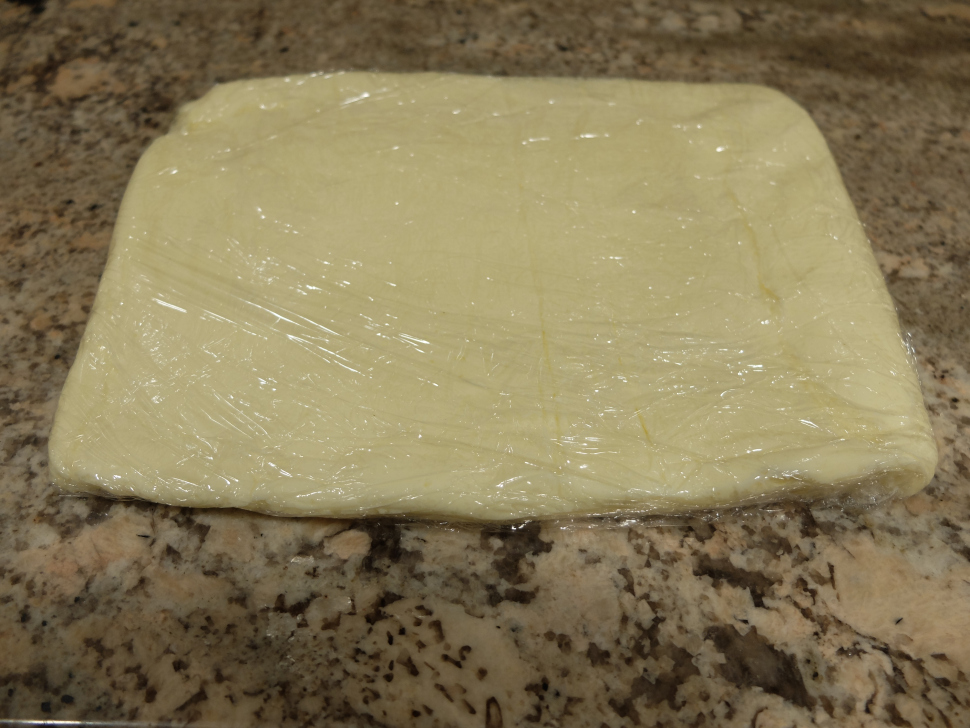
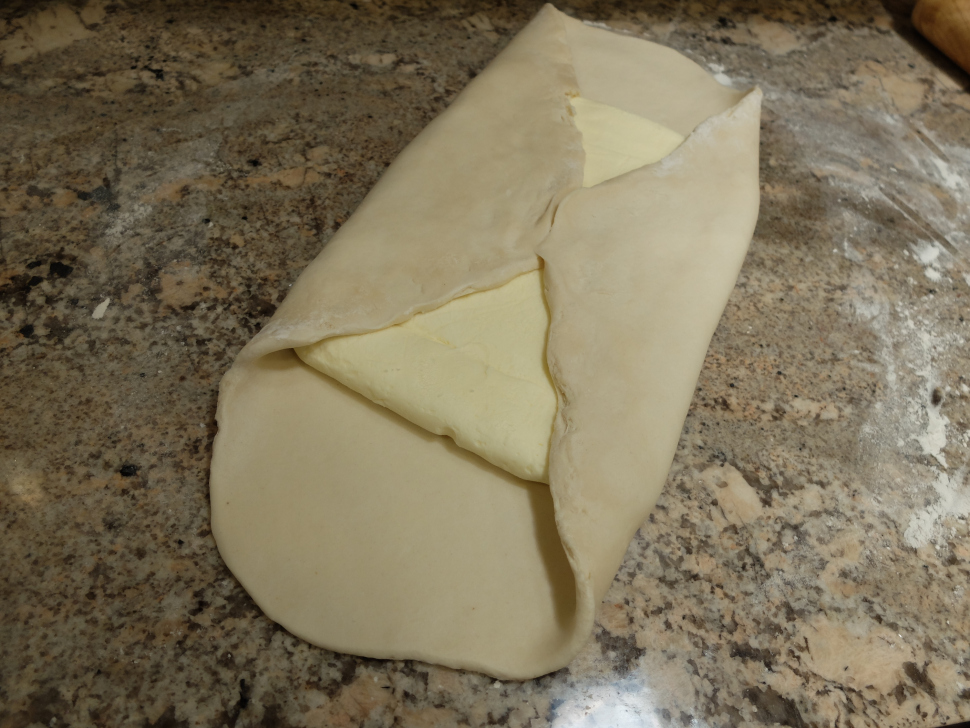
I started by encasing the butter block into the dough. The dough needs to be rolled out into a 12-13″ circle. Once it’s rolled out, the butter block is put in the center, closed up, and then rolled out for the first turn.

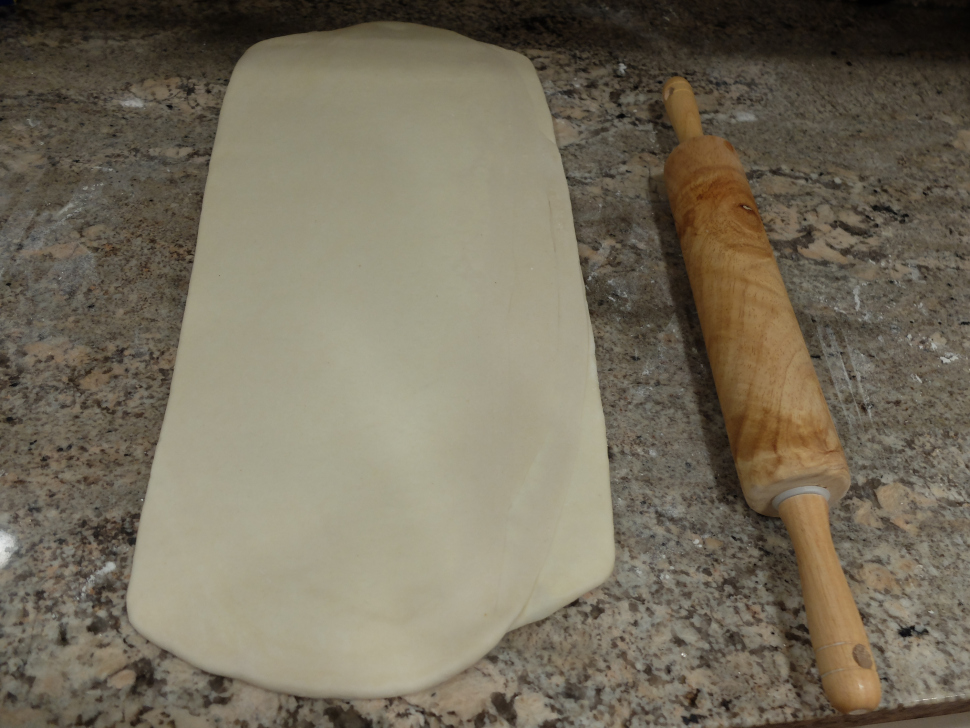
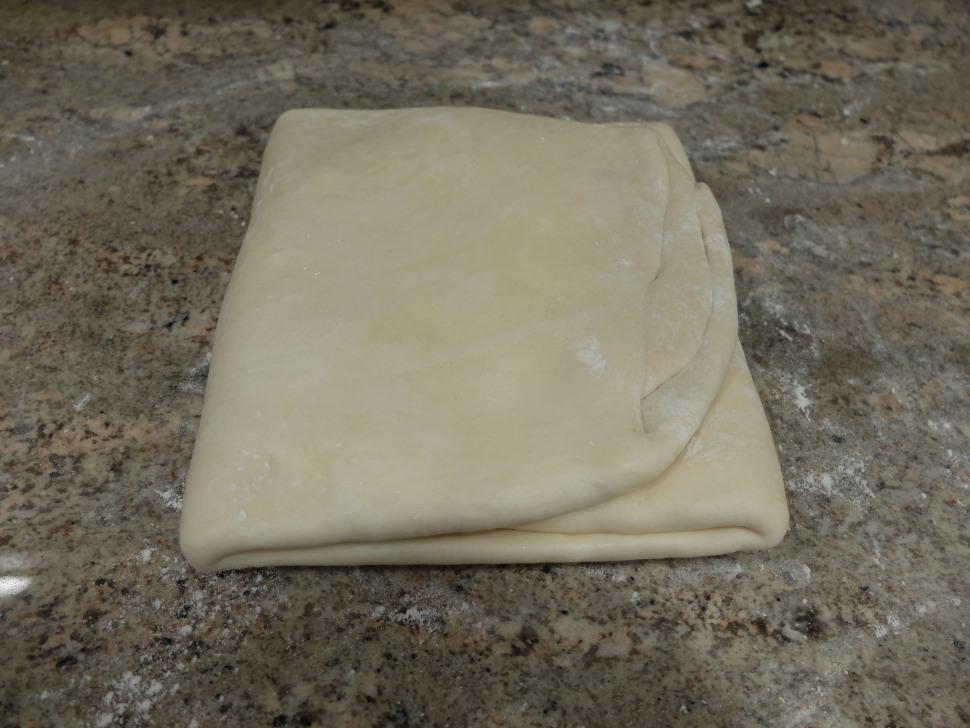
Each “turn” goes like this: Roll out the butter encased dough to a rectangle that’s approximately 24 x 9:. Fold the bottom third of the dough up as if you’re folding a letter, then fold the top third down to cover the bottom third. Turn the block 90 degrees so the dough looks like a book, making sure the opening is on the right. After each turn, I refrigerated the dough for 2 hours and I did 5 turns total.
These “turns” are where it all became a bit tricky. I was working on a super hot day (so dumb of me) and the butter started seeping out. After looking for answers online, I read that you can add a tiny bit of flour to the “buttery” parts and just keep rolling over it. It didn’t seem to affect my end result so I guess it worked? Key takeaway point here- keep everything SUPER COLD!
Once I completed my 5 turns, I put the puff pastry in the fridge to rest overnight.
Day 3:
The final day of the puff pastry experience. I rolled out my dough slightly and divided the dough up into 3. I kept the other 2 portions in the freezer to use for a later time (the dough can keep in the freezer for up to 1 month). I rolled the remaining dough out into a rectangle and then cut little squares off of the main dough. Any squares I wasn’t going to be working with within the next 10-15 minutes, I kept in the fridge. This dough is really a PITA to work with in a hot environment since everything starts sticking.

With the puff pastry dough I made: Micro Palmiers, Jam Pastries, Cheese filled pastry and a pesto, mozzarella filled pastry.

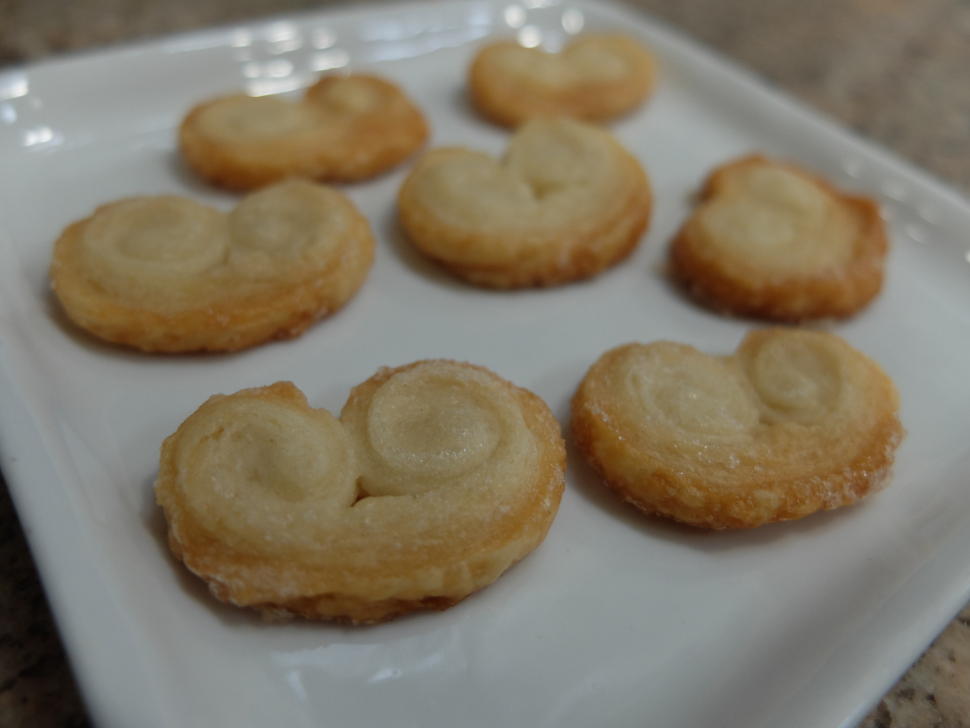
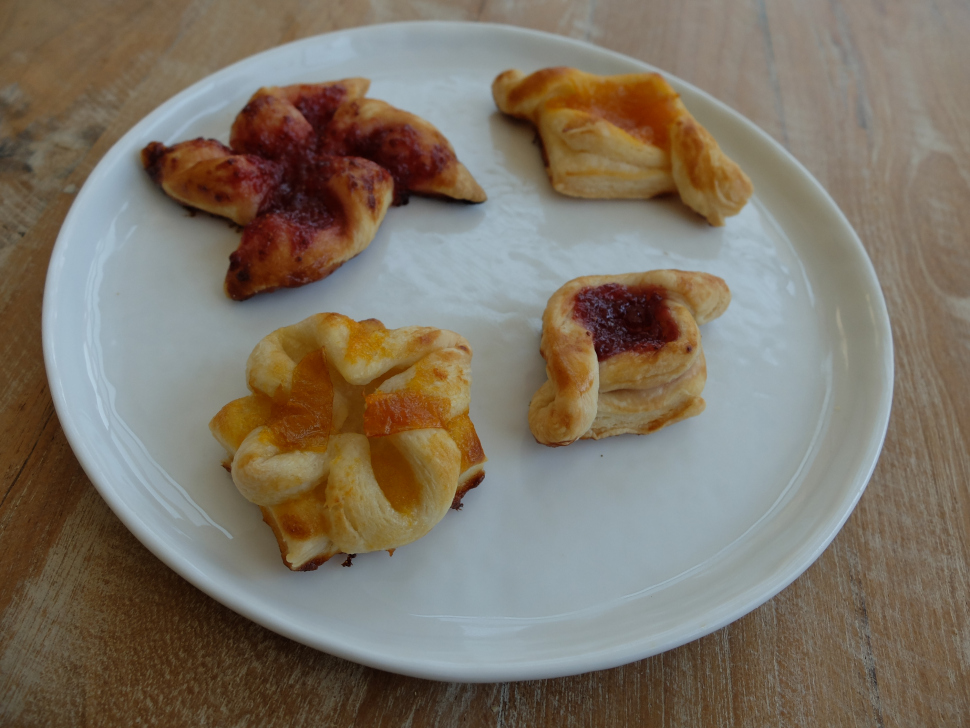


I think my favorite were the savory pastries and the micro palmiers. I will definitely make the palmiers again with the remaining puff pastry dough.
Overall it was a fun experience making the puff pastry since I really do enjoy labor intensive cooking and baking, but I think for anybody who doesn’t have ample time on their hands, you’re better off just buying the frozen kind! Obviously the homemade one is deeeeelish and buttery and flaky, but I just don’t think it’s worth spending 3 days on! My next baking venture was going to be croissant dough but I think I’ll need to wait until the weather cools off a bit to make it! For now, I’ll be sticking to more bread baking practice.
Share this: