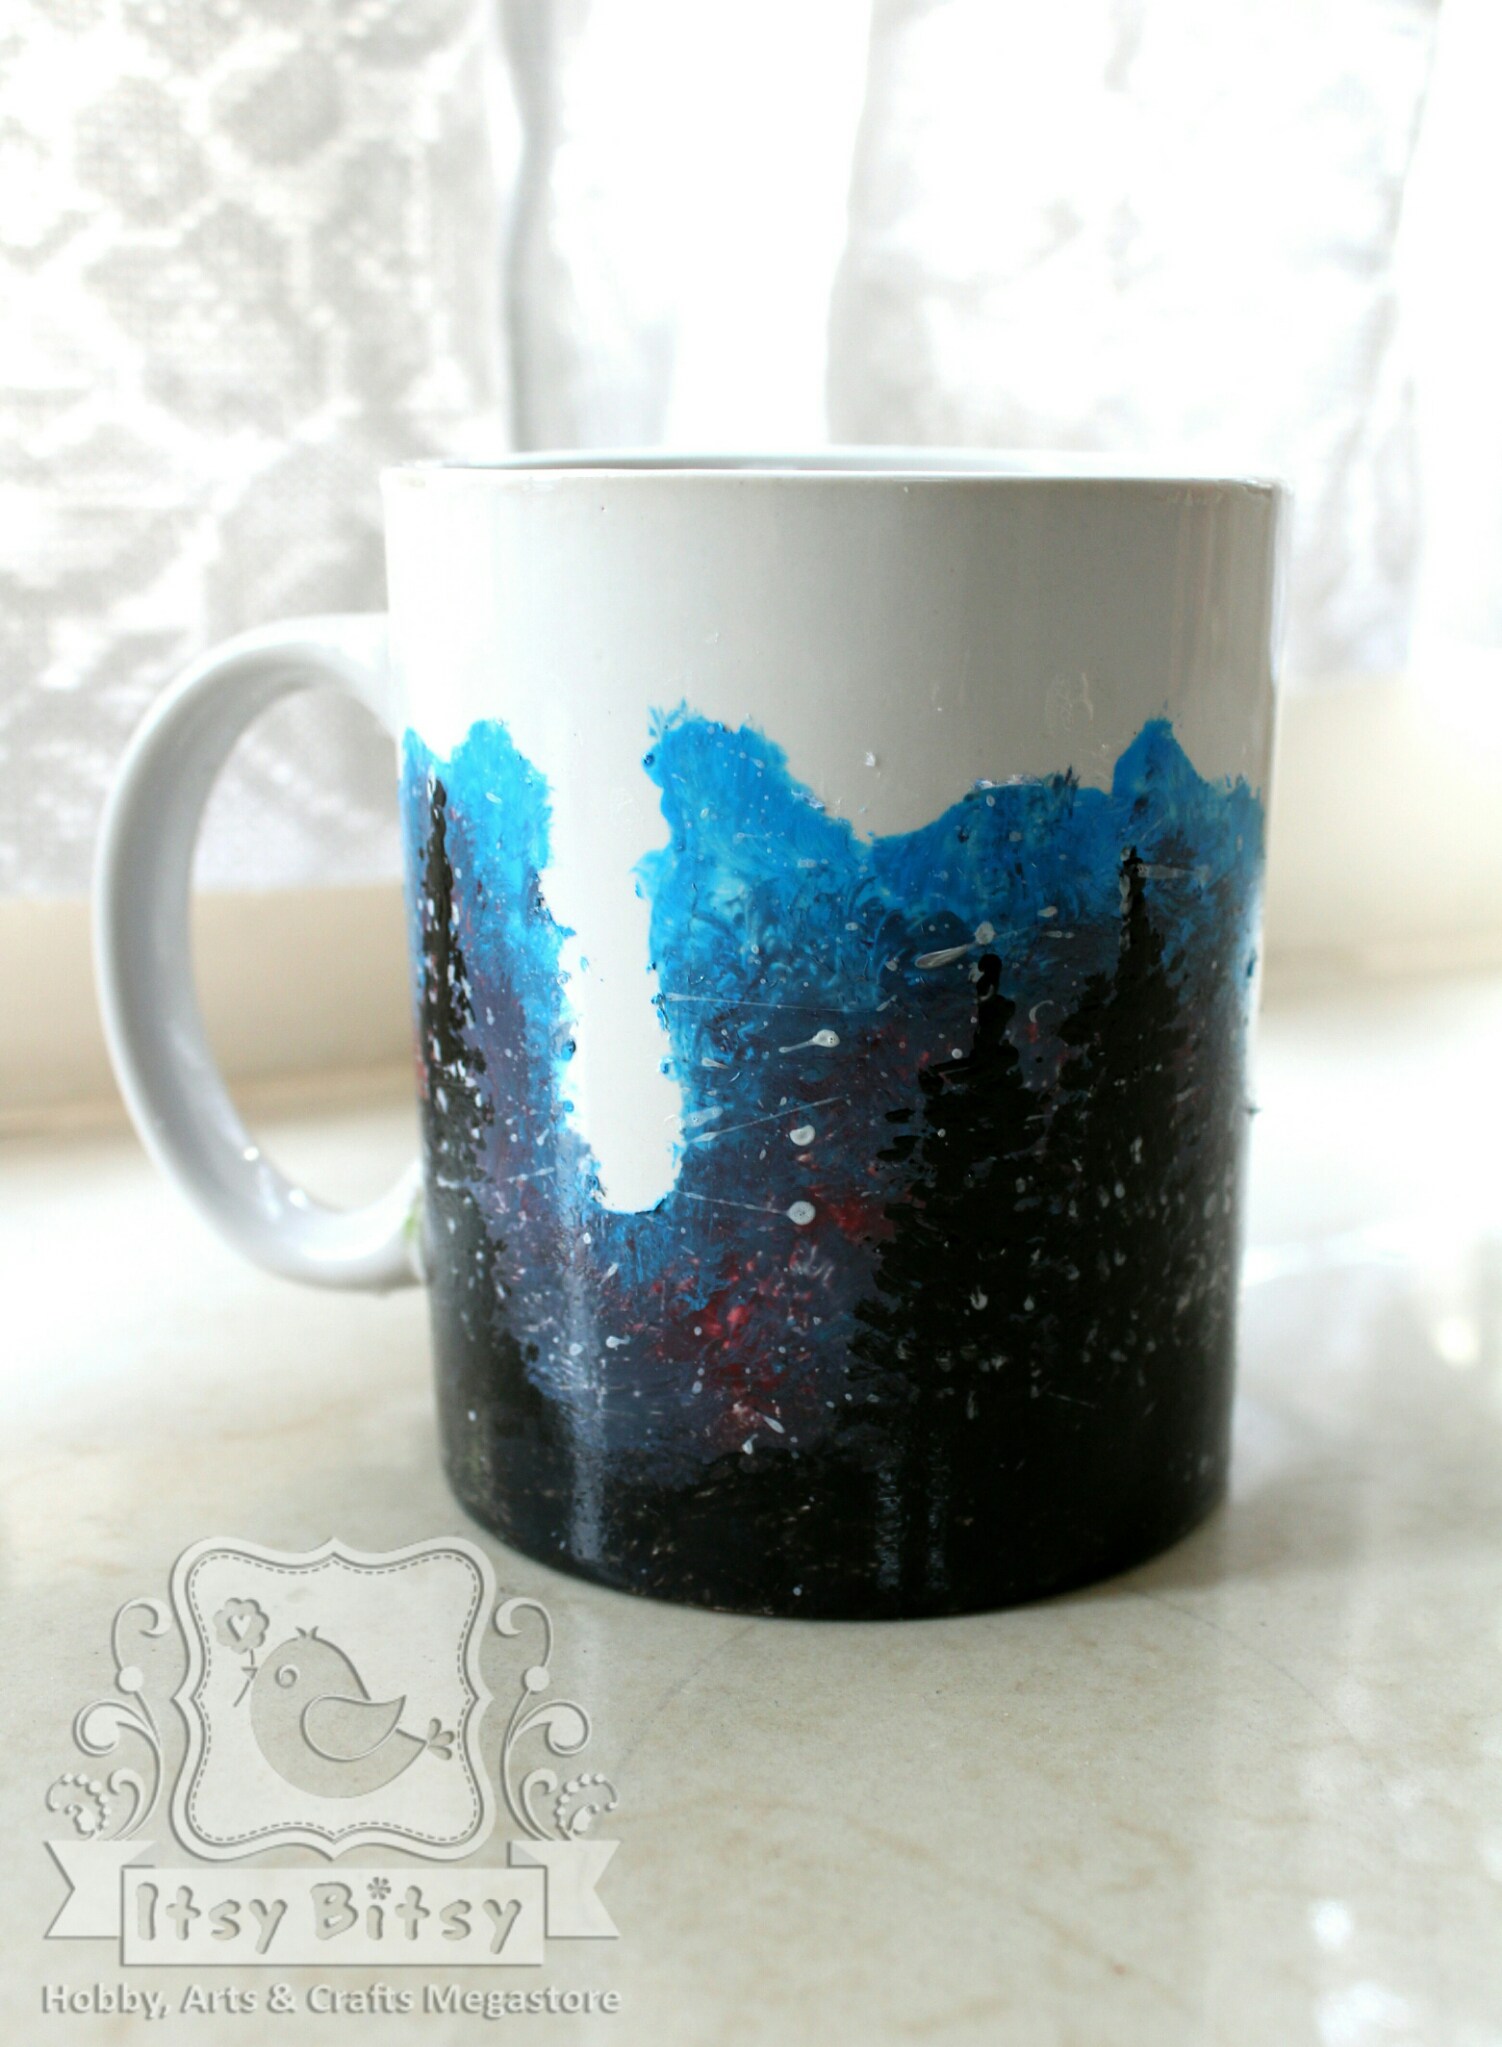
I have this fascination for painting silhouettes and here’s another of my favorite one that depicts a cold winter night but this time on a mug, using ceramic paints!!
HOW I PAINTED A MUG USING CERAMIC PAINTS:
Before I started painting the mug, I made sure that the surface was dry and clean.

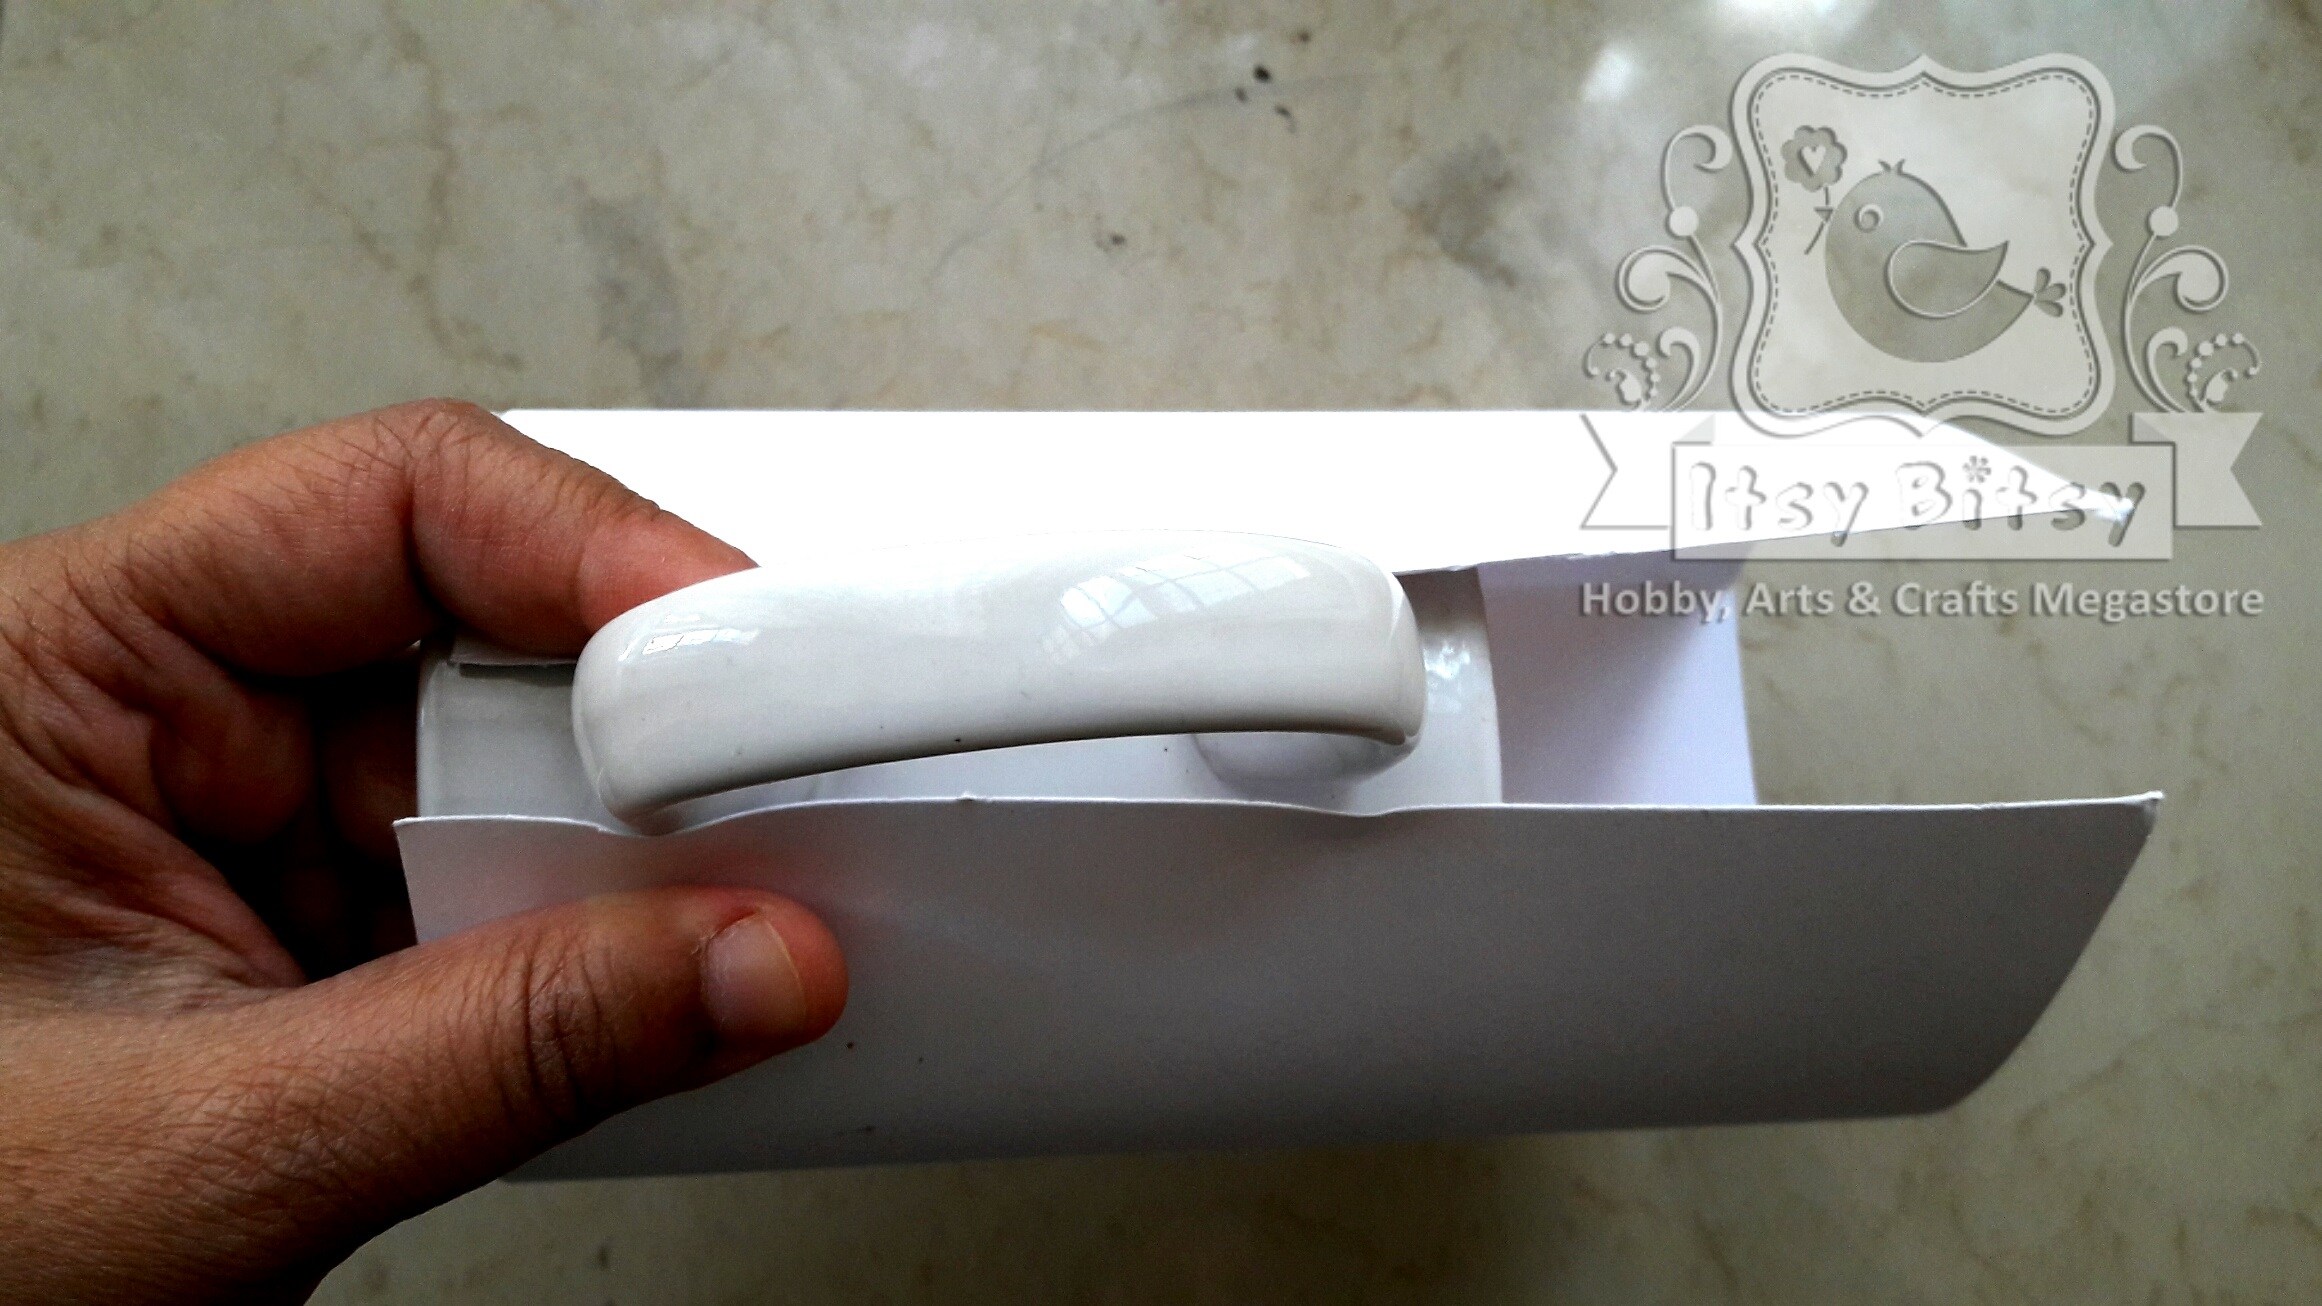
I checked the size of a card stock to go perfectly around the mug.
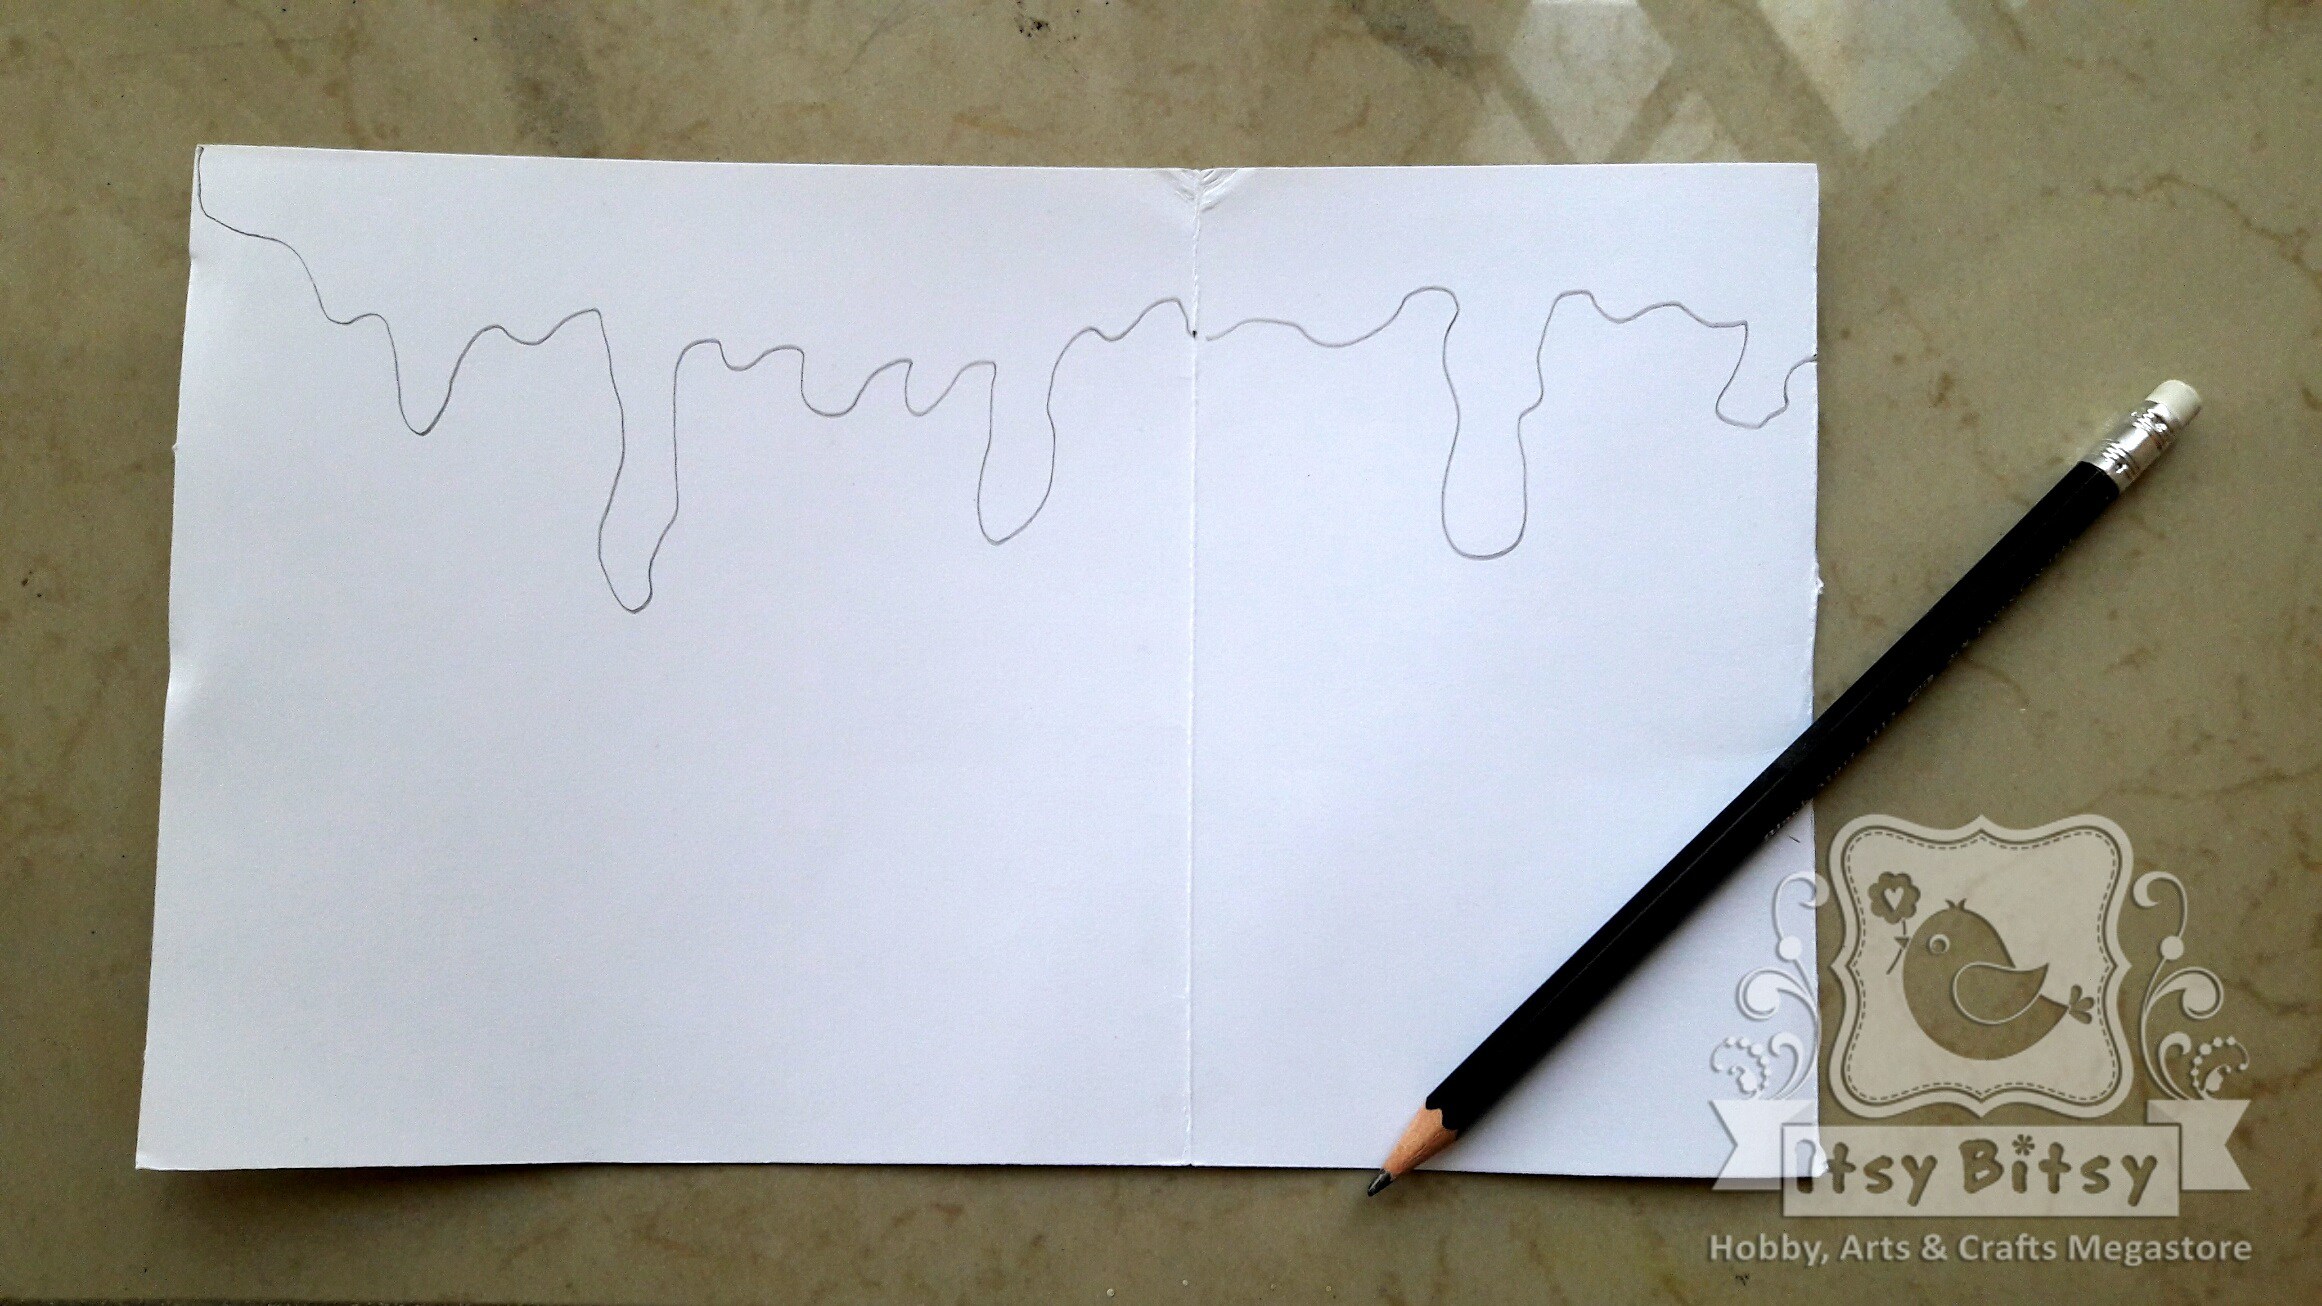
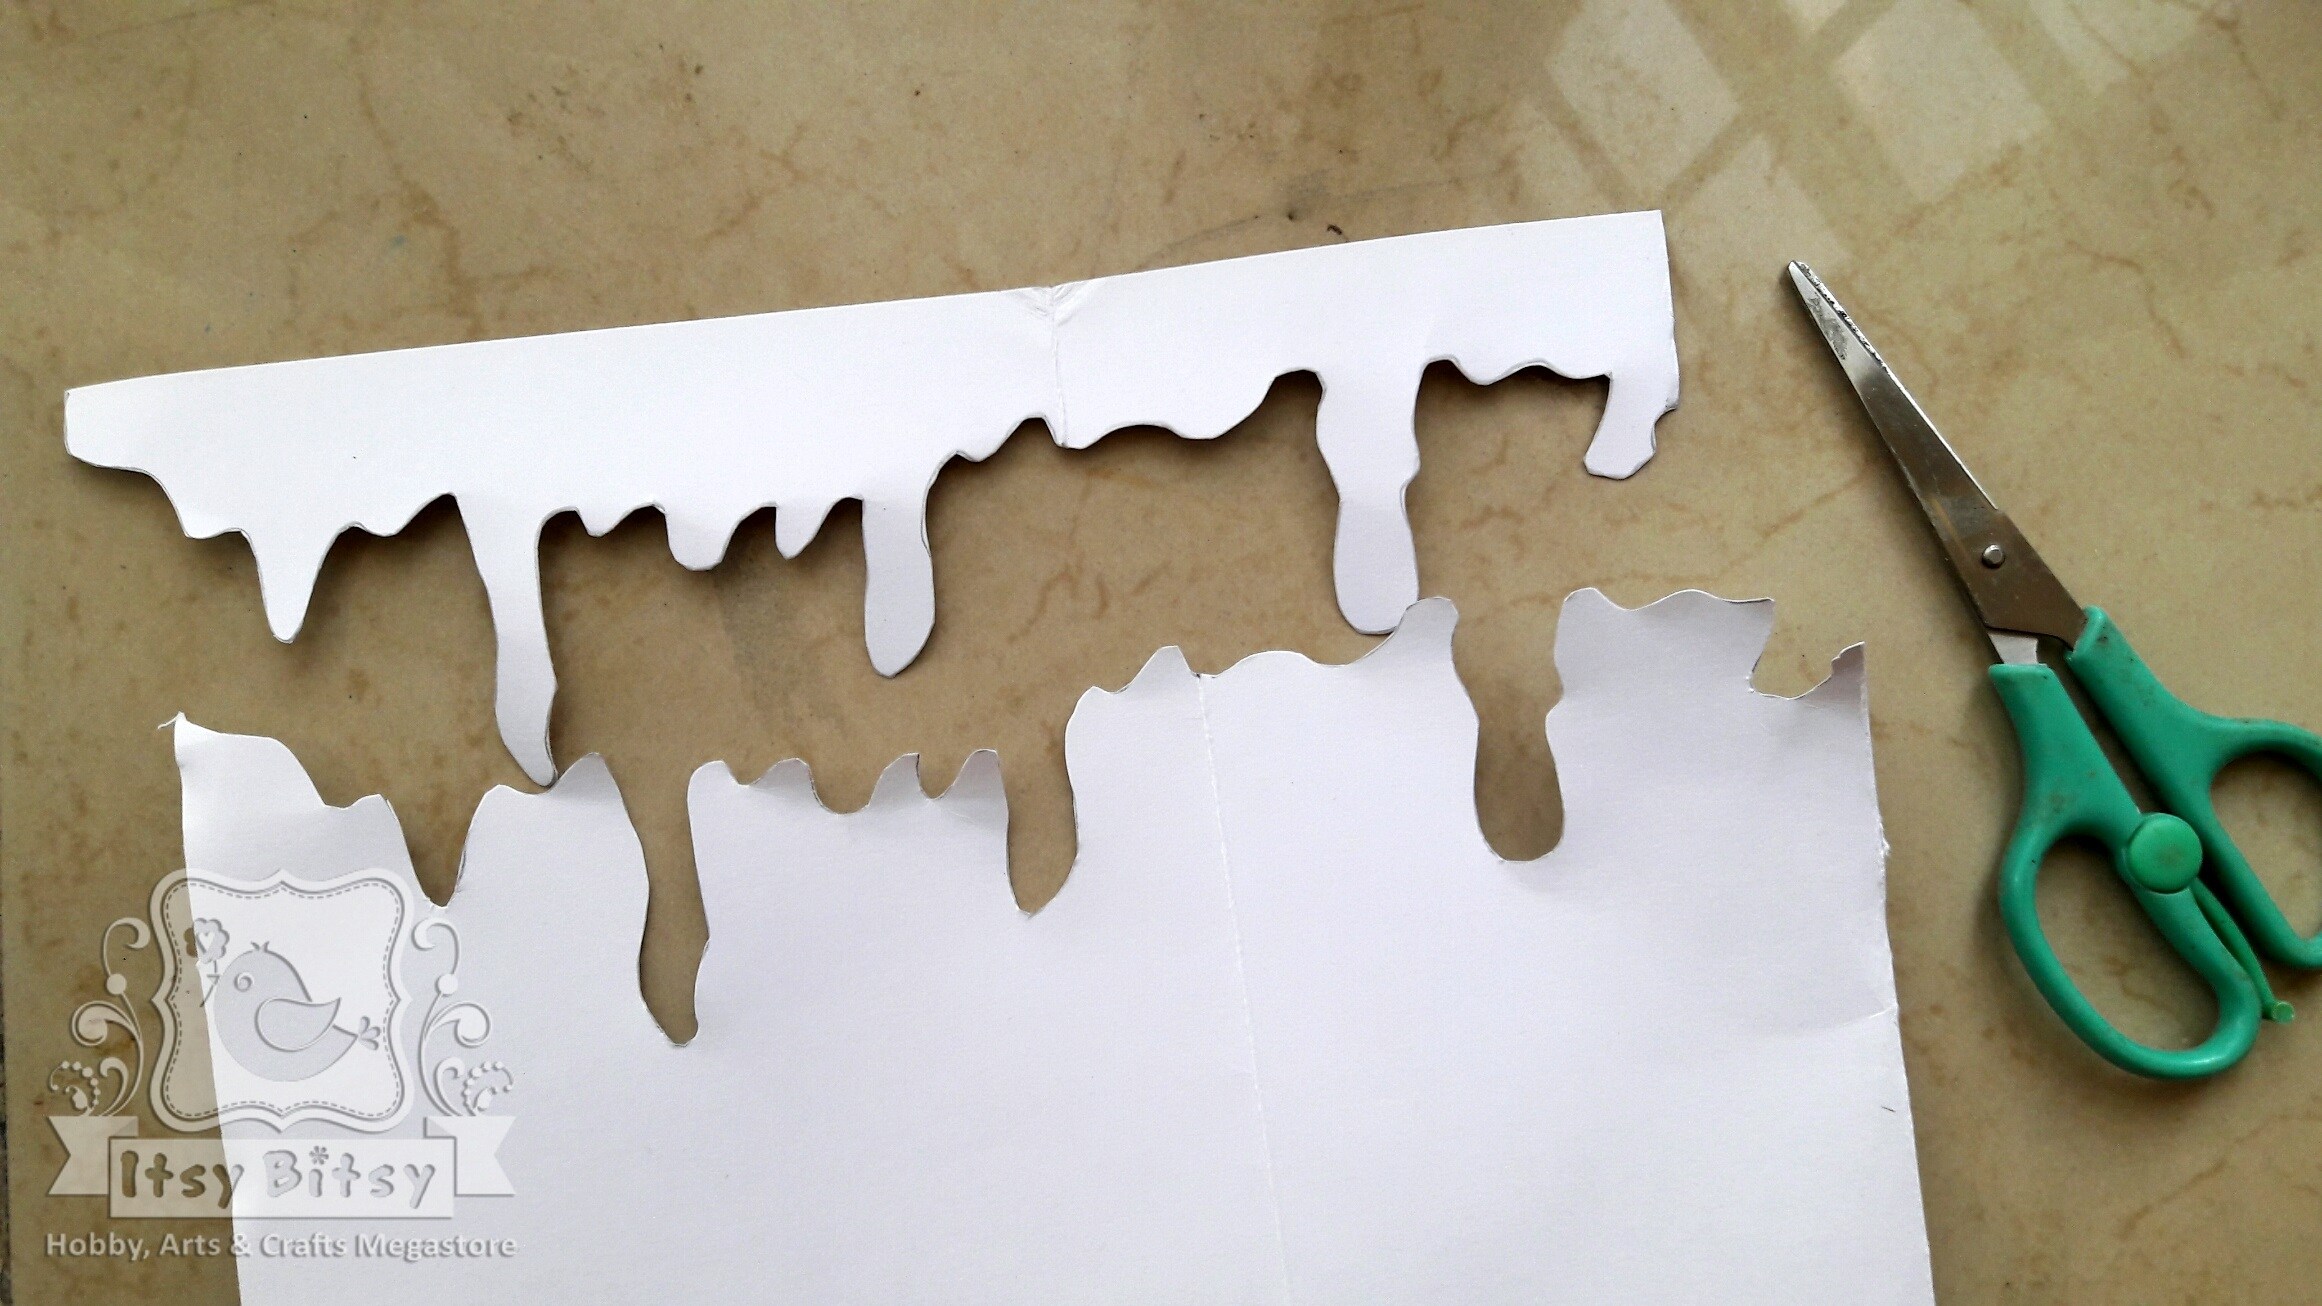
I then sketched a random design using a pencil. Following which, I cut out the sketched shape. I used this as a stencil for my project.
I then adhered the stencil to the top portion of the mug.

I poured out sufficient amount of ceramic paints in colors of my choice. I mixed a few paints in different combinations to get different shades.
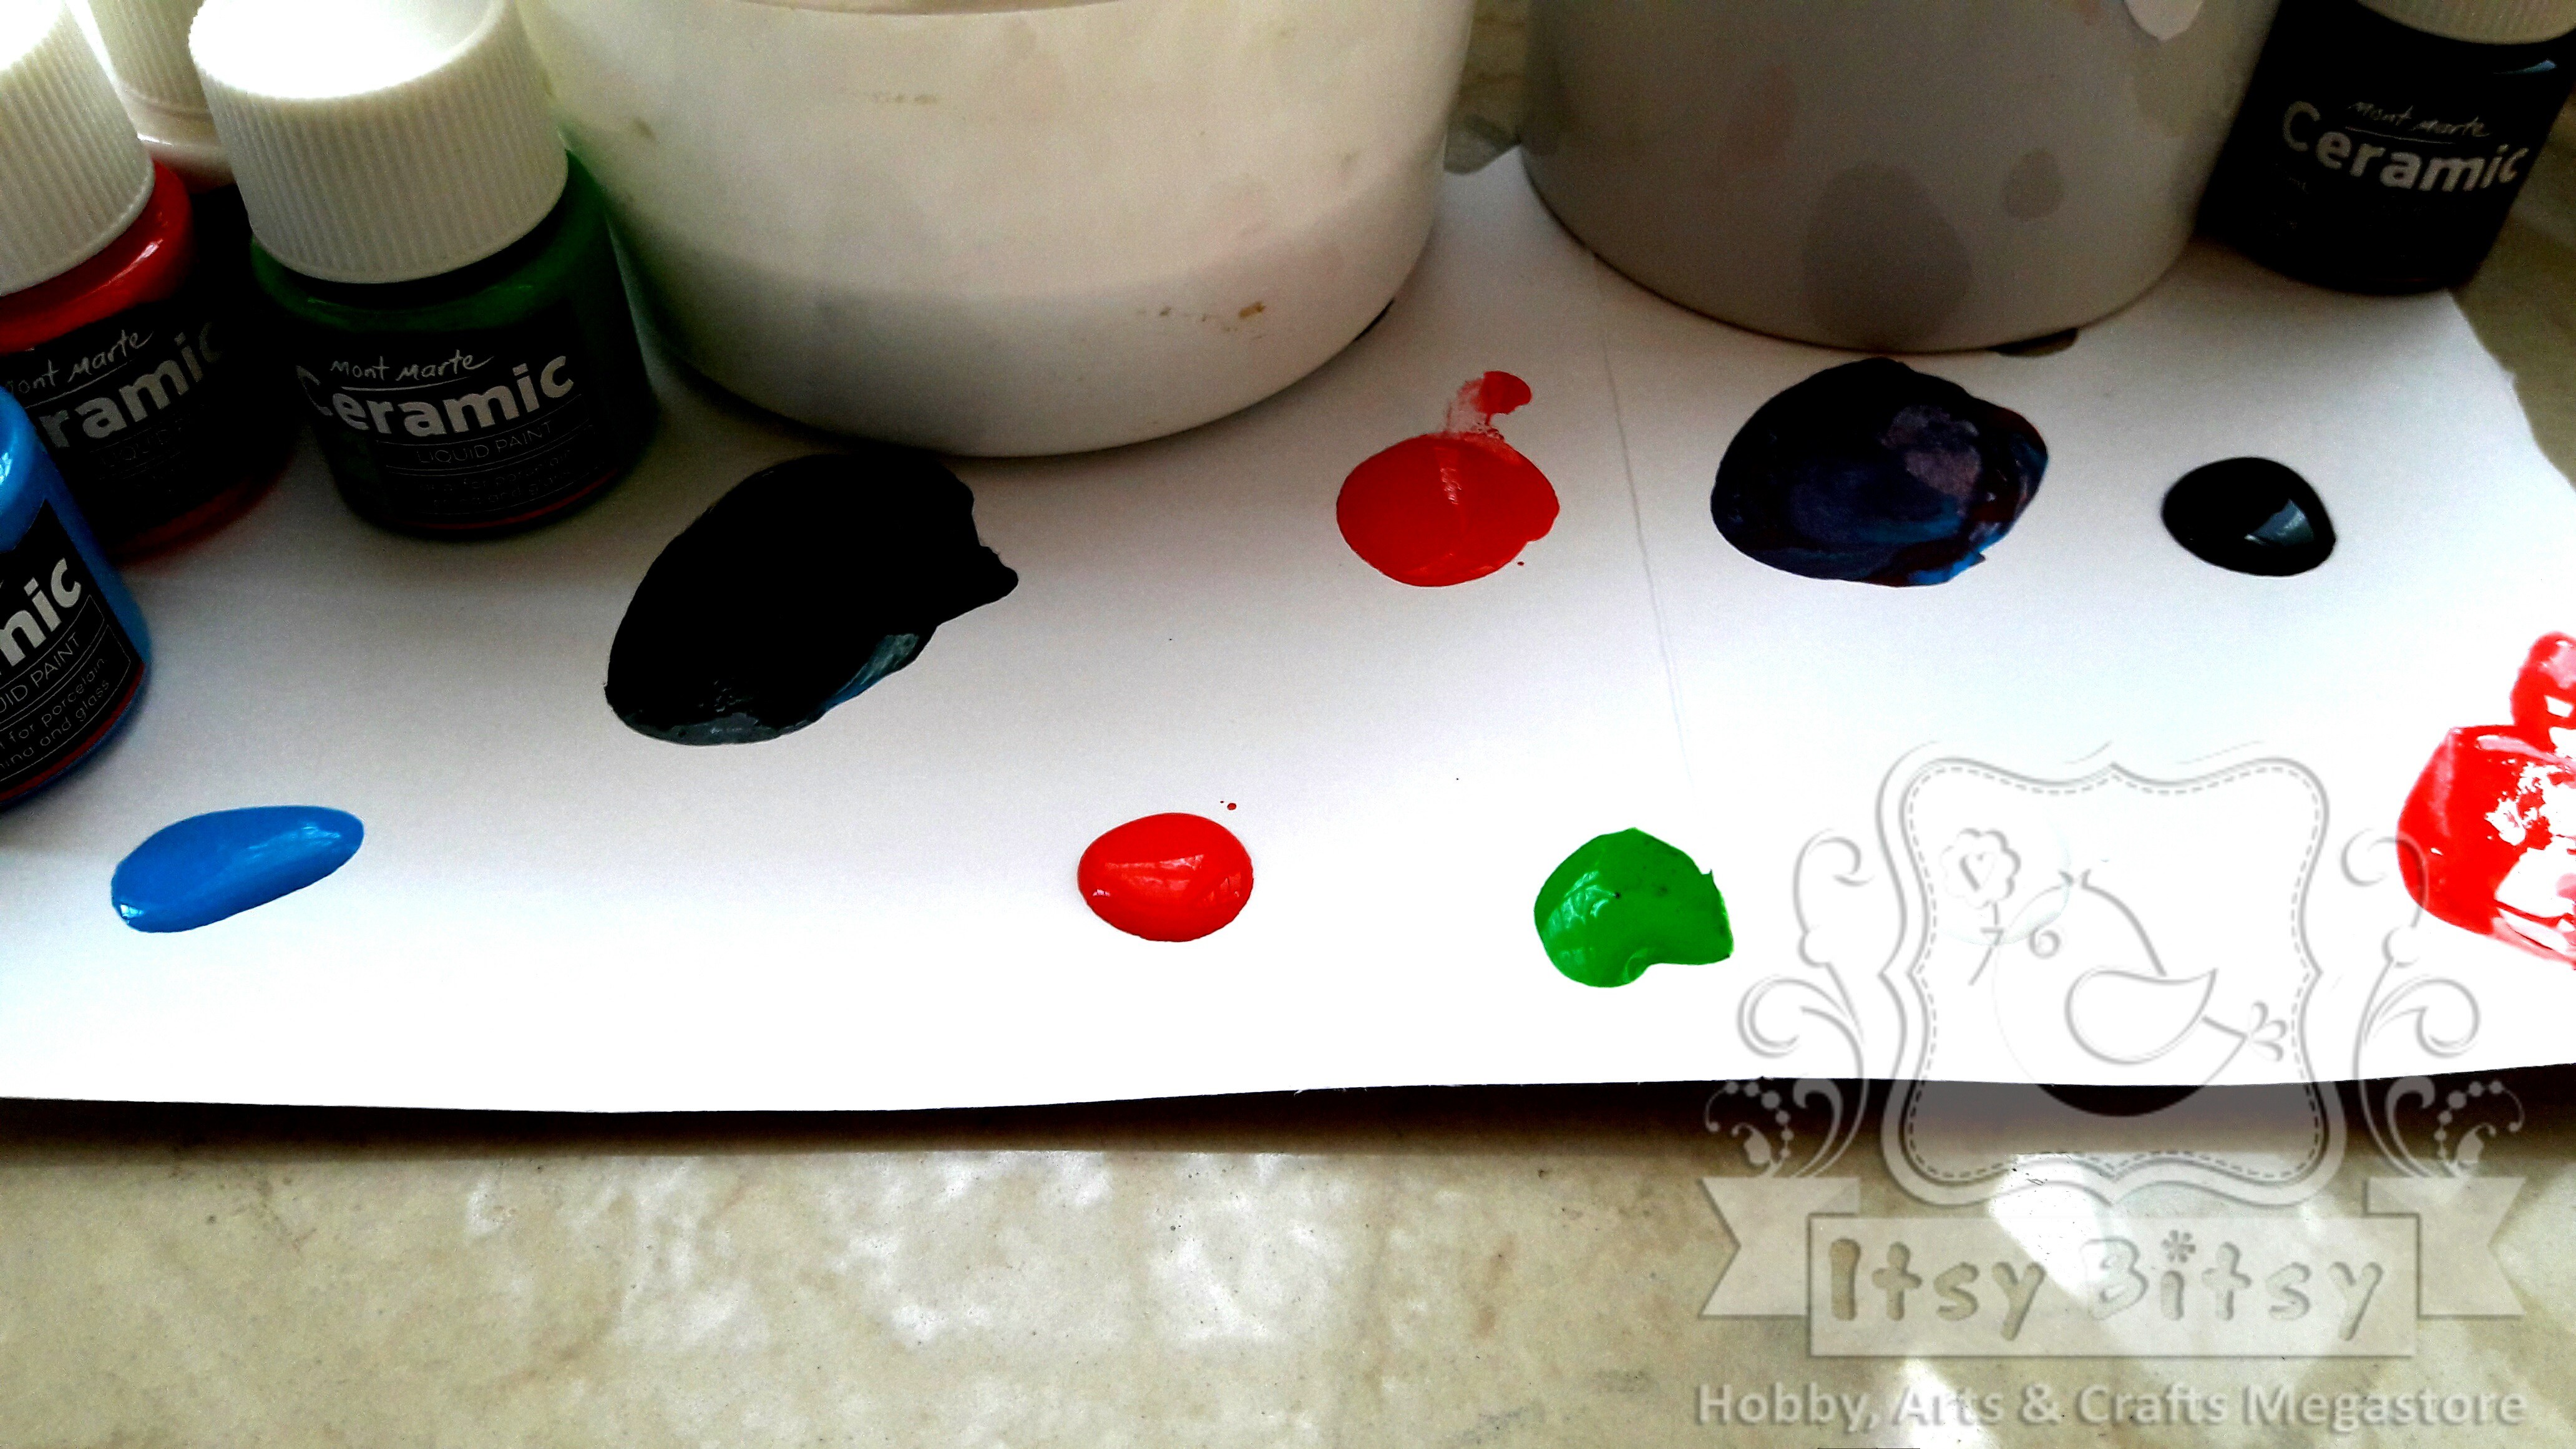
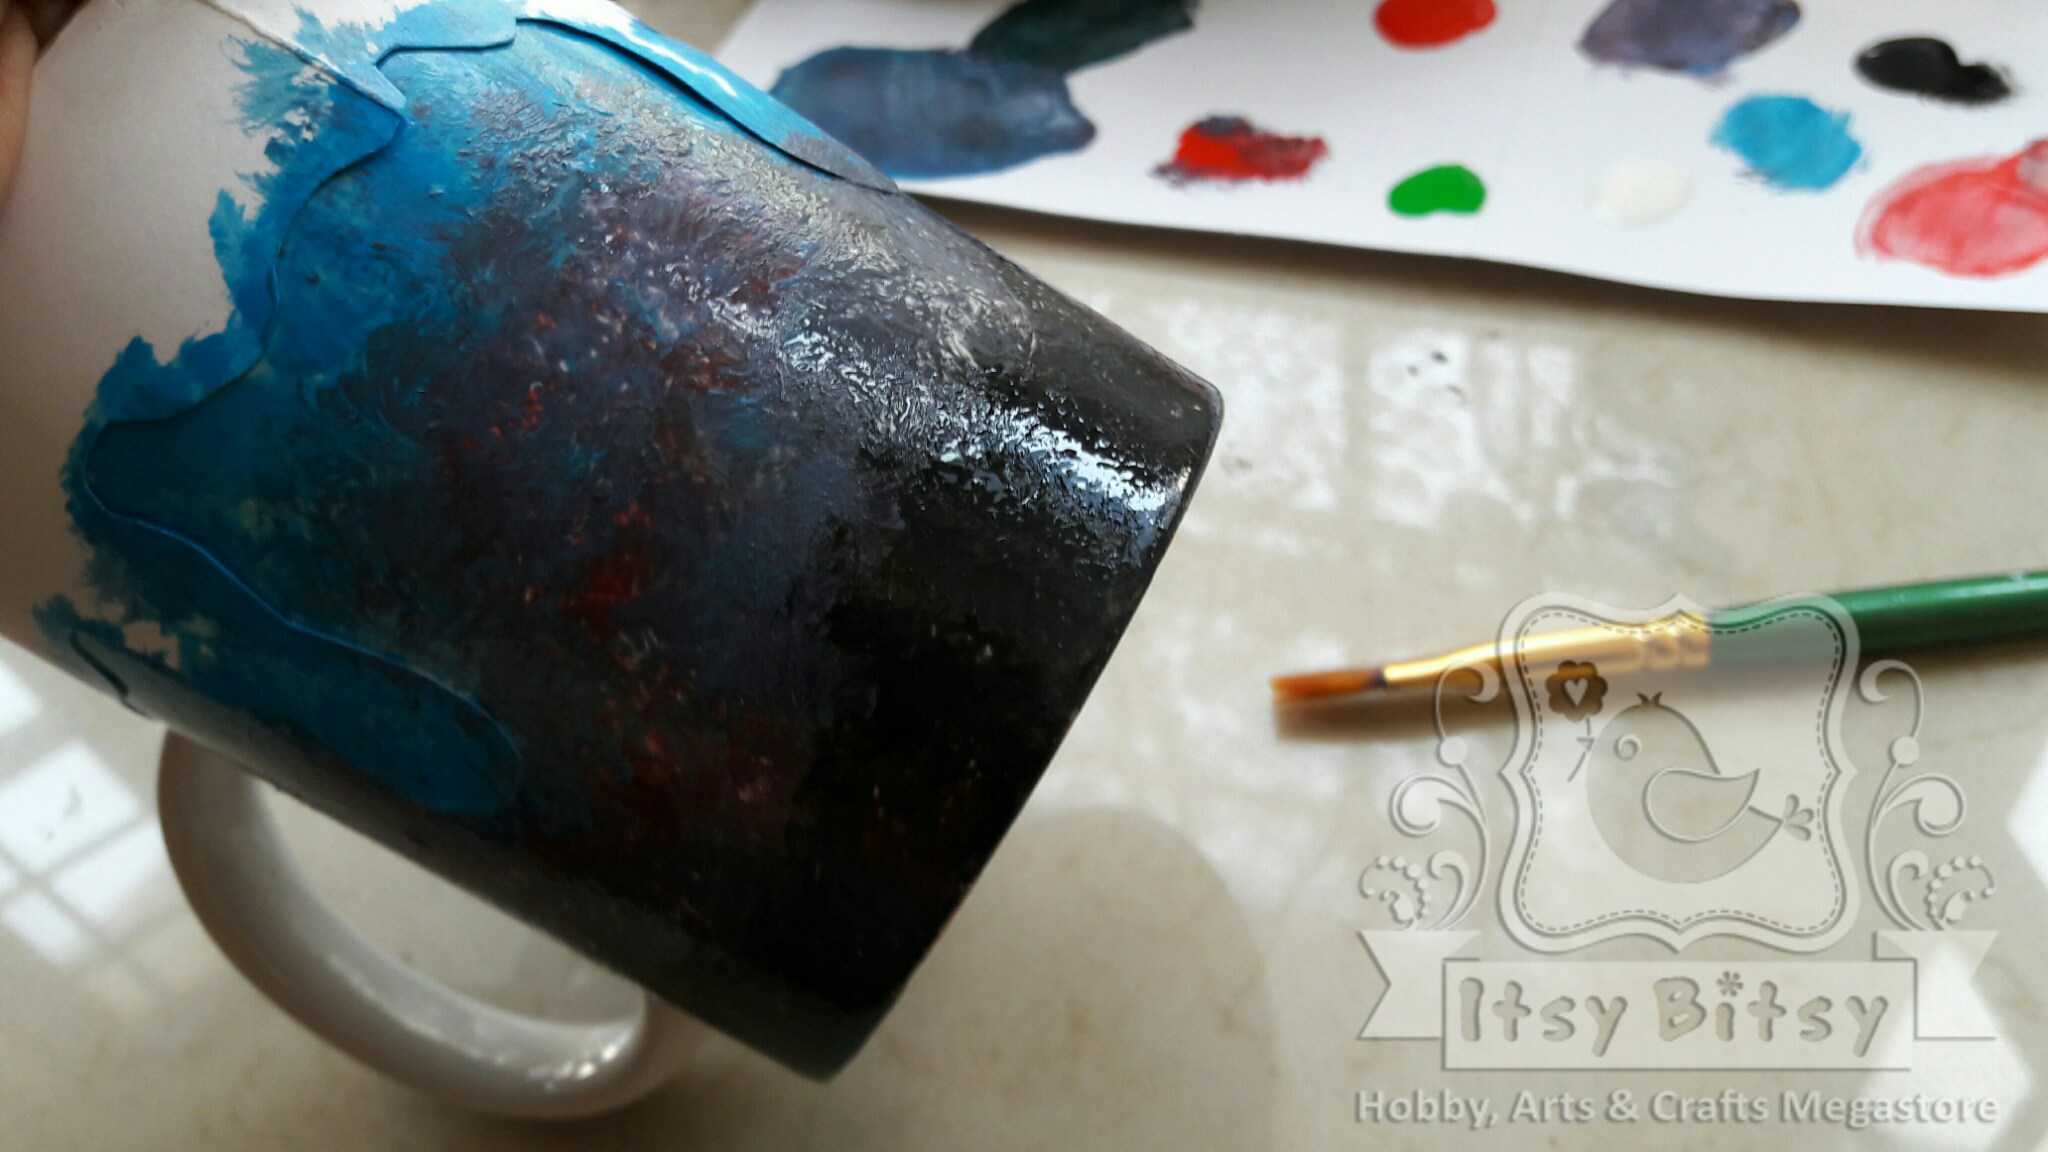
I started off by dabbing a lighter shade of blue from the top. I used a flat brush for this.

I then gradually moved to other darker shades, finally ending with black. This gave me the base of the winter sky.
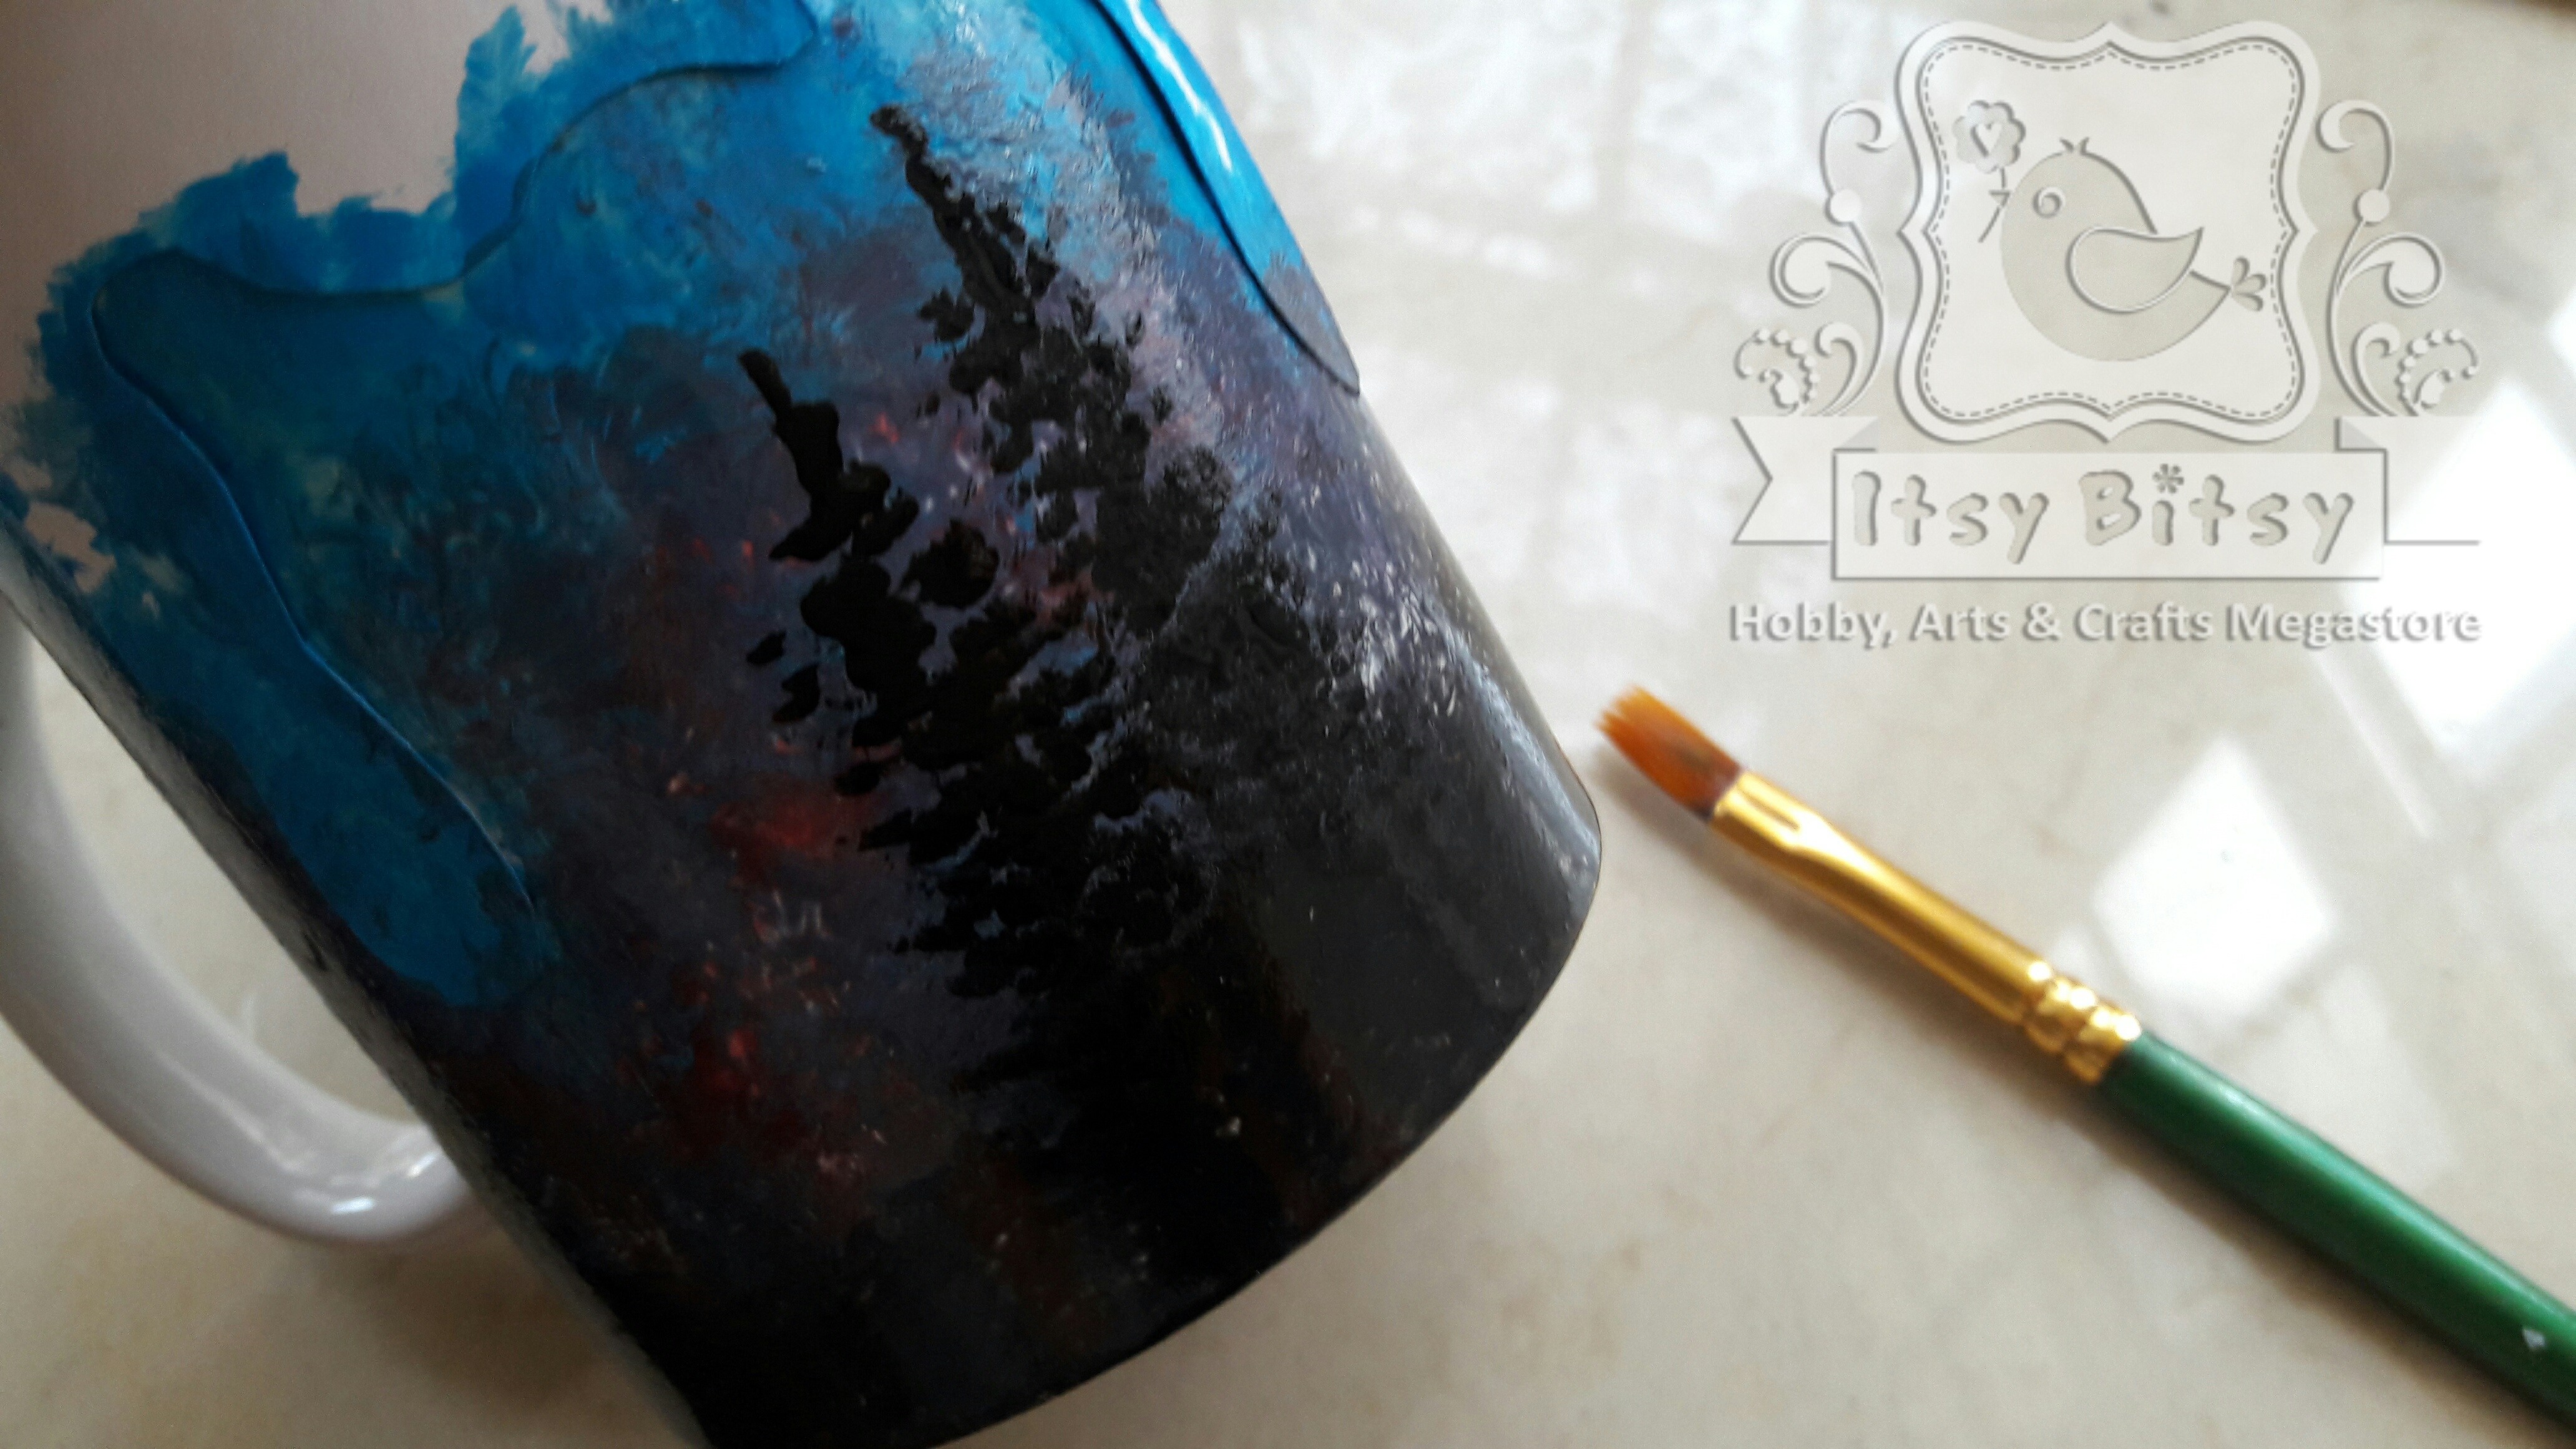
Using the same flat brush, I carefully dabbed black to create the silhouettes of the pine trees.
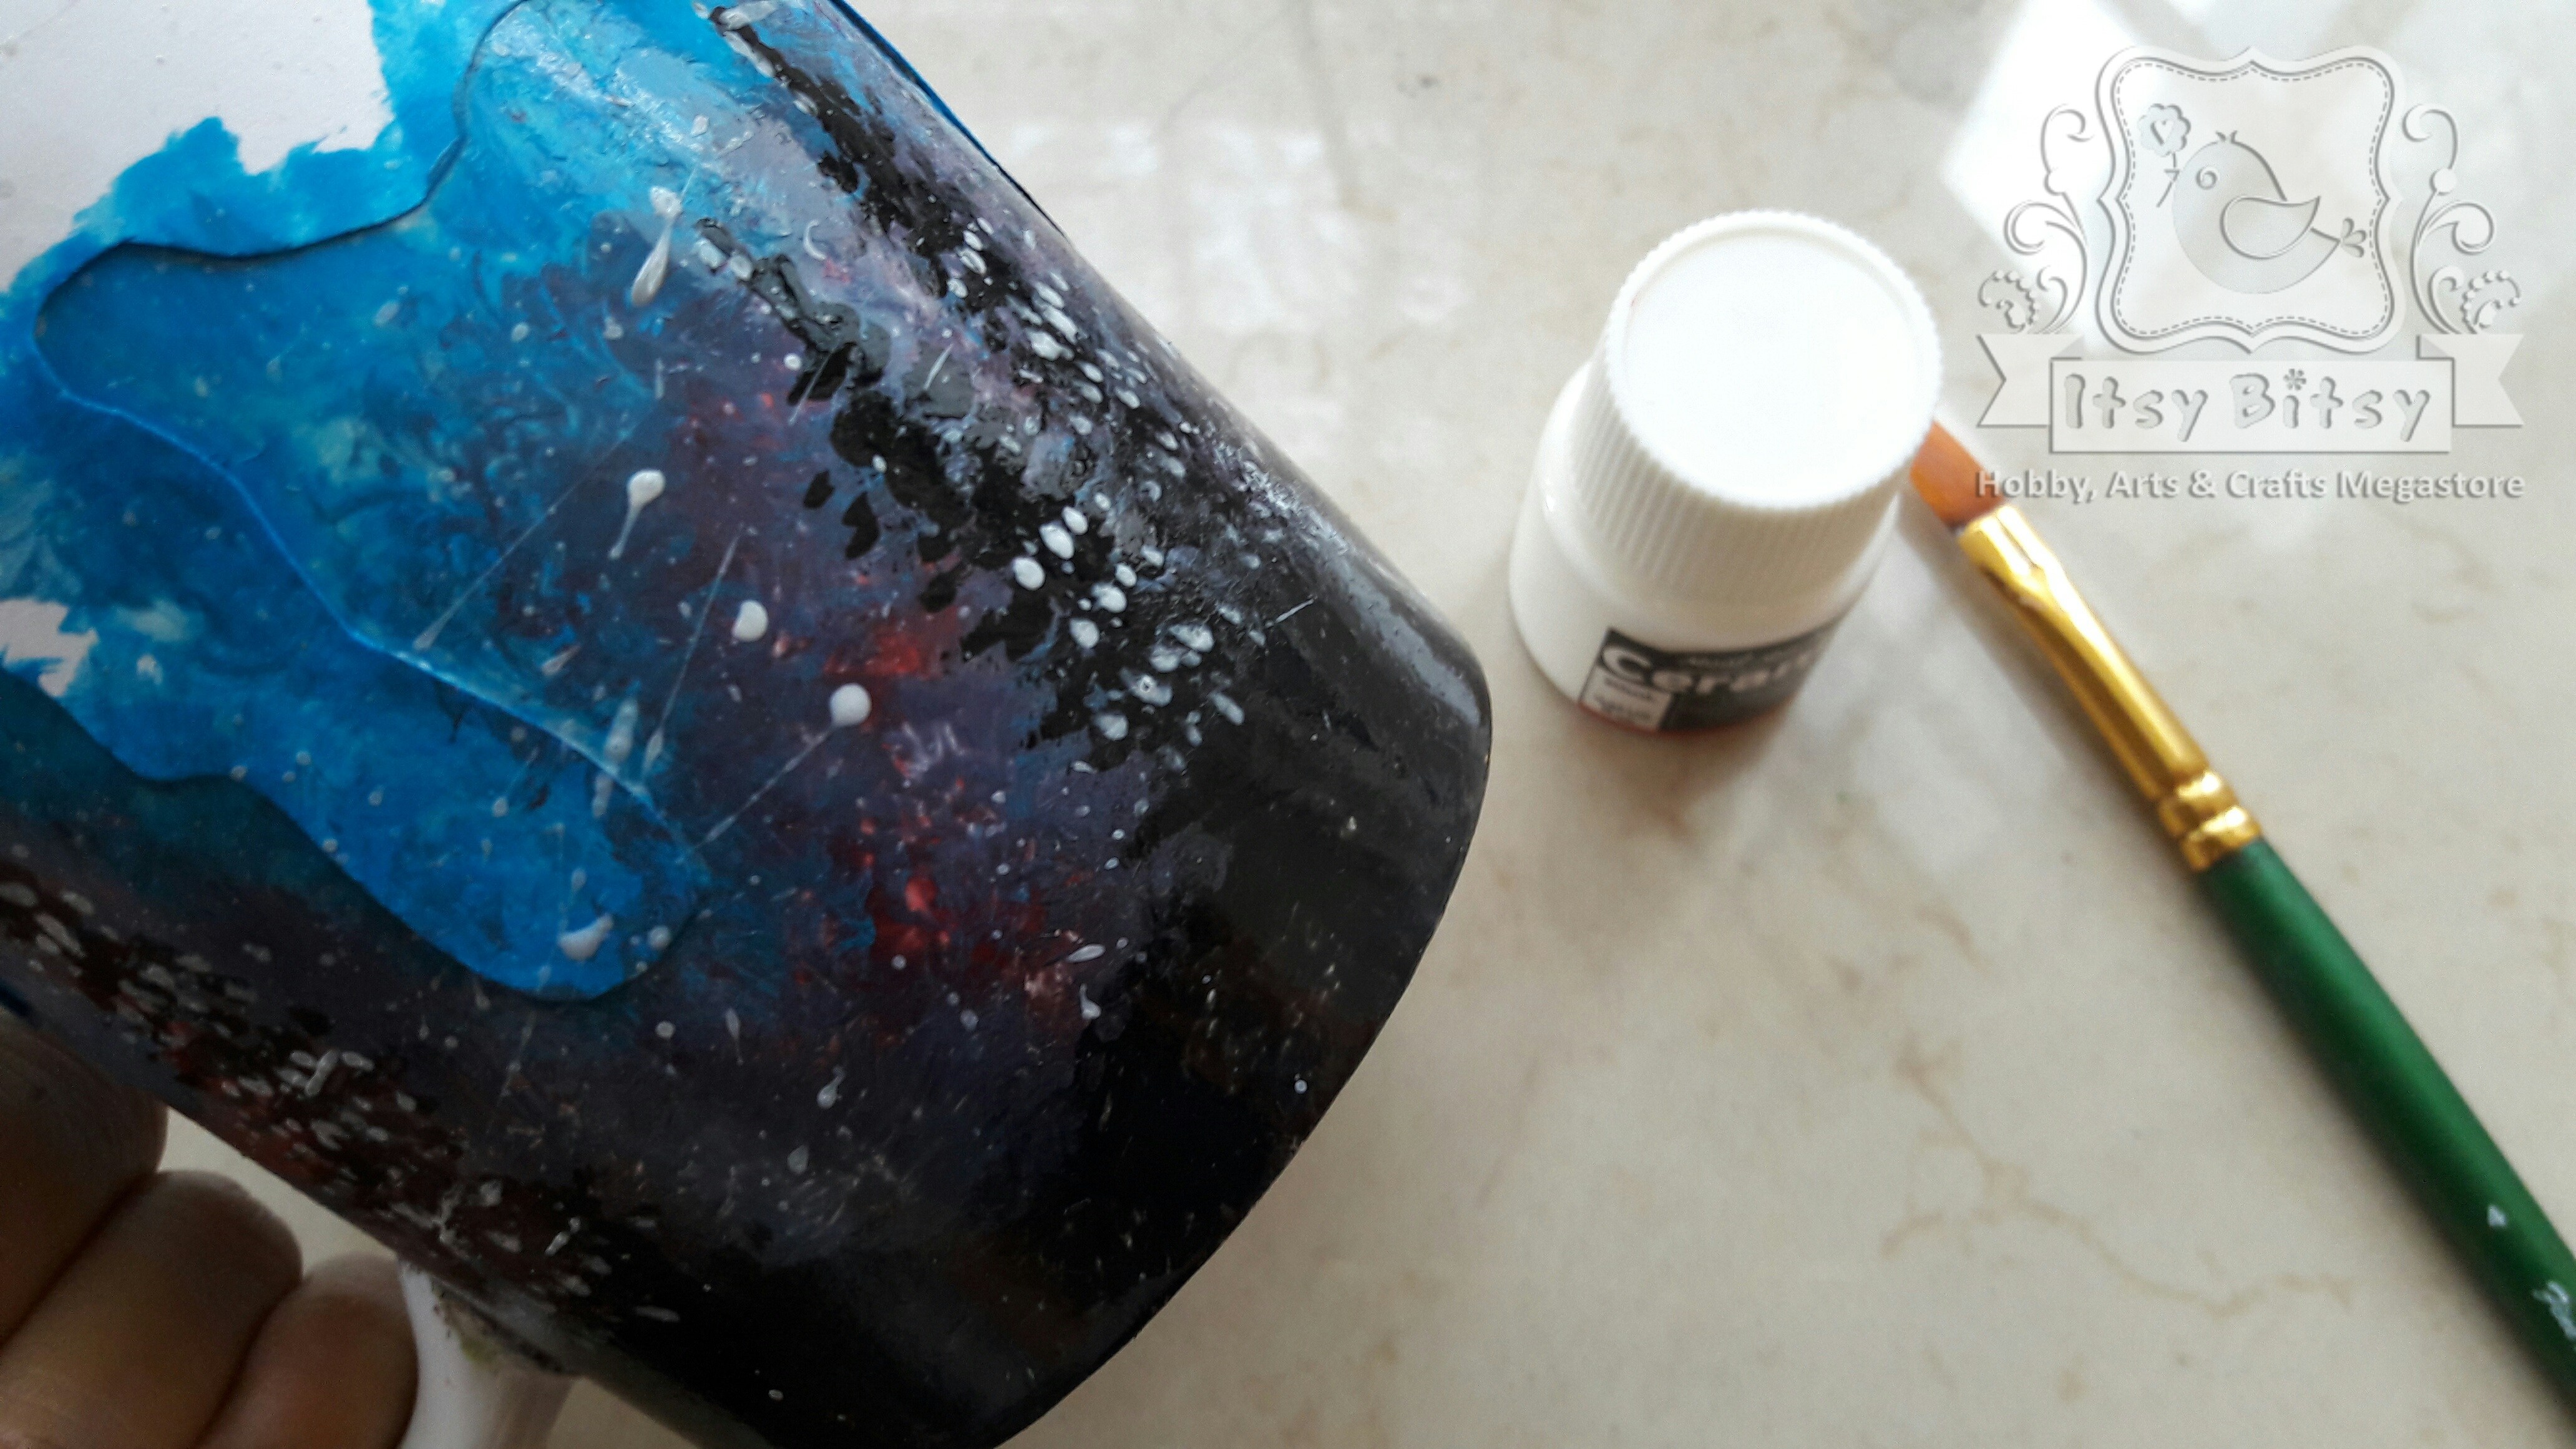
I finally sprayed white all around the painted portion to give the effect of snow.
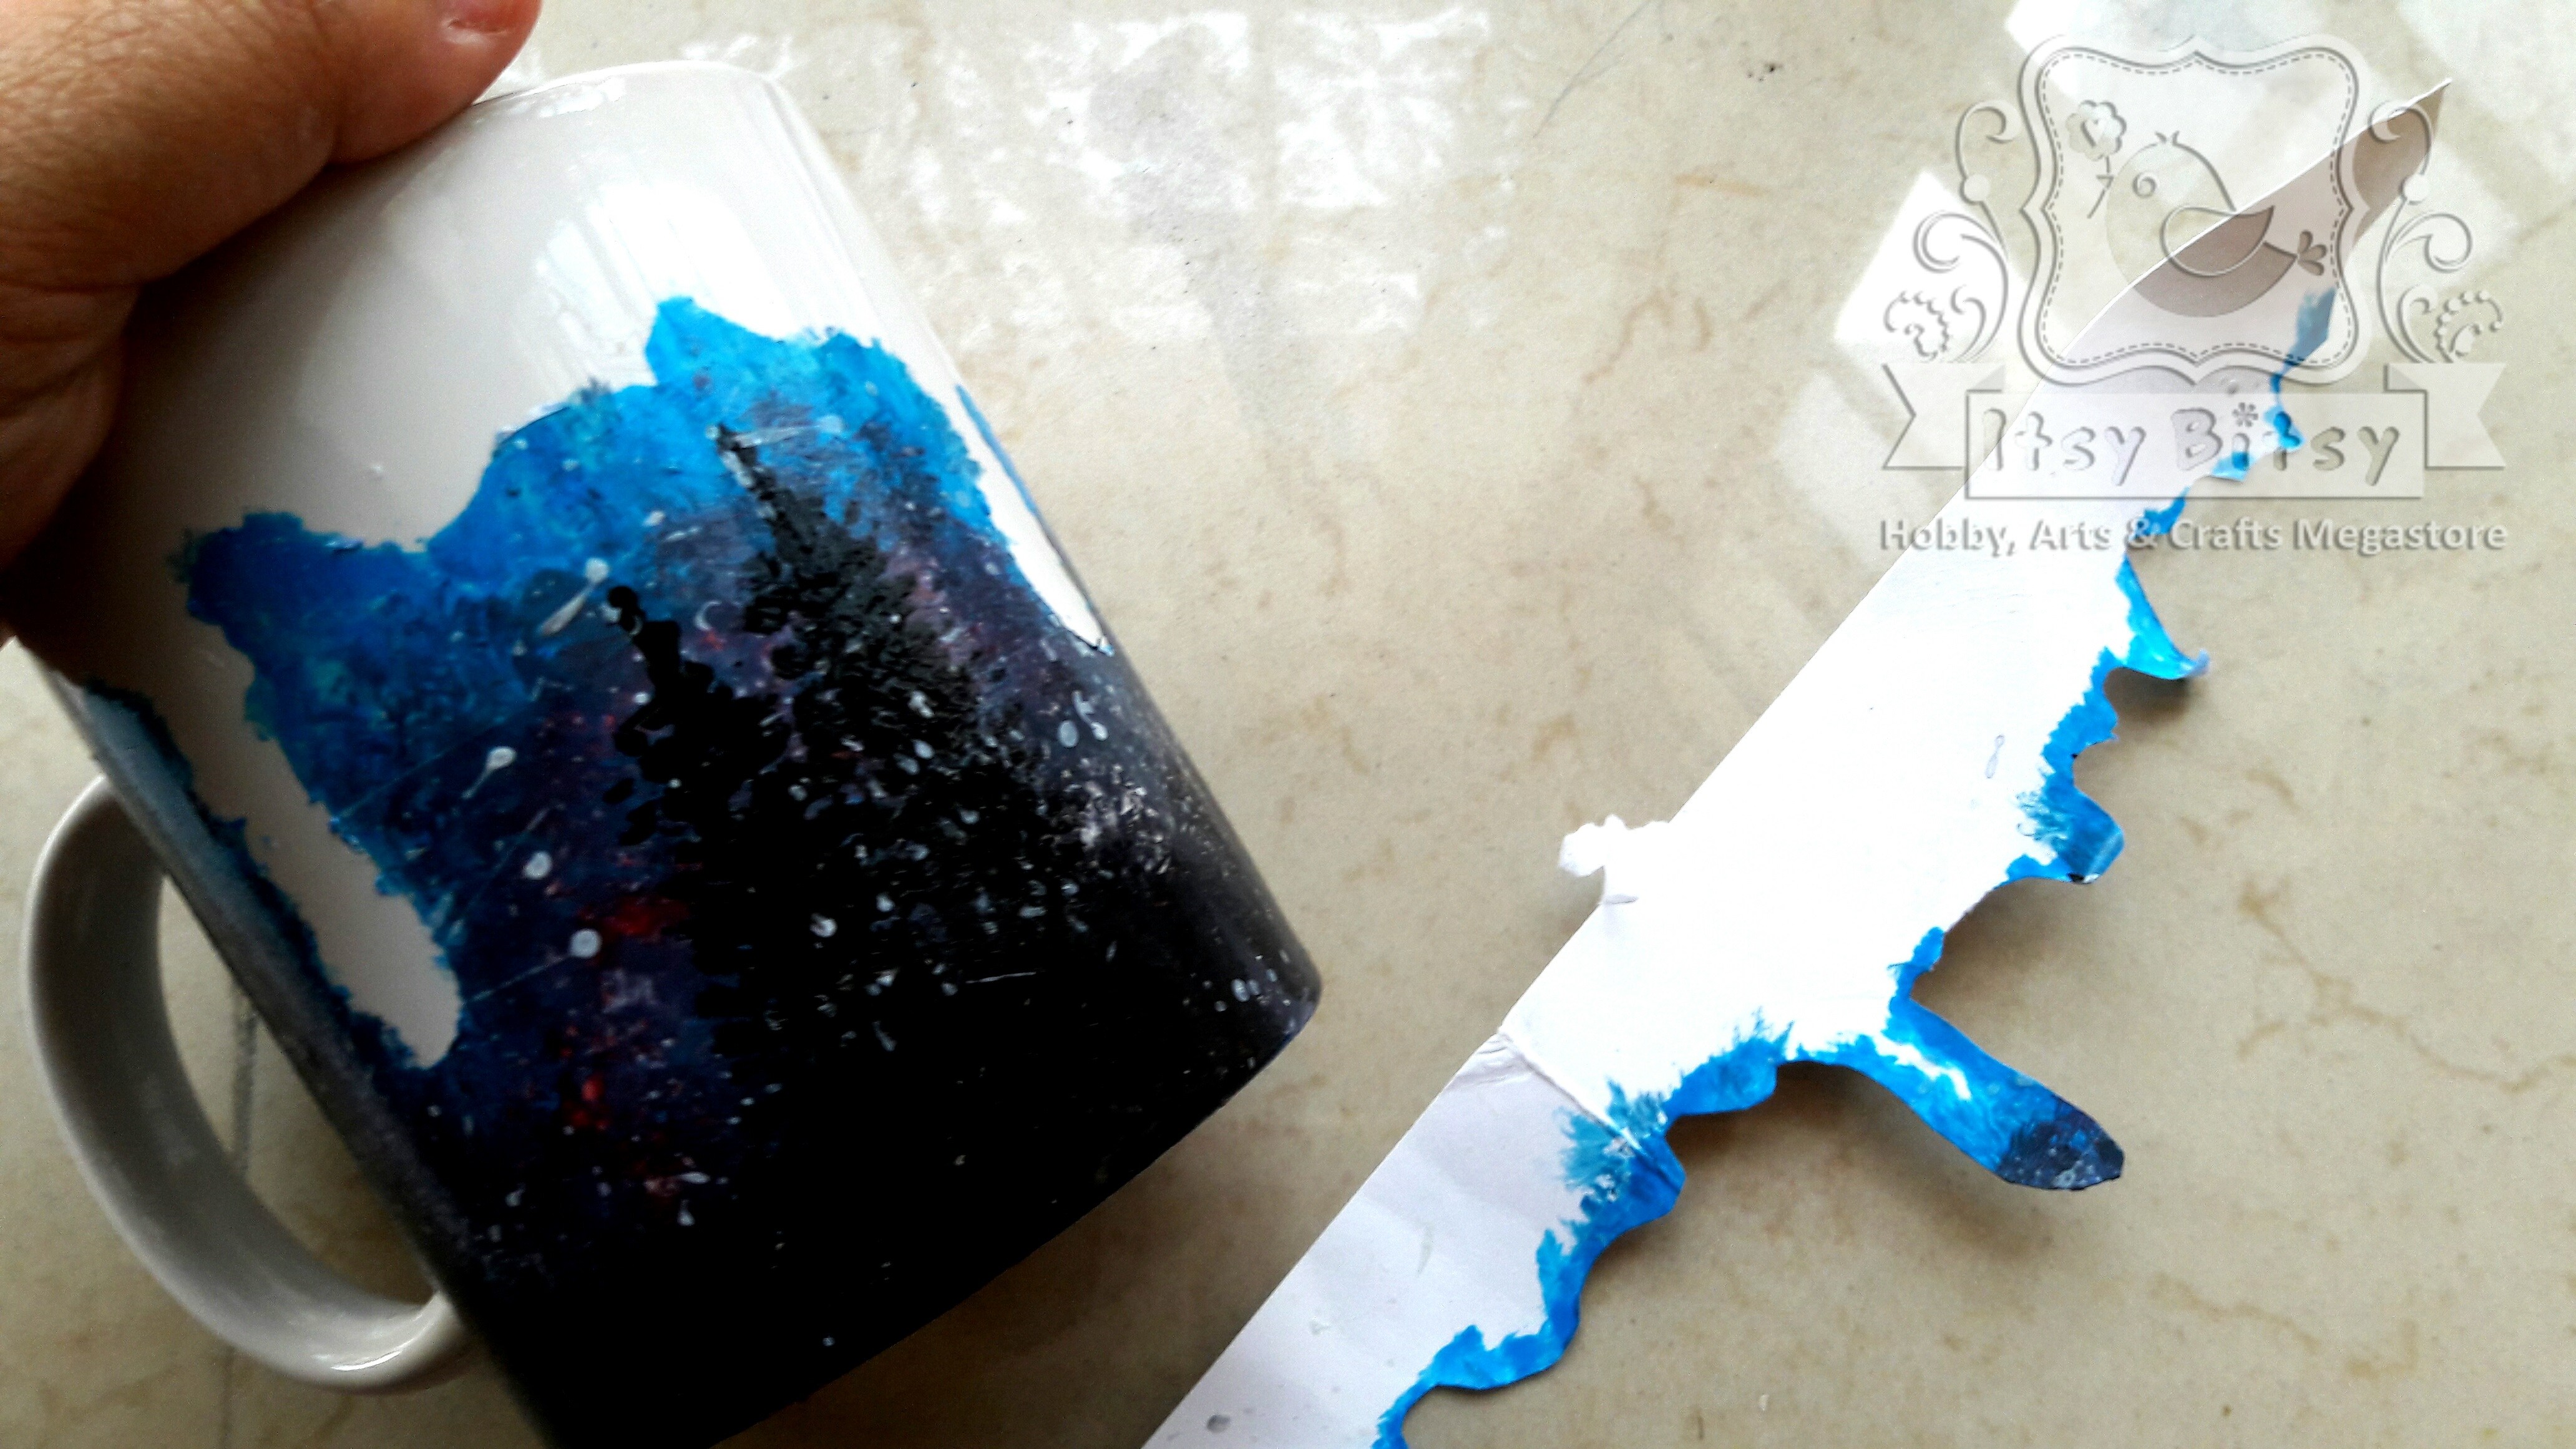
I carefully peeled off the stencil that I had pasted to expose the masked portion of the mug.
After allowing my design to dry completely for 24 hours, I heated the mug in the oven for approximately half an hour at 140 °C to fix the painted design.
Please note that one must avoid washing the painted article for at least 24 hours after this step is done.
MATERIALS USED:
|
|
|
|
|
|
|
|
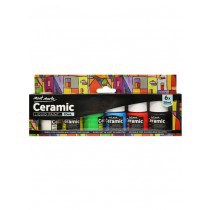 Mont Marte- Ceramic Paint
 Craft Scissors
 Flat Brush
 Card Stock
 Craft Glue
My idea of a party on a cold winter evening is when I hang out in a cozy corner with my favorite books and a steaming hot cup of delicious coffee. What are your projects for the winter holidays?

Cheers!!
Shantha
Article for Itsy Bitsy