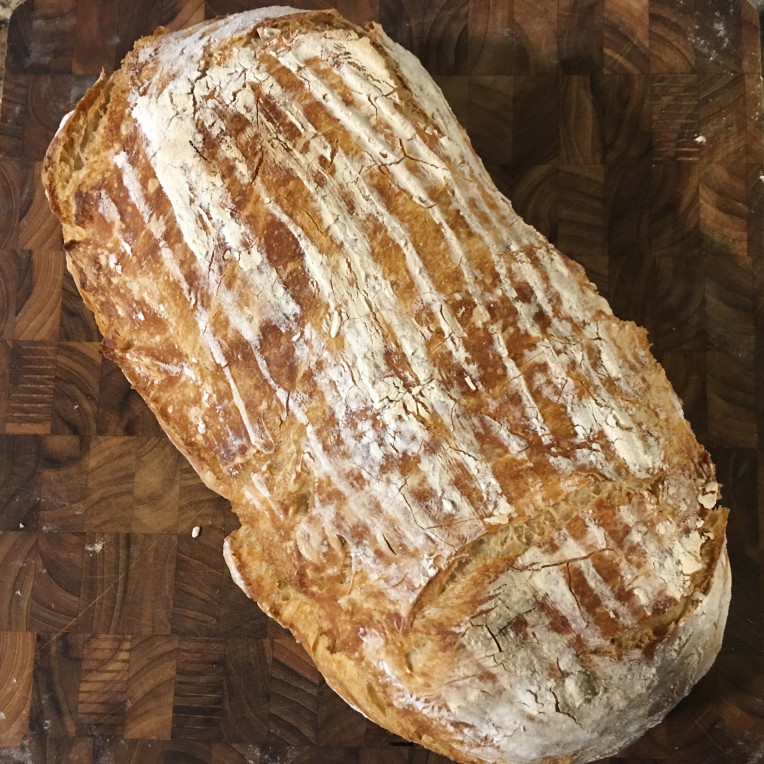
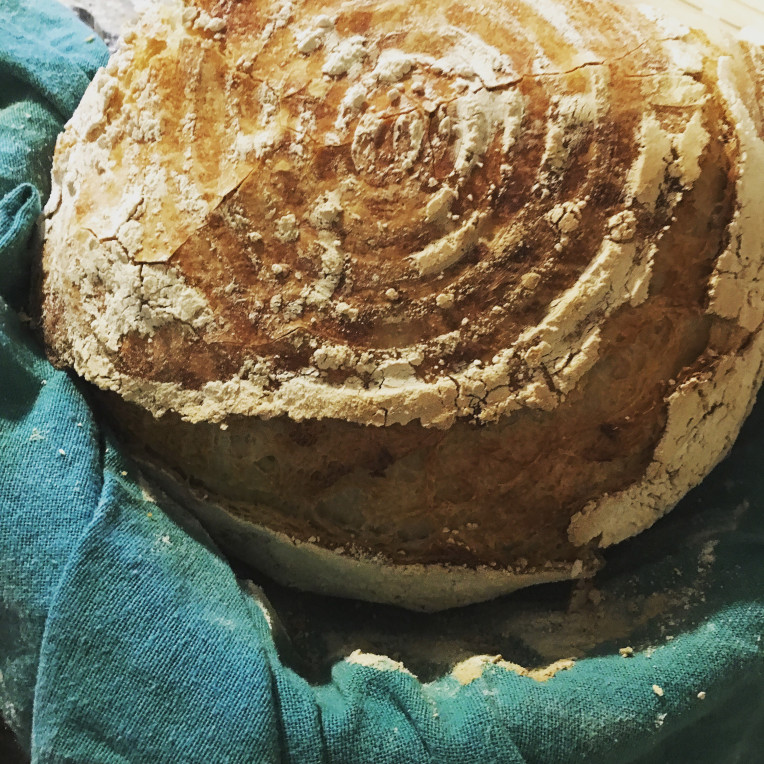
I’ve been around homemade bread all my life, and learned from my mom how to mix yeast and water and flour and salt. My favorite part is the kneading, because I love to feel the dough go from a lumpy mess to a smooth round by working it with my hands. One of my new years resolutions this year was to bake more bread, and to that end I bought the book Flour Water Salt Yeast by Ken Forkish (which Amazon highly recommended to me). This book is full of recipes that approach bread-baking in a strange (to me) way; all of the recipes recommend using a very small amount of yeast and letting your dough rise for several hours – which runs contrary to my instincts, which are to use 2 1/4 teaspoons of yeast and about an hour per rise.
So I decided to try this low-yeast-long-rise method of Mr. Forkish’s yesterday. I also ordered two proofing baskets, which are definitely not strictly necessary to this technique but which do make the loaves of bread very pretty after baking.
I started around 9:30 am by mixing 7 3/4 cup of flour with 3 1/8 cup of warm water. I let this sit for maybe 20 minutes, and then added one teaspoon of yeast and one tablespoon of salt. I mixed this up using the “pinching method,” which basically means that you imagine you are a lobster who likes bread dough. After getting the salt and yeast all mixed in, I let the dough rest another 20-30 minutes or so. The “kneading” part is next, but it doesn’t really count as kneading (imo). It’s more of a “up and over” movement – you grab a quarter of the dough from the bottom of the bowl, pull it to the top, and repeat three more times. This particular dough is folded just two times, but it worked anyway. After letting it rise until 4:00 ish, the dough was just as smooth and soft as if you’d kneaded it for ten minutes.
The book said to wait until the dough had tripled in size, but because I am impatient I only waited until it had doubled. I then separated it into two loaves, and put each into their respective proofing baskets. By the way, “proofing” is just a fancy work for the final rise.
So I let them proof another hour or so.
As it turns out, the trick to a really nice, crunchy crust is to bake your bread in a dutch oven. I have a really nice cast iron dutch oven that I’ve been using for this. It’s a little more complicated than just using regular loaf pans, but it’s worth it if you like a nice crust. You put your dutch oven (lid on) into the oven and preheat to 475*. Then you take it out, add the bread (which you’ve just gentle dumped out of your proofing basket), replace the lid, and stick it back into the oven for about 30 minutes. After the timer goes off, take off the lid and let it back until you’re happy with the color – another 10-20 minutes.
And this is what you end up with!
In other news, I’m thinking of going on a bread and wine diet.


- Share

![The Secrets You Keep Blog Tour Banner (4)[2208].png](/ai/011/935/11935.png)


