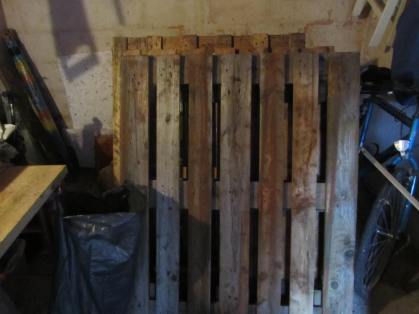
Take one pallet and dismantle with a crowbar, a lump hammer, some brute force, a bucket load of determination and a bag full of patience.
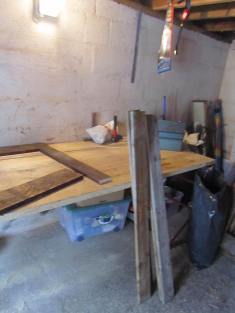
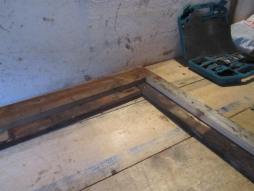
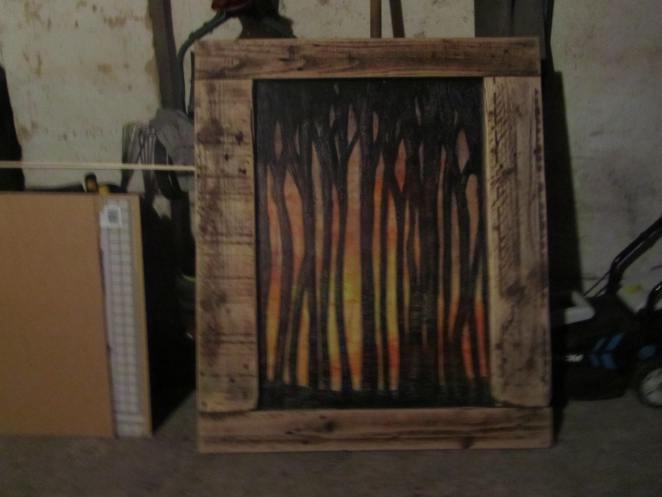
Cut panels to length to fit desired picture, remembering to make the view hole slightly smaller than the picture so that it sits inside. Set the panels in place on the work surface and ensure that the inner corners are square, as this is rough, secondhand and often damaged wood there is no point relying on the outer corners being square. Then fix in place with a second layer of panels on the underside and screw down.
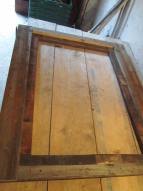
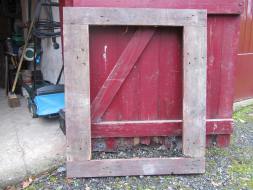
Sand outer face of the frame and the edges inside and out to required finish.
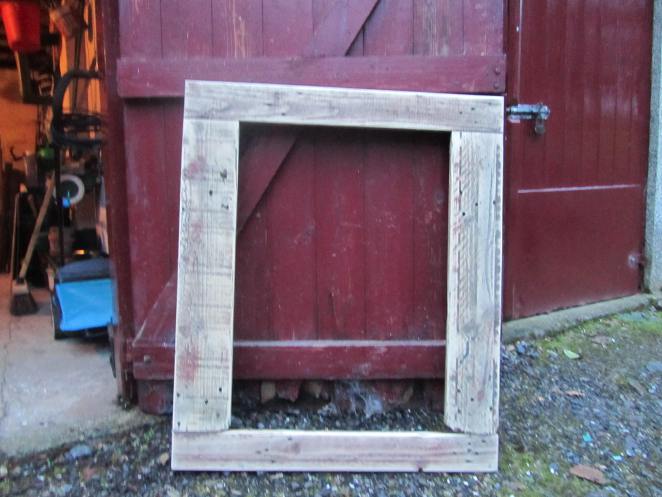
I chose to seal these frames with a beeswax and almond oil wood balm but they could be vanished, painted or left plain if preferred. Cut a sheet of clear perspex and hard board to fit. Then assemble and screw down through the layers of board, picture and perspex into the back of the frame.
Take a length of chain and screw into the side panels at the back a little way down from the top, equidistant and hang. I have hung mine from a picture rail so the chain is long and visible, if hanging from picture hooks it can hide neatly behind.
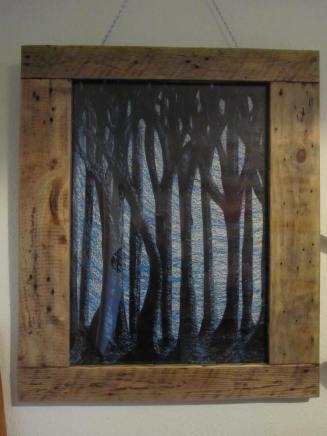
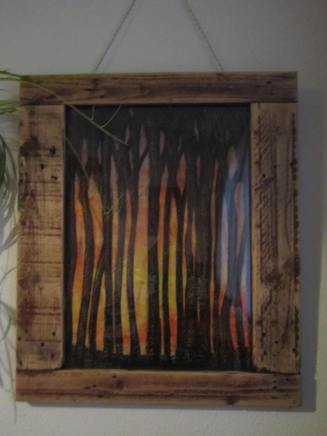
I can make these frames to order, so if you’re interested let me know. The corners can be mitred if you prefer.
Advertisements Share this:


