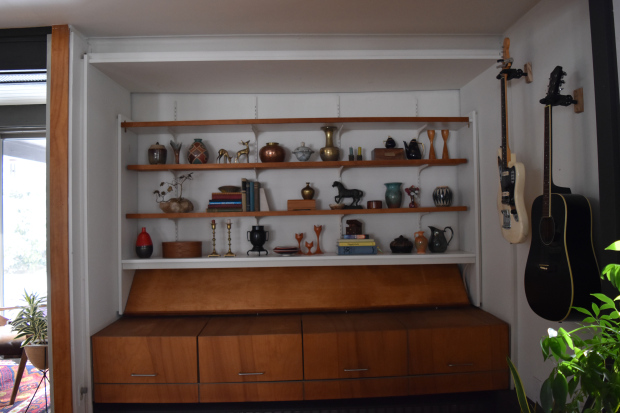
Our home has a lot of built-ins, so I get a lot of practice styling shelves. One of my favorite parts of January is starting with a clean slate after taking down all the holiday decor. We spent some time cleaning out and getting rid of a bunch of extra stuff this winter, so I decided it was time to re-style these shelves. I will show you some tips that you can use in your own home.
Step 1: Start with a clean slate. Take everything off and start fresh. I ended up using a lot of what was already here, but by starting fresh you will come up with new ideas. 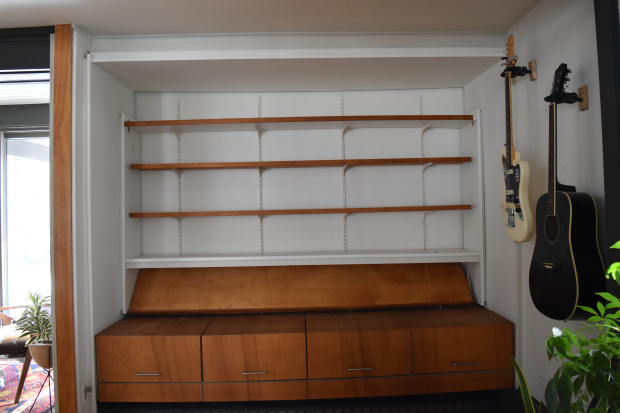
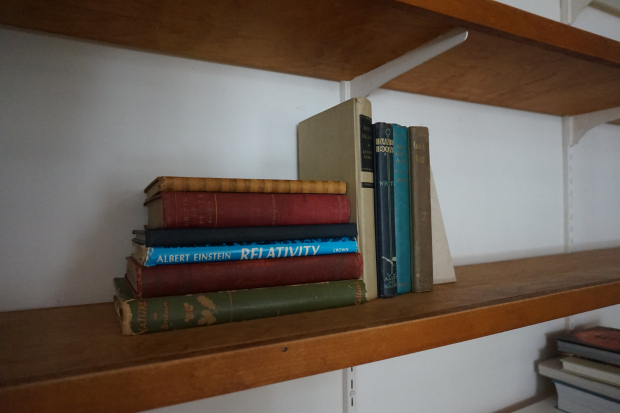
Step 2: Add stacks of books. Most of our books are on another set of shelves, so I just grabbed some of the prettier vintage ones for these shelves. You can stack them on top of each other, side by side, or a combo of both. I like to do both, because it adds interest and the stacked side works as a book end for the side by side end. This way you need less book ends! I have also seen books styled backwards, if you want to limit the color palette and just see the pages side. You can also style them by the color of the spine. Just note that both of these options are not at all functional. If you actually use these books, then the better way is to group them by subject matter. I once styled my shelves by color and finding the book I was looking for was not easy.
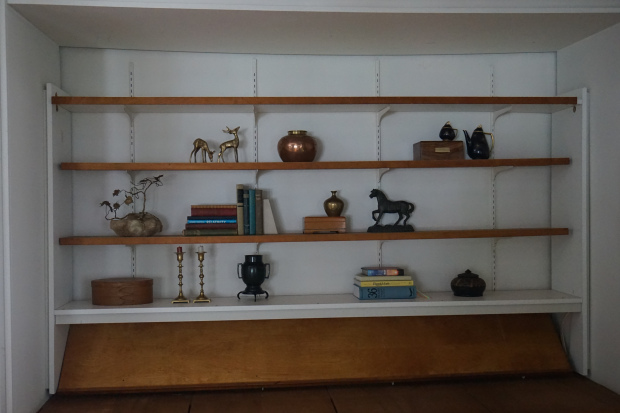
Step 3: Add your objects by adding similar ones at the same time. For instance I started by adding all of the wooden items. Think about balance, and move them around as you go.
Next I added the objects that have strong lines, like the metal horse, deer and tree. Then I filled in more with the brass vases. While adding your items, think about balance. You want to balance out the colors and shapes. You could also experiment with grouping colors (all brass on one shelf, books on another, etc…).
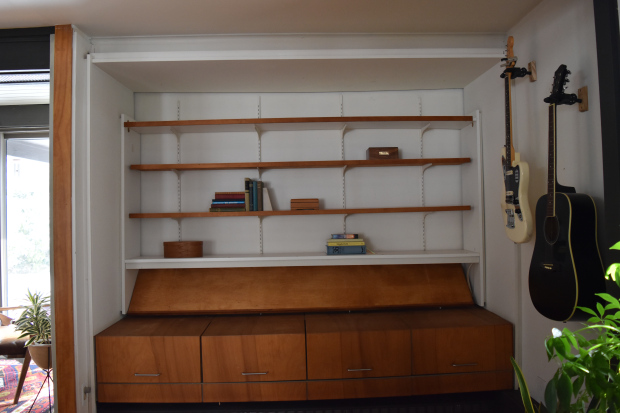
Keep adding items until it feels right. I kept the top shelf open, because nothing really fit well up there. Then I had an idea!
Step 4: Plants! I moved some of my plants to fill in the top shelf. I also added one to another shelf to balance it. Plants make everything better, so don’t be afraid to put them everywhere, even your shelves!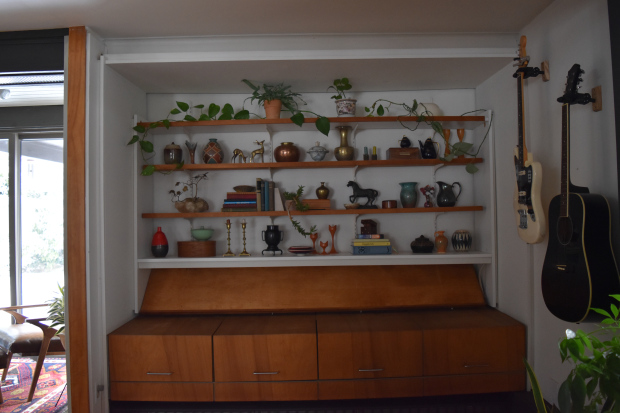
Here are my shelves from another angle. Don’t forget you can stack objects too. I added a small brass vase on top of a wooden box, and objects on top of some stacked books. Think about height on each shelf and white space around objects you want to highlight. For instance, the metal horse I love and wanted it to be a focal point. So I kept the object around it at a distance so that you can really see the shape of the horse against the white background. 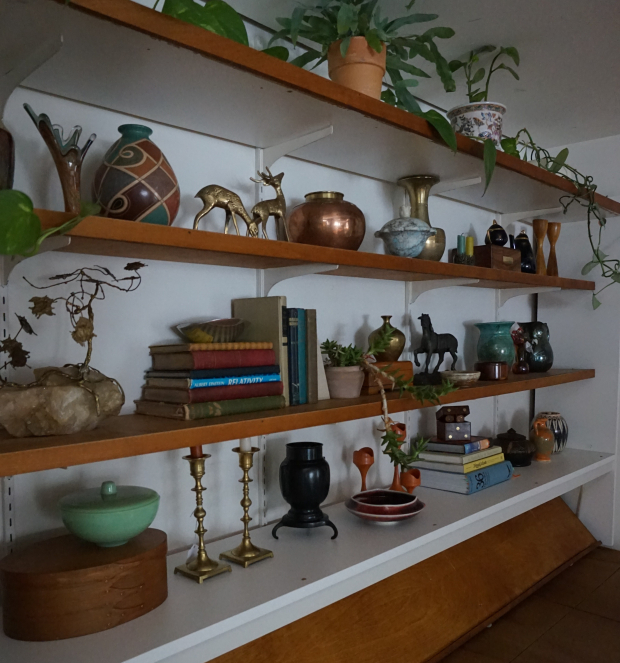
I hope this helped you have some confidence in styling your own shelves. Don’t forget that you can always change it up, move it around, have fun! After seeing these photos, I already see a few things I will move. Don’t be afraid of having to make everything perfect, just get started and enjoy the process. A few of these items on my shelves are actually available in my brand*eye home shop, so as they sell I get to continually restyle my shelves.
Some other options of things to add are photo frames, small paintings, fresh flowers in vases; the options are endless! What do you love to add to your shelves? And let me know if you use any of these tips.
Share this: