Hi Everyone!
I finally got around to cleaning up my makeup desk so that I could take pictures of it to show you. My room now looks like an IKEA catalog (Every large piece of furniture except my bed, a bookcase and chair is from IKEA).
↓
↓
Scroll to the bottom to see my new desk setup!
I have two desks in my room, the Micke Desk that I originally bought as my makeup desk is now my ‘office’ desk and I am using my old desk (tabletop and two legs plus drawer unit on one side) from school as my makeup desk. It’s also better that I use my old desk that’s already scratched up because I don’t have any glass to protect the tabletop and I would keep having to wipe the Micke desk to keep it pristine and white. My old tabletop already has scratches and marks. I originally got the Micke desk because it had the two drawers, but I needed more room and the Alex 5-drawer unit was on sale and, my dad made the mistake of asking me if I wanted it. Like any other makeup lover, I just had to have it for my makeup desk! I would’ve loved it even more if I could’ve gotten two (one for each side), but I can always buy it in the future.
 Linnmon Table top | White | $9.99
 Adils legs x 4 | Silver | $5 each ($20 total, but if you use the Alex drawer unit on one side, you only need two)
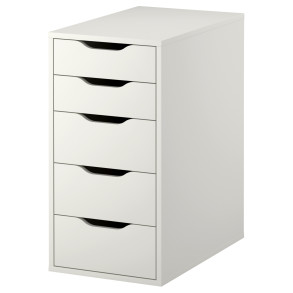 Alex Drawer unit (5 drawers) | White | $80 (it was on sale for $69)
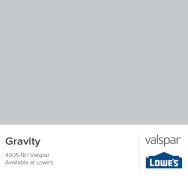 For my wall colour, I chose Valspar’s Gravity. My room has been a sky blue ever since I was a kid and it was time to choose a more sophisticated colour. I went with a light gray because my room has a regular-sized window that doesn’t let a lot of light in and I needed my room to be bright enough to do my makeup. If my window was bigger, I would’ve chosen a darker gray. In pictures, it doesn’t look like my wall colour has changed and to be honest, in person, it doesn’t look a whole lot different from the blue.
It took me a while to find a chair I liked. Some were too high and others too low for my desk. I considered benches, stools, and shorter bar stools. I finally settled on a metal-framed chair with armrests from Structube. Sometimes when I’m sitting, I’m only sitting on the ledge of the chair, I’m not fully sitting in it. Because of this, it sometimes makes a creaking noise when I move because my weight isn’t distributed evenly on the chair. I bought the white shag rug for the floor, but I like having it over my chair like a blanket, plus if I had put it on the floor, I think I would accidentally get makeup on it.
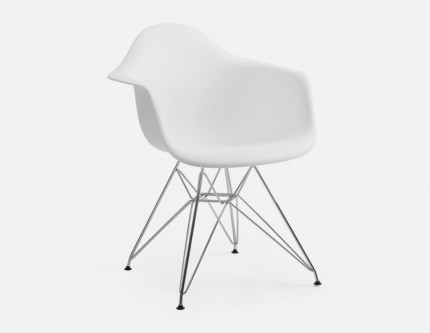 Eiffel Chair | White | $49
 Tejn Rug | $14.99
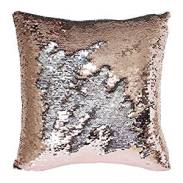 TRLYC Rose Gold and Silver Reversible Mermaid Sequin Pillow Case | $12.56 (I got mine for $11.99)
I’ve always loved mermaid sequined things; the ones where you can run your hand across it one way and it’s one colour and you go the opposite way and the sequins are a different colour on the underside. I got a custom-size version of a mermaid sequin pillow case (I had a 14×14 pillow, but they sell 16×16). If you want a custom one, you just need to contact the seller. The underside of the sequins aren’t silver, they’re white (in flash pictures or some angles, it appears silver, but they are definitely rose gold and white).
I specifically bought a tall bookcase to display my shoes. To put a spin on the regular shoe display, I added some foil art and clutches to add some colour and metallics since my shoes are mostly black or nude. I would’ve loved to get the Billy Bookcase, but I had to save money somewhere. The bookcase I bought was a deal at $29, but it comes with non-adjustable shelves and a backing that was folded into three so you can see the three lines (the display picture is misleading, it has a cardboard-like backing that was folded into three parts when I was taking it out of the box).
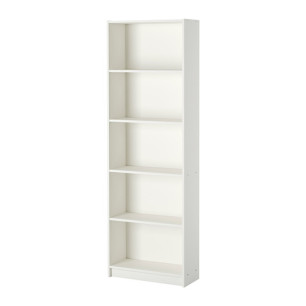 Gersby Bookcase | $29
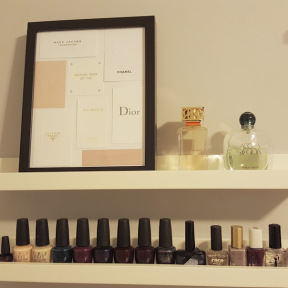
I bought Ribba picture ledges to display my nail polish. They no longer sell the Ribba ones, but they sell ones that are wider for the same price as I got mine ($9.99). I’m glad I was able to get the Ribba ones because the new ones are almost twice as wide and it would be a waste not to display a second row of nail polish bottles, but then it wouldn’t look as clean and organized unless you have a lot of the same brand of nail polish. I have a lot more nail polish than what I have on the shelves, but I displayed my OPIs because I have more of those and it gives it a more uniform look. I also decided to put my perfume on the top shelf instead of having two rows of nail polish and I added a framed piece of DIY art that I made from perfume sample cards.
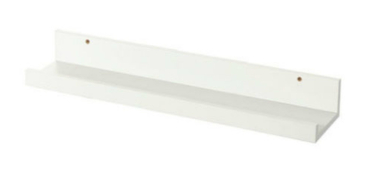 Mosslanda Picture ledge (55cm) | White | $9.99
I bought a countertop light for above my mirror. I attached it to an L-Shaped piece of wood that my dad made from two wood scraps. The light had several components to it:
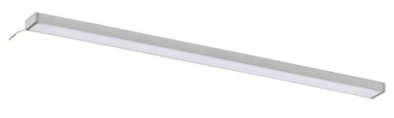 Omlopp LED countertop light 24″ | White | $42
Ansluta Power Supply Cord,| $5.99
Ansluta Electronic Transformer | $14
Ansluta Remote Control | $16.99 (optional)
The first three parts are required, you obviously need the light, but then you need the power cord and electronic transformer for the light to be plugged in. The remote control was extra, but I thought it was cool and also be more handy to turn the light on than having to find the cord every time I put my makeup on.
In the corner, between the wall and my desk, I have a utility cart (that I got for free from my sister- if I had bought one, I would’ve gotten white or something lighter) to hold the rest of my products: skincare, more nail polish, hair stuff. The Alex drawer holds my makeup and hair tools. I took off the wheels because with the wheels, it’s taller than my desk and I didn’t like that.
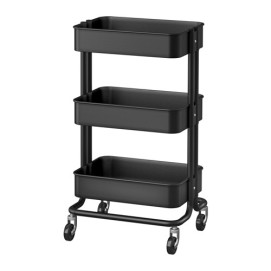 Raskog Utility cart | black | $34.99
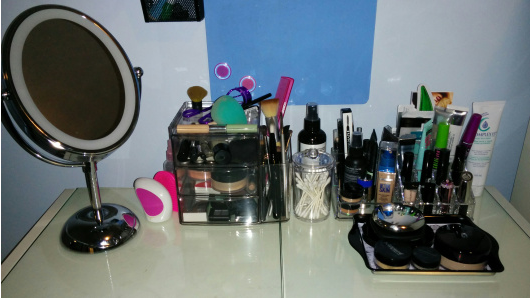
BEFORE
This was my original makeup setup (I don’t have any shots of it from afar). I had my makeup displayed on top of a bookcase where I sat on a stool. All I had for light was the mirror’s (my ceiling light was behind me so I would always be doing my makeup in dim lighting. My large mirror was on the adjacent wall.
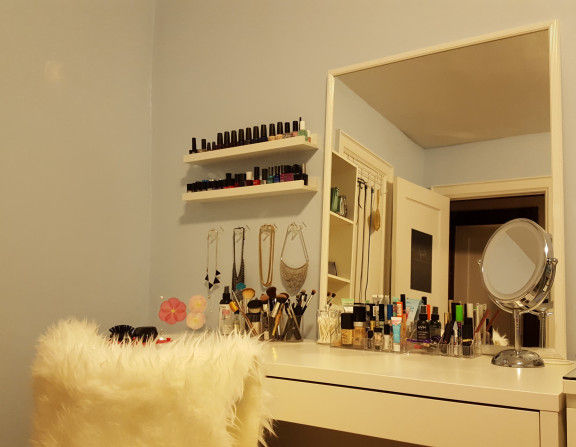
The next picture is a few months into redecorating. It was after I knew the general layout of how I wanted things, but before I got a new chair, switched my desks and added the light on top. I took away the necklace hooks and I might put them on the adjacent wall, I still haven’t decided yet.
AFTER
 If you’re wondering why my reflection isn’t visible, it’s because I’m kneeling down to take the picture…despite my sleeping habits, I’m not a vampire.

What does your dream makeup desk/vanity look like?
Love,

Facebook | Instagram | Bloglovin’ | Pinterest
Share this:

![Pageflex Persona [document: PRS0000030_00046]](/ai/048/230/48230.jpg)