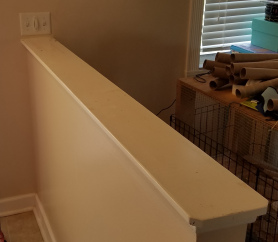
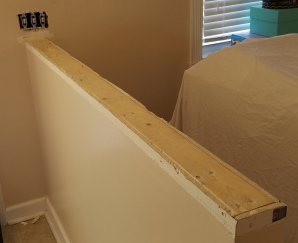
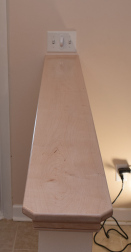
There is a half wall in the foyer that was topped with a dark stained bit of pine. I sanded it and panted it white to match the rest of the trim when I renovated that part of the house. It sees enough use that interior house paint didn’t last long before scratches and stains got to it. I wanted to install counter top material when the kitchen got re-done, but there was not enough quartz left over.


After nearly a year of the kitchen being finished I decided to tackle this project. Instead of quartz countertop I went with maple. I started by removing the old top and trim and cleaning up any issues around with the wall paint.
This job called for a 7.5 inch wide board that was 6 feet long. The length wasn’t an issue but that width left me with few options at the yard. This one is gorgeous with a lot of cathedral, some tiger striping and other character. That makes planing it really tough. After getting a lot of tear out in places I fell back to sanding. It took forever, but I got the top very smooth.

I needed trim for under this part and under a window between the dining room and kitchen. I got a nice beading bit and went to town. Thankfully before doing everything I experimented. Having the bit start with just a little nick, then going for full depth on a second pass produced a lot less tear outs at the sharp corner. Notice how crisp the line is in the top example, while the bottom one is jagged.

With all the stock prepared I moved on to finishing. I wanted to use a water based urethane from General Finishes. It has sprayed well in the past and doesn’t yellow the maple, so it should match the kitchen cabinets. The trick is we were due for days of cold, wind, and rain. I moved everything inside and tried to pad the finish on.

Having finished many pieces with oil based wipe on polyurethane, I can say that this stuff is no substitute. It isn’t thin enough, but then dries too quickly and leave streaks. I eventually switched to applying it with a foam brush. That worked out the best overall, but still left a lot to be desired.
The two trim parts that go under the kitchen window had interference issues. They used a lot of calking to hold down the quartz, and left a fillet underneath. Instead of trying to cut it all out, I rather relived the back hidden edge with a chamfer bit. The finish was indeed a good match with the cabinets.


After that success I installed the half wall and its trim. Once again drywall’s tendency to be out of square made the miter joints a little off. I fall for that every time. They still look really good unless you get up close. I used a combination of loctite power grab (fantastic stuff for installing molding), and my pin nailer to fix everything. Pin nailers are perfect for these kinds of installations.

 Share this:


