In my quest to find the best water balloon possible I have been making TONS of balloons! My other water balloon – (Splish Splash Water Balloon) have tighter stitches which absorb more water, and have a bigger splatter effect.
These were a HUGE hit at our family’s 4th of July cook-out! Kids and adults all had a blast!
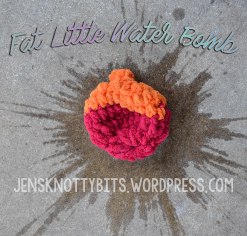


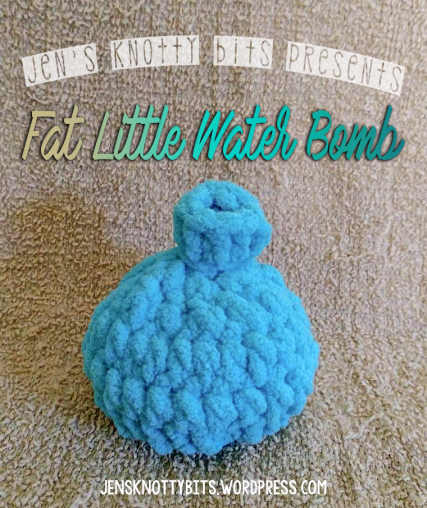
The nice part about this Fat Little Water Bomb is that it’s rounded shape, and short stature make it fit right in the palm of your hand! The dense stitching make it super absorbent, super squishy, and so much fun to play with.
So, without further ado I present the pattern to you!
6 mm Crochet Hook
Bernat Blanket Yarn
(I used the colorway: Rainbow Glow)
Scissors
Yarn Needle
Terms Used:
dc – double crochet
hdc – half double crochet
hdc2tog – half double crochet two together
dc2tog – double crochet two together
slst – slip stitch
ch – chain
Link to download a PDF of this pattern: Fat Little Water Bomb
**This Pattern is written in standard US terms.**Please feel free to make, share, and sell as many as you would like! I only ask that you not copy, alter, or sell this pattern as your own.
**Always link back to the original author!
Pattern:
Each one takes me between 10 and 15 minutes to make!
You can go up in hook size, but there will be more gaps, and a less dense balloon.
*NOTE* ch2 and ch3 at beginning of rounds DO NOT COUNT.
R1: Ch3, and dc 12 times in to the third chain from the hook. (12dc)
R2: Ch3, 2dc in same stitch. 2 dc in each stitch around. Slst in to first dc. (24 dc)
R3 & R4: Ch2, 1 hdc in to same stitch. 1 hdc in each stitch around. Slst in to first hdc. (24 hdc)
R5: Ch3, dc2tog around. Slst in to first dc. (12 dc)
R6: Ch2, hdc2tog around. Slst in to first hdc (6 hdc)
R7: Ch3, 1 dc in each stitch around. Slst in to first dc. Tie off and leave a small tail. Using your yarn needle feed the tail down in to the center of the balloon to hide.
Finishing:Cut an 8 inch long piece of yarn. Wrap around the neck of your balloon, tie a knot. Wrap to the other side and knot again, Repeat wrapping and knotting one more time, adding one extra knot. Using your needle feed the two ends in to your balloon center to hide.
All done!
I really hope you all love this pattern, and upload your projects to Ravelry!
Advertisements Share this: