So you’re ready to start a ragged edge quilt!
This quilt has to be one of my all time favourites. It’s cute, soft and snuggly and so easy to whip up for a new baby or baby shower. Plus, who doesn’t love homemade gifts, am I right?
So where do you start?
Things you will need:
- 5 different flannels – 1/2 yd of each
- 1.5 yd of Minky
- Thread
This quilt is designed to make a 41 x 41″ (or 8×8 block) baby quilt. You can certainly alter the size to what works best for you.
Tools you will need:
- Cutting mat
- Rotary cutter
- Cutting ruler
- Scissors
Tip: Be sure to pre-wash and tumble dry your flannel. Cotton flannel will shrink and the the last thing you want to happen is for your fabrics to shrink later while in the quilt (trust me).
Cutting your flannel squares
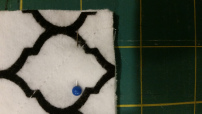
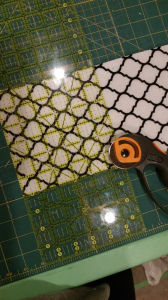 Using your ruler and rotary cutter, cut your flannel prints into 6×6″ squares – that is 12 of each colour/pattern. (You will end up with a spare).
Cut your minky into 6×6″ squares – you will need 64
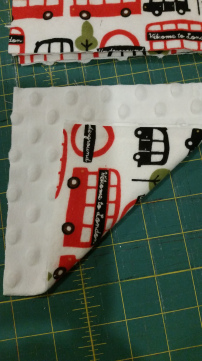
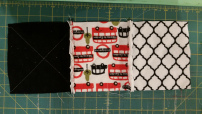
Match your flannel squares with your minky squares – wrong sides together
Sew across the squares diagonally from corner to corner to create a giant sewn X across the square. This will keep the fabric from moving, lifting or stretching once in the quilt.
Once all of your squares are sewn, square them – make sure the edges are even. I run over the edges of the squares with my ruler and rotary cutter quickly just to trim any excess.
Layout your squares in the order or pattern that you like them. Take a picture with your phone – this is so if you need to remember your pattern, you have a reference.
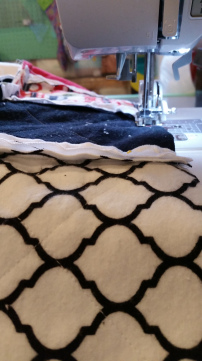
Sew your squares together, wrong sides together, using a 1/2″ seam allowance. This will give you adequate seams for snipping and fraying.
I like to sew my squares in rows and then sew the rows together.
Square your quilt (make sure all of your edges are straight & equal lengths).
Use your 1/2″ seam allowance to sew the edges of your quilt.
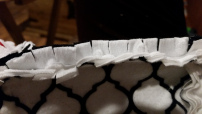
Get snipping! I use spring loaded scissors for ease but normal scissors work fine too. Snip your seams every 1/4 – 1/2″, just make sure not to cut your seam!
Wash & Dry: Send your newly finished quilt through a spin cycle and a through tumble dry. This is what is going to give you the ragged edge look. You may need to send it through a few tumble cycles depending on your preference of raggedness. Just be sure to continually clean the lint-trap, this quilt will fill it up quickly.
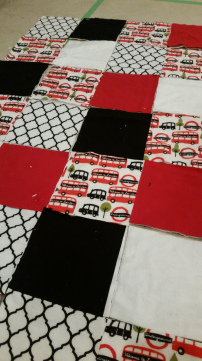
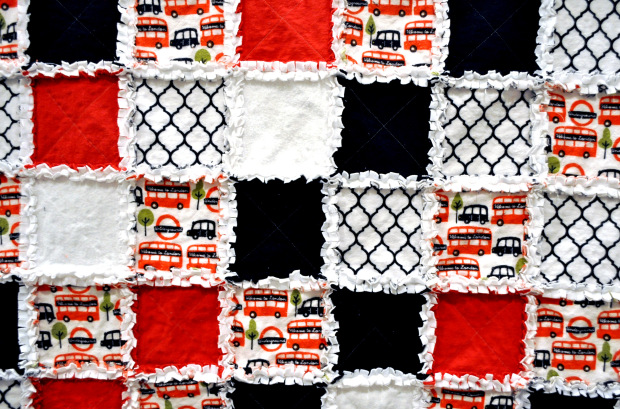
And there you have it! Your very own handmade ragged edge quilt! If it’s not perfect, don’t worry – none of them are the first time, but you made it and that’s the best part. No quitting, just quilting.
 Using your ruler and rotary cutter, cut your flannel prints into 6×6″ squares – that is 12 of each colour/pattern. (You will end up with a spare).


