Happy Independence Day!
Today’s holiday falls on a Tuesday, and that means, like some of us, I had the opportunity for an entire Monday’s worth of, ‘What to do?’ since my schedule permitted that day off.
I’d already physically exerted myself hiking in Yosemite over the course of a day, but that’s another entry.
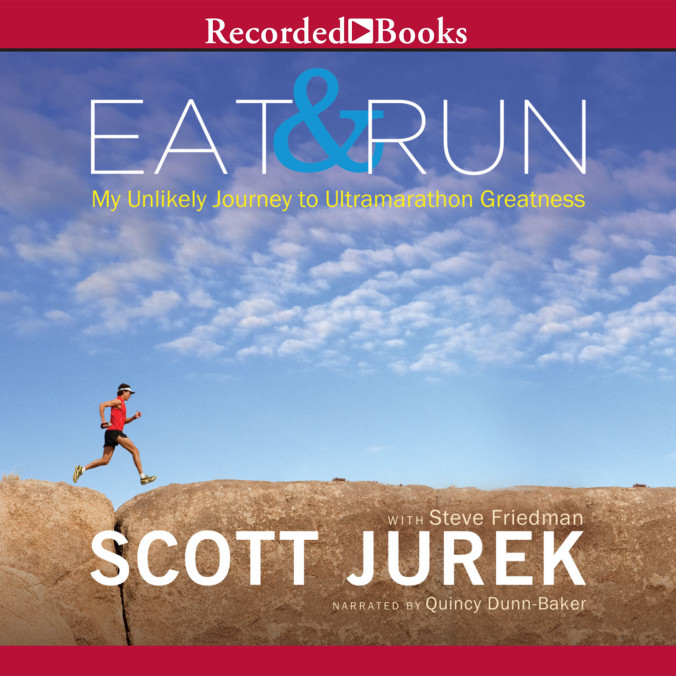
But during our stay, we kept company with the audiobook Eat & Run by ultra running legend Scott Jurek.
The “eat” part of that title? All the legumes, pilaf, raw avocado tacos, and heaping kale salads you might not know you really want.
And though he never mentioned juicing, he did get into the paragon of this whole healthy eating business: getting rid of toxins.
How do you do that? Well, blog science says, juicing.
I’ll be honest. I don’t really buy the whole certain things flush toxins business. I think your body is fairly capable of doing the work that a proposed pinch of turmeric is supposed to. (Ultimately, it doesn’t matter what I buy, since, not a nutritionist, here. But that’s just to say I keep a health dose of skepticism in my back pocket.) What I DO buy is that a positive mindset is transformative, and that being mindful of your intake and lifestyle can help you cultivate a happy you. (And I do think certain foods are more conducive to energizing you than others.)
That said, this past year has been a ‘journey’ (top word tainted by lifestyle influencers) back to a more healthful ‘this person’. I started with exercise, of which I now do about three miles per day in running and then other strength work. Now, it was time to give my diet some attention. Jurek’s inspiration pushed me to finally get to it. I’d start with this juicing thing, because basically, it seemed kinda fun.
I had been toying with diving back into juicing for a long while now. I’d lived with people who allowed me to use their juicers, and had juiced carrots until I developed a lovely beta carotene hue (another day). But, after knowing what it entailed, I never felt like it was worth the time or finances to finally strike out on my own. First, there’s the gear. Which one’s good for the money? Will I even use it daily? Will it just end up sitting there? Then, you have to spend on your vegetables knowing that most of the fiber goes to compost. Is juicing totally wasteful? This article thinks so.
And there’s the cleanup. You’ve finally made it to step three, and then you have to do more work, all, again, to just dump most of it in your garden.
I decided, the best way to do this was low maintenance. I’d ease into this potential juicing habit. I’d go lower grade. And, *gasp*. I wouldn’t dive into the billion-dollar organic industry. (If your goal is to avoid pesticides, you should probably just start a garden.)
So Monday, I woke up, and went out in the world to find my perfect juicer (AKA the cheapest thing that works good.) Follow along as I guide you through,
~My Juicing Journey~Step one: Choose your juicer.
The best way to choose your juicer is not the way I did it. I was running on the whimsy of idealism and audiobook brainwashing, and kind of just went out on my search. You’ll probably want to do some googling, and some redditing, and some Facebook-statusing, and finally come to the conclusion that you should get the Breville.
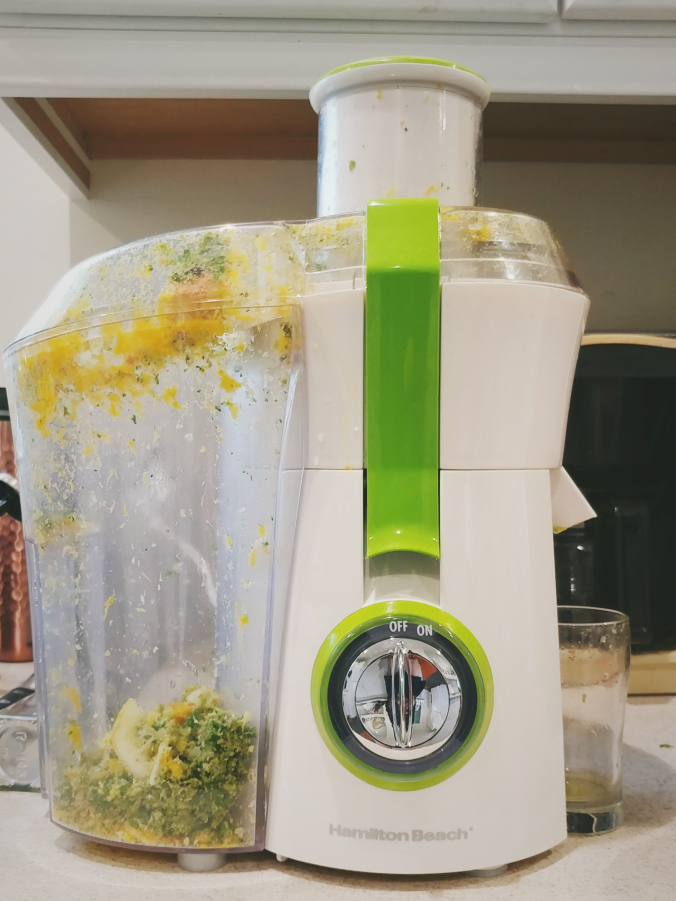
Why didn’t I get the Breville? Well, as I was perusing the $150 price tag at Bed Bath while clutching my 20% off coupon, I wondered if I could do better, since I wasn’t a Fat, Sick, and Nearly Dead-person (those signs were all over every juicer aka. JUICING WILL SAVE YOUR LIFE AKA.). So I wandered over to the Target next door, and found their selection of budget goods, including their Hamilton Beach $60 juicer. (It’s on Amazon for $50.)
Since Target wants to monitor your digital footprint and blocks your data service, I connected to their WiFi and let them watch as I googled “Breville v. Hamilton Beach.”
I found this lady.
The kicker was when she had to re-juice the kale using the Breville. My conclusion or thing I found myself asking, was, so basically, kale is harder to juice in Centrifugal Juicers? (I also found out there are several types of juicers in my impromptu web-browsing.)
I went with the Hamilton Beach Big Mouth Juice Extracter, knowing it was more plastic-er, but knowing it was just as loud, and squeezed just as much of that green kale juice out.
Pro-er tip: Get plastic bags to put in the pulp disposal bucket to make cleanup easier.
Step two: Choose your storage containers.
Storage containers, whaaat?
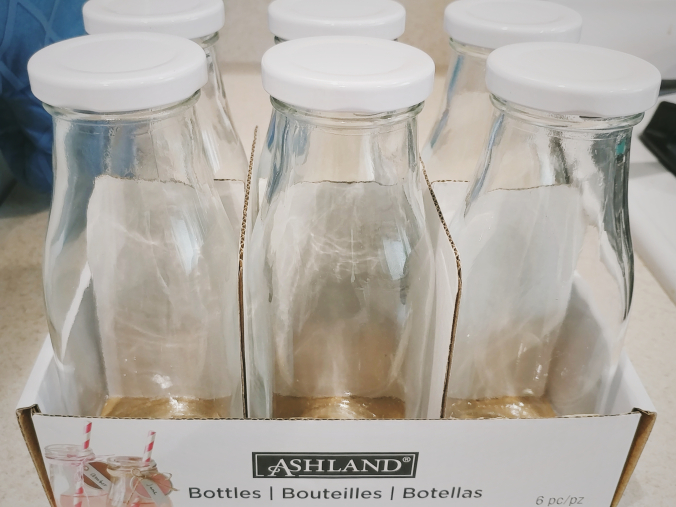
I decided, if I was going to go to the trouble of juicing and cleaning, I’d have to make more of the stuff at once. So I pulled out my trusty phone again, and found the above milk bottles at Michaels. I took a stroll over there, and also found out they had a 40% Fourth of July coupon online.
I walked out of there with a half-dozen bottles for $6.50.
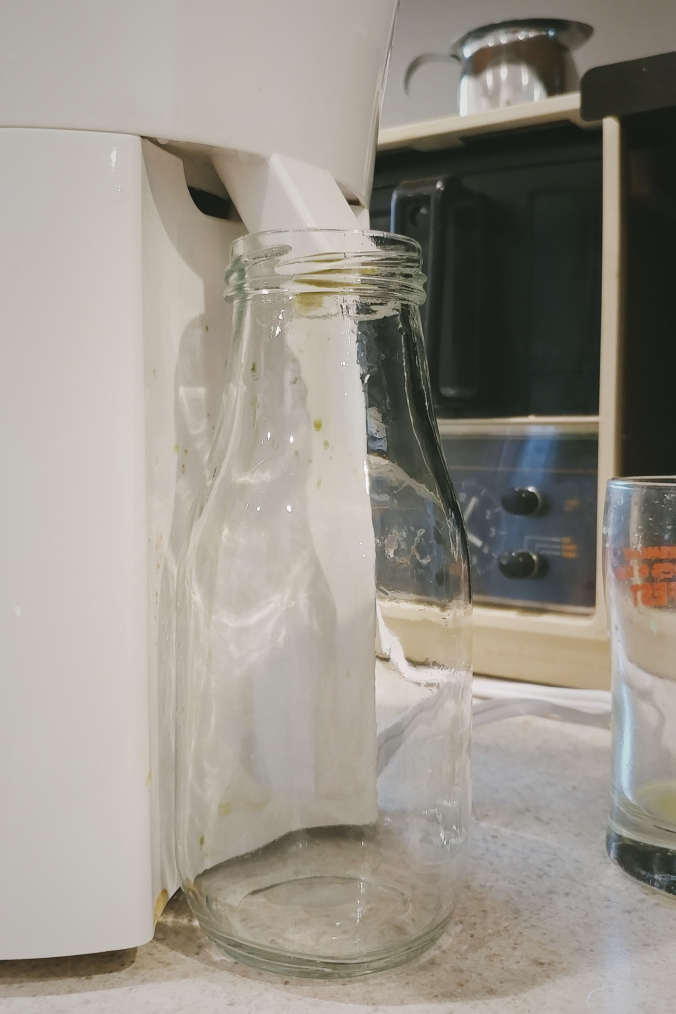
FYI they fit just about perfectly under the spout. You’ll have to tilt the bottle a bit to fit it under, but since the bottle also goes over the spout a bit, that helps to cover any juice that might spray, since it will hit the neck of the bottle instead.
I may upgrade to something like these, but then I would have to use a separate catch for the juice because they’re taller. The milk bottles I got also look easier to clean.
Step three: Profit.

I’m sort of skipping the shopping for the fruits and veggies bit, since I didn’t really have a clear plan here. I’d juiced before and knew that you could combine certain things and they would taste good. So my last stop before I headed home to experiment was Trader Joe’s. Still on my whimsy kick, I picked up a bag of apples, a bag of oranges, mint, ginger, a few lemons, celery, kale, carrots, and some other things.
And then I got home and got to work. I opened my juicer, cleaned it, and cleaned my fruits and vegetables, and my six bottles.
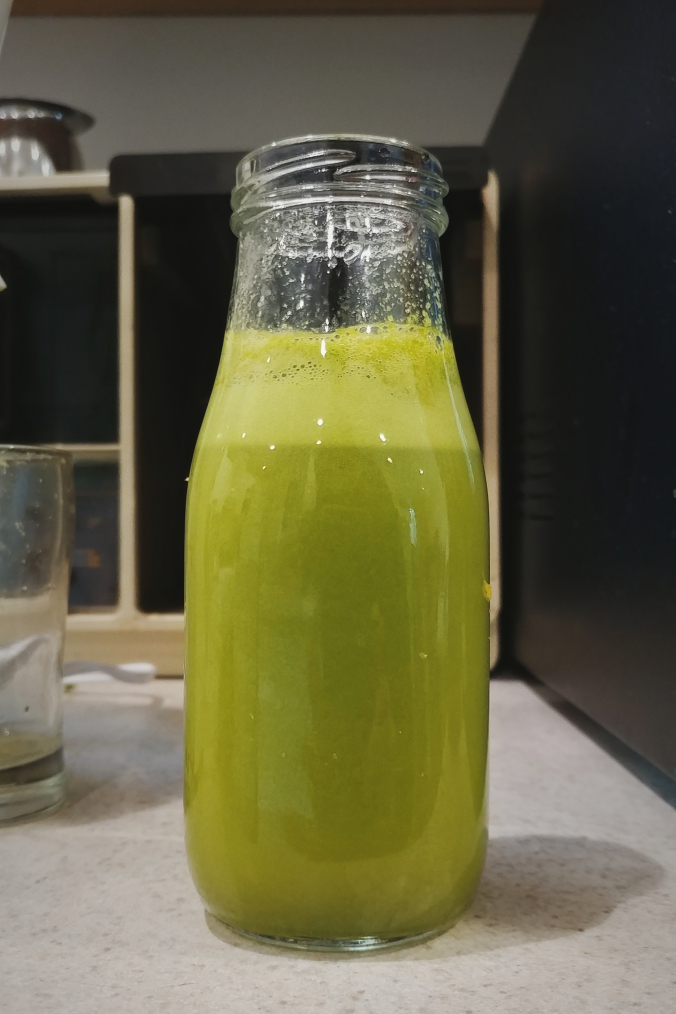
I tested it on an orange, and it tasted pretty fine. Then I made something with apple, kale, lemon, and ginger, and that tasted good, too, if not a little sweet, so I’d go with that for my bottled fare. I only had four apples left, though, so I’d have to make an orange concoction out for the other two bottles.
Here are the two recipes I decided on.
1. Apple Ginger Lemon Kale
Ingredients
- One apple, quartered
- Three handfuls of kale (that’s about how much I used)
- One thin slice of ginger (one of those slices above)
- One thin slice of lemon (same, one of those slices above)
Directions
Yield: about half a bottle of juice.
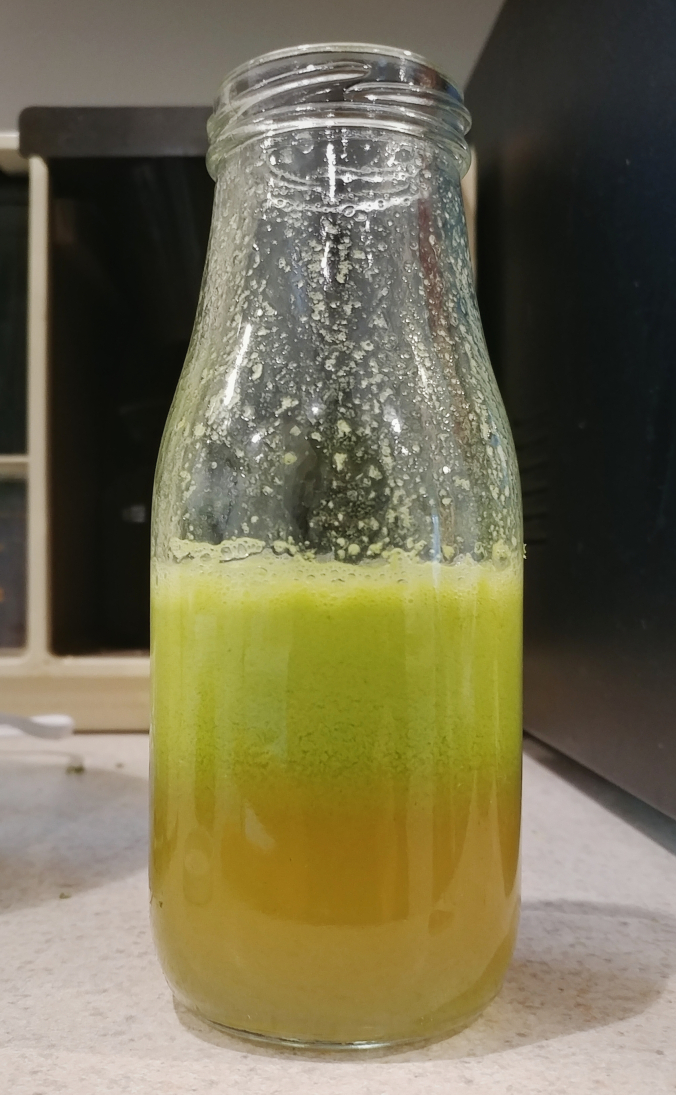
As you can see, it’s pretty frothy at the top. You’ll have to shake before you drink.
You can double the recipe for a more potent serving, but since I had already tried it and the sweetness lingered pretty long, I decided to top my juice off with filtered water.
You can see that it still looks pretty full and green. But like I said, if you prefer that potent shot, leave as is, or double your recipe.
2. Orange Carrot Ginger Lemon Kale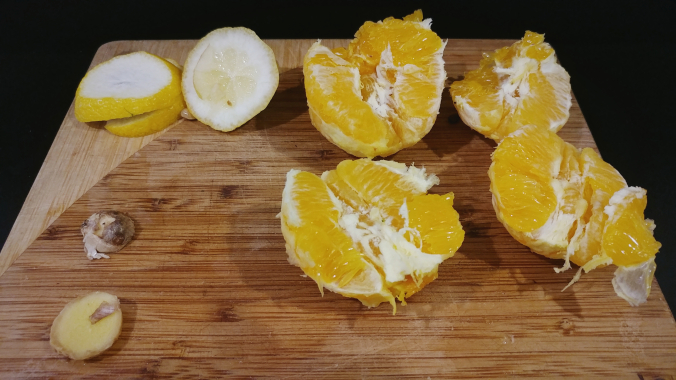
As you can see, I’m a great peeler. The kale and carrots are missing from this photo, and the lemon slices were waning.
Ingredients
- Two small navel oranges, peeled and halved
- Several handfuls of kale (I’m not sure how much I used here)
- Five baby carrots
- One thin slice of ginger (one of those slices above)
- One thin slice of lemon (same, one of those slices above)
Directions
Yield: a little over a half a bottle of juice.
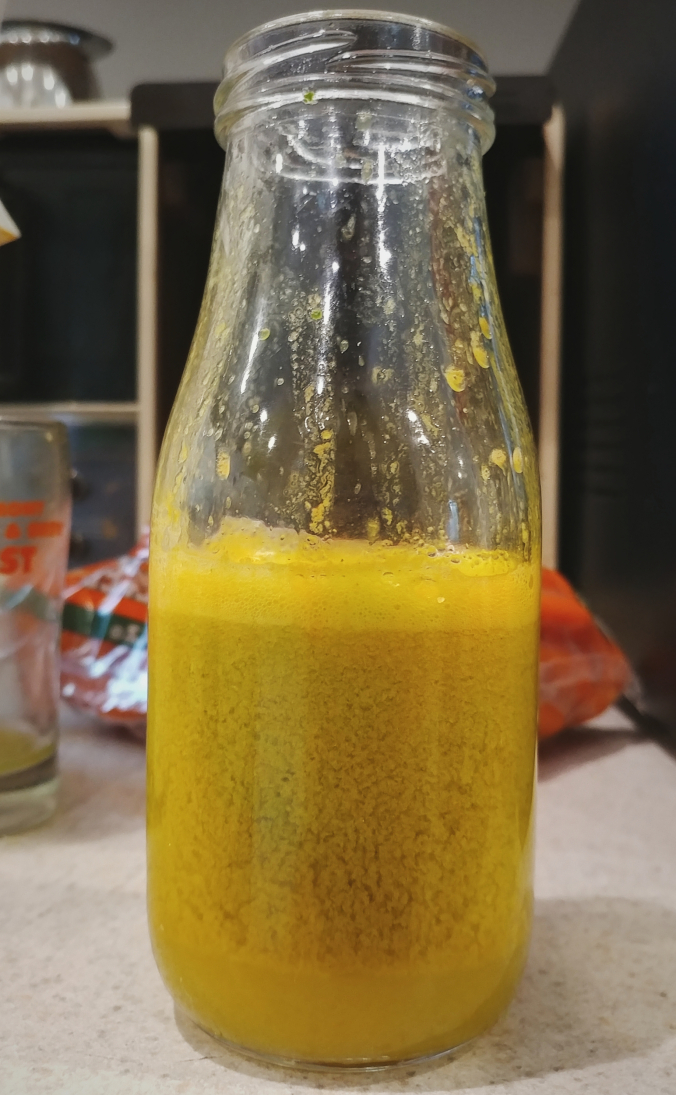
If you want to fill the whole bottle, you’ll probably add another orange, more carrots, more kale.
I decided to do the same thing as the apple concoction and top it off with filtered water.
Ultimately, as I mentioned, I made four bottles with the apple-based juice, and two bottles with the orange-based juice.
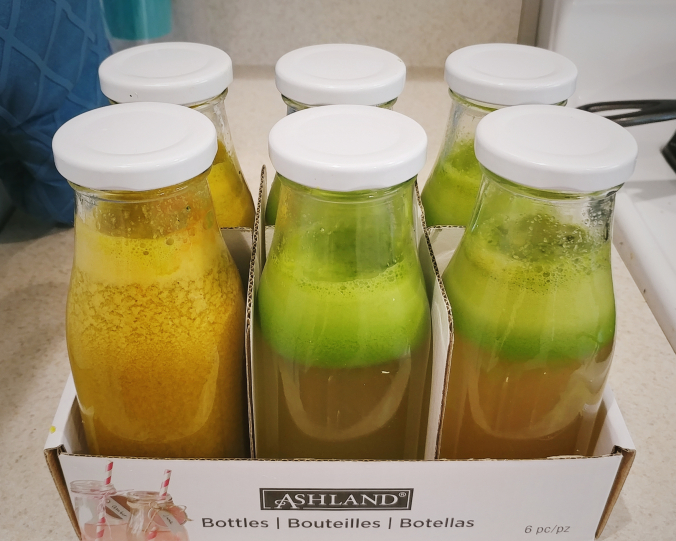
And since they looked a little plain, I used all my crafting skills to add some poorly-written labels and a pretty dumb name. Handwriting is not my strong suit, k. But let’s pretend that adds an air of ‘handcrafted authenticity.’

I also cleaned my juicer right away, which was super covered in fruit and vegetable clippings in and out. Cleaning right away is recommended so the pulp doesn’t dry, making it harder to scrape and clean. It probably took me about ten minutes to scrub everything down, mostly because of that little strainer inside. Luckily the juicer comes with a scrubbing brush, which was helpful.
And there you have it. That’s the story of juicing.
Now that you’ve joined me on my juicing journey~ you’re ready to strike out all on your own. Remember to wash your vegetables. And your hands. And peel the oranges.
Now, go. Juice. Be so glowy.
P.S. I put the pulp in tupperware and saved it in the fridge. There was a lot. I’ll either try to look up recipes, or throw it in my backyard, I guess. We shall see.
Advertisements Share this: