I’ve made Diane Duane’s “Mycroft’s Delight” a couple of times in the past (I wrote it up back in January, 2016) but there were some changes I wanted to make — in particular, getting rid of the tropical-oil-laden Nutella used to make one of the three frostings — and I thought it might be more interesting as a four-layer cake. I also wanted to try a white chocolate mirror glaze in place of the white-chocolate cream-cheese frosting. So a couple of months ago I sat down and typed out a recipe that reflected the changes I wanted to make:
- In place of the Nutella-flavored “American buttercream” frosting, I would use Joanne Chang’s recipe for a milk-chocolate Swiss meringue buttercream, but substitute Valrhona Noisette gianduja for the milk chocolate.
- I would double the cake recipe, bake it in two nine-inch round cake pans, and then torte the two rounds to make a four-layer cake.
- I would find a vegetarian/kosher (non-gelatin) white chocolate mirror glaze recipe and use that instead of the cream-cheese frosting.
The result, as I wrote it, is available as a plain text file for easy printing. I’m only going to hit the highlights in this post, and note some issues for next time. (I had to buy another bottle of Courvoisier, so there has to be a Next Time!)
The great thing about meringue buttercreams, unlike the “American” variety, is that they can be made ahead of time and refrigerated or even frozen until you need them. This reduces the pressure on the cook (or the cook’s helpers) to clean cooking utensils fast enough to be ready when needed — a boon when you have no helpers to do your washing-up for you. The difference between a Swiss meringue and an Italian meringue is how they are cooked: the Swiss meringue is pasteurized in a double boiler before whipping, whereas in an Italian meringue the egg foam is made and then cooked with boiling sugar syrup while being constantly whipped. Bakers have their own preferences, but since I already had a recipe for a Swiss meringue buttercream that was designed to take 12 ounces of milk chocolate, adapting it for gianduja didn’t seem like much of a stretch.
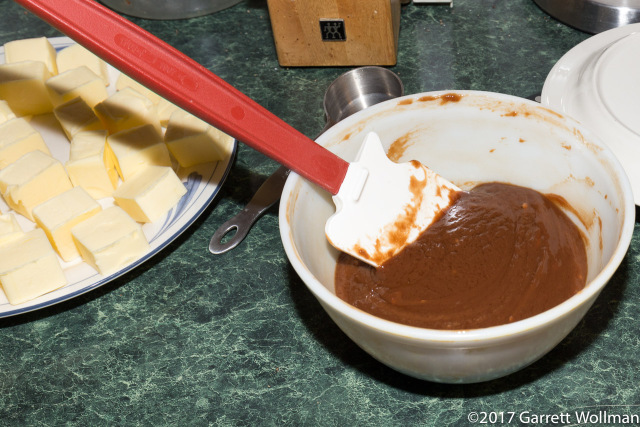
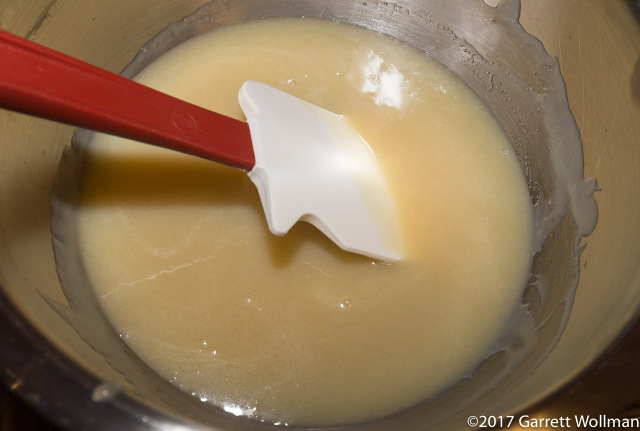
Valrhona Noisette comes in two varieties: a very-low-cacao “lait” and a higher-cacao “noir”. I used the “lait” variety, but in a repeat I’d probably try the “noir” for better color and more chocolate flavor. Note also that Valrhona Noisette is a commercial-bakery product that comes without nutrition data and is only available in very large quantities (minimum 6 kg direct from Valrhona, in 1 kg blocks from a reseller). However, you probably won’t have any trouble eating whatever is left over. In the photo above, I’ve cut the butter up into chunks (it will soften faster that way) and made a ganache from the gianduja, following the original recipe by Joanne Chang.
Here the Swiss meringue is being whipped. It’s very light, but needs to continue to whip until it reaches room temperature — otherwise the butter will melt and “break” when added, making a mess that will take much longer to whip into proper frosting.
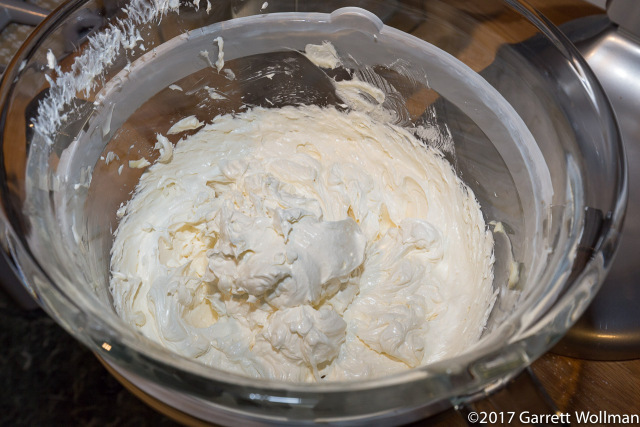
This is what the meringue buttercream looks like after all the butter has been beaten in. In place of Chang’s vanilla extract, I added some Courvoisier to tie the flavor of the frosting to the rest of the cake (Duane’s original Nutella-flavored frosting also had cognac).

After stirring in the gianduja ganache and adding a bit of cocoa powder to give it a better chocolate color, the buttercream is done. At this point, I put it in a tightly wrapped bowl and left it in the refrigerator overnight.
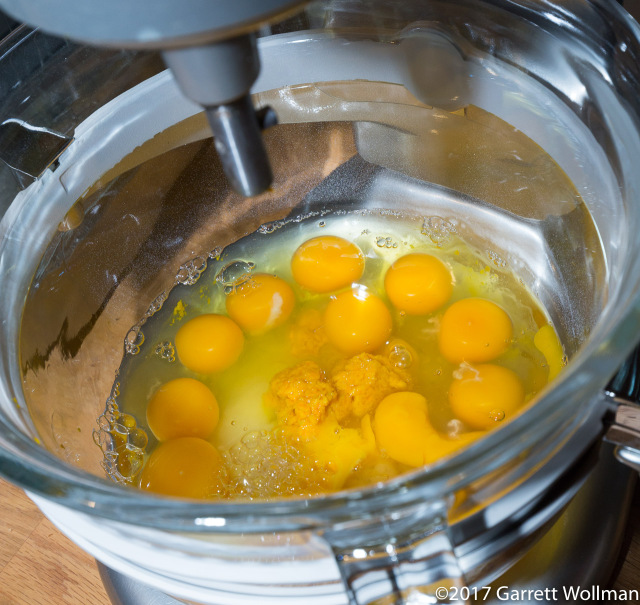
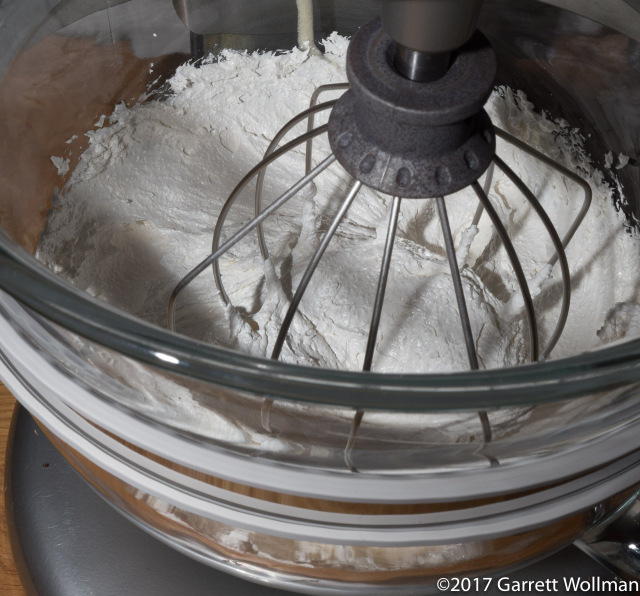
Now we start making the cake itself, which is a genoise. Since this is a double recipe, Duane’s original six extra-large eggs become a dozen (and of course all the other ingredient quantities are also doubled).
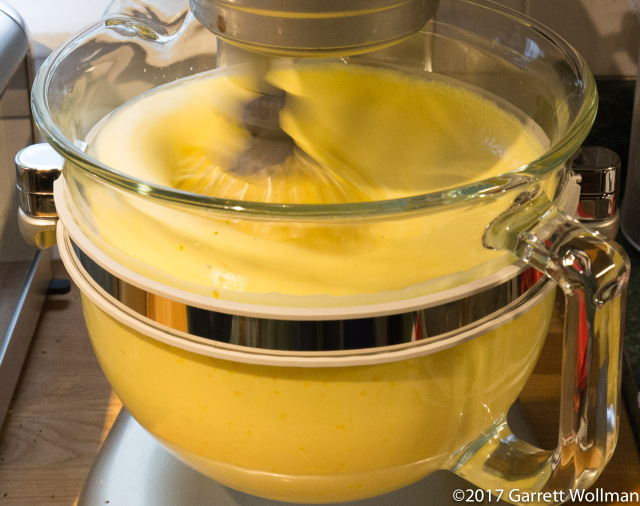
You’d better have a large stand mixer to make a 12-egg genoise!

Pan prep: rather than the usual baking spray, I mixed together flour and black cocoa to coat the buttered nine-inch cake pans. Behind the pans you can see the gianduja buttercream softening on the counter; it takes several hours to get back to a uniform consistency (during which time I ate far too much of it directly from the bowl!) after which it needs to be whipped again in the mixer before spreading.
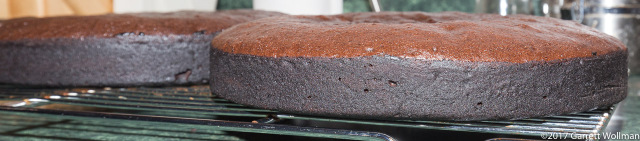
The cakes came out just fine (see recipe for timing) but were unfortunately rather domed, despite the use of cake strips. I’ll have to research solutions for cake doming (probably time/temperature adjustments) for next time — and also be prepared to just level the cake, which I didn’t do this time but would have improved things.

After splitting the layers and painting with the cognac soaking syrup, the cakes still look pretty good. On later inspection, it turned out that the soaking syrup only soaked in a few millimeters, so I probably should have kept the business about poking holes with a skewer. Another “next time” thing.
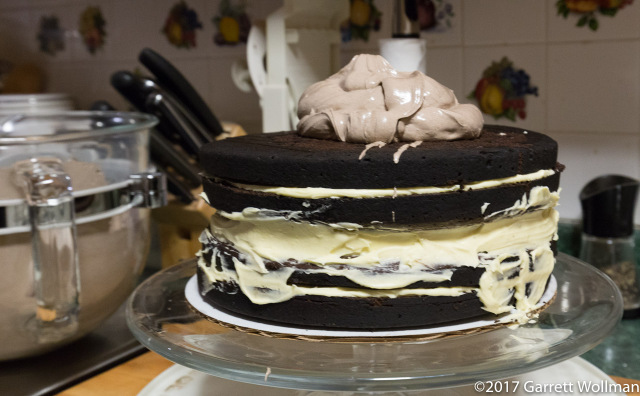
Cake assembly time. You can see how putting the two domes top-to-bottom was not the best idea. The filling here is the same as in Duane’s recipe, and (unlike the cake and soaking syrup) is not doubled, since the filling isn’t used for anything else. If I had cut the domes off, the final cake would have been a little shorter, yes, but the filling would have been much more evenly distributed.
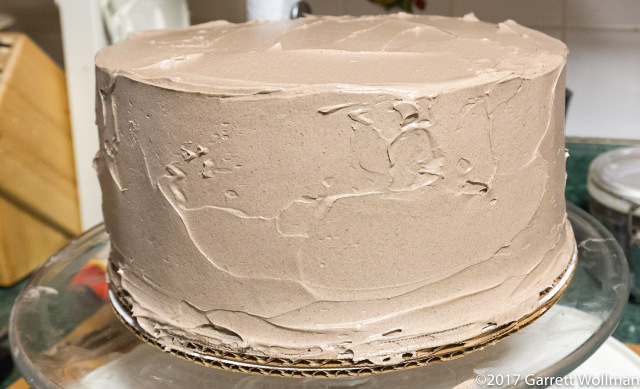
The frosting was great. I, however, am not very good at making frosted cakes pretty. Perhaps a proper cake stand should be next on my list. (I have a cake comb, but I never remember to use it, and I’m not sure how much it would have helped this cake anyway.)
The final step, while the frosting was setting up in the refrigerator, was to make a white-chocolate mirror glaze. This one did not turn out a very nice color; I added some yellow food coloring to at least make it look as it if was supposed to be that color. (Next time: use more-refined sugar and go for the standard gelatin-based formula for this glaze rather than the vegetarian agar version.) This is another aspect of the recipe where I’m totally out at sea as far as nutrition goes, as I don’t know how much of the agar actually ended up in the glaze after straining.
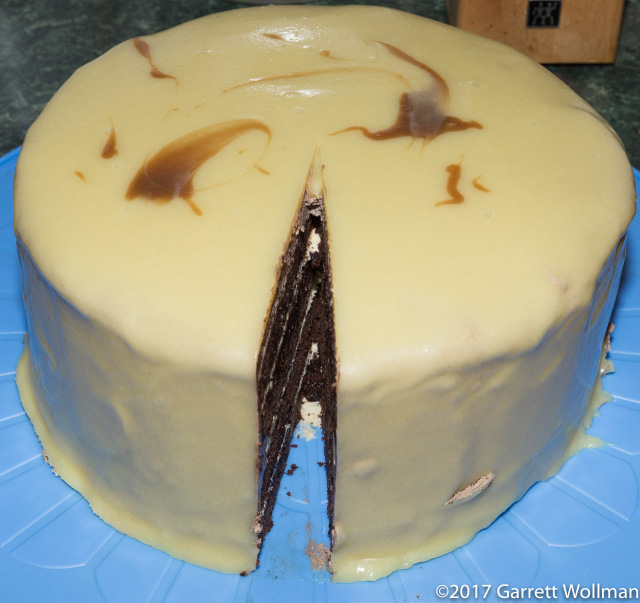
The glaze really magnifies the defects in the frosting layer. You can see that I also allowed far too much of the glaze to pool on top of the cake, rather than pouring it off — this glaze is supposed to be not more than a couple of millimeters thick, and it’s not especially appetizing on its own.
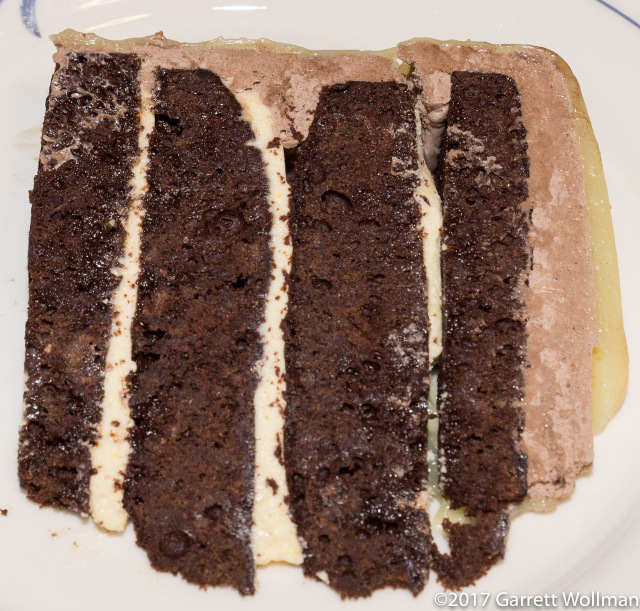
In this cross-section, you can see how uneven the cake layers actually were. Perhaps I should get a proper torting tool before I try this again.
Sorry, no nutrition data for this one — too many ingredients I couldn’t track down!
Share this:- More