Last Thanksgiving was my first official turkey dinner that I created on my own in our new city we call home. Since we don’t have family here I didn’t have anyone to turn to on how to make a turkey and I’ve never made one on my own before.
About a week before Thanksgiving I did a TON of research on how to master the skill of turkey roasting. The internet holds a lot of information and I got pretty overwhelmed with all of the recipes and how they all required different things.
Instead, I gathered the basic gist that all of the recipes required and I created a little recipe of my own with the help of Tasty videos on Facebook and my stepmom who also is a chef.
I tried to make the recipe as simple as possible that way I remember what I did the year before. Otherwise I end up annoying myself that I didn’t write it all down.
I do this quite often.
Does anyone else do this?
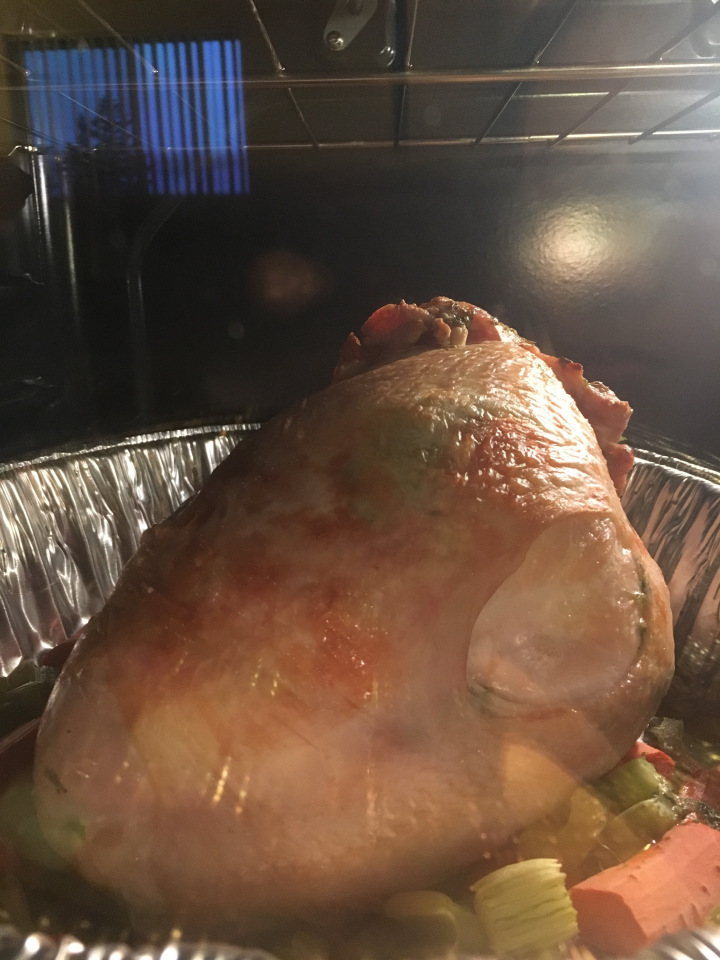
Well, this was a huge learning experience for me and took A LOT of patience but the turkey came out so juicy and tender that this recipe is now added to my recipe book. The picture above is not the best one, I guess I got too excited last year and forgot to take a proper picture.
So I figured since Thanksgiving is about a week away, for anyone doing their research I hope I give some of you helpful tips to create your own turkey recipe. Don’t be afraid to get creative!
Let’s start turkey roasting!
Defrost Turkey
If you’re new to cooking a turkey be sure to defrost your turkey about 4-5 days in advance if you have a whole turkey. If you have turkey breast leave out for about 3-4 days instead. You can place the turkey in the fridge on a tray there’s no need to leave it out!
Brine TurkeyThe day before Thanksgiving or a few hours before roasting, once the turkey has been completely defrosted, you’re going to want to Brine your turkey. This was a completely new process I didn’t know about until last year. Basically, you take a handful of salt and rub it all over your turkey and make sure to get in all of the crevices.
This process is what makes the turkey skin golden and crispy when it roasts. Once you’ve finished adding the salt just place the turkey back in the fridge until you’re ready to cook it. This is when the brine process begins. The turkey may begin to darken which may freak you out but don’t be alarmed that’s suppose to happen.
Utensils NeededYou can totally buy a roasting pan if you like which would be a nice investment for the many turkey dinners you’ll be making in the future. Or you can get the disposable roasting trays from your local grocery store. This is my favorite because it makes cleaning up way easier at the end when you’re cutting up the turkey for leftovers.
I’d also definitely recommend getting a cooking thermometer as well. It makes cooking the turkey easier that way you don’t have to constantly cut up different parts of the turkey to make sure it’s thoroughly cooked.
Learned this the hard way haha.
This recipe below is for turkey breast but you can definitely use this for whole turkey as well. Just be sure to double some of the ingredients if necessary based on how large your turkey is.
Here is reference to see how long to cook the turkey based on size. There’s a way to figure it out with math but it’s the holidays and you’re already stressing out. Who would want to do math this time of year amiright?
No worries, I got your back.
Ingredients1/4 Cup of Salt (to brine turkey with)
Half a stick of butter, soften
Parsley or any herbs on hand (fresh or dried)
Black pepper
4 Carrots, cut into quarters
4 Celery, cut into quarters
2 Yellow Onions, cut into quarters
2 Potatoes (of your choice), cut into quarters
*Depending on the size of your turkey cooking time can vary*
How To Make Gravy
Once your turkey is all done place the turkey and the vegetables on a separate plate to cool it down and to also make serving easier.
Then, add all of the turkey juices and crunchy bits from the pan to a small pot and set it on medium heat.
Add about 1 Tablespoon of flour to the pot and constantly mix the sauce until it becomes a slightly thick consistency. The flour measurement may not seem like enough but you don’t need very much.
Well, there you have it you beautiful humans you just made your first Thanksgiving turkey and gravy! I hope this was helpful to your new adventure and made everyone’s belly very happy.
Let me know if you’ve created this dinner and how it went in the comments! And if you took a ton of pictures because you accomplished an awesome goal well, tag @bedheadnomad on Instagram so I can check it out and show you off to everyone