For this task, I used photoshop to manipulate a self-portrait of myself, particularly for the double exposure effect meaning I combine the background within the self-portrait.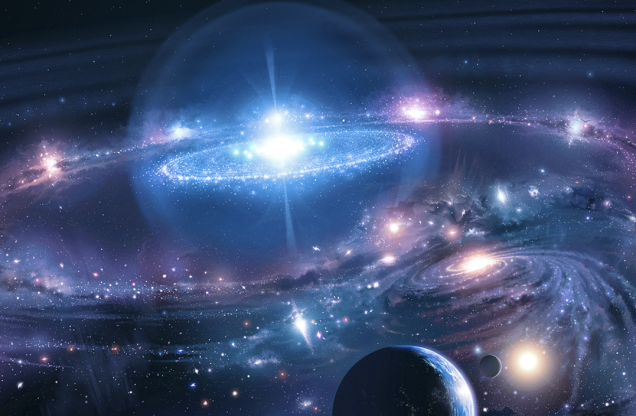 Firstly I chose my background image for the double exposure effect, as you can see here I have chosen a universe landscape.
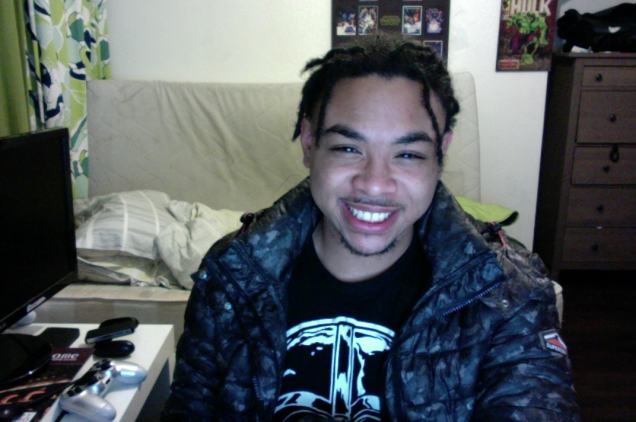
Next, I took my self-portrait and placed it into photoshop then duplicated it and erased the background using the quick selection tool. Once I erased the background I created a mask. I then went into the mask and adjusted the transparency to maximum level of 100%
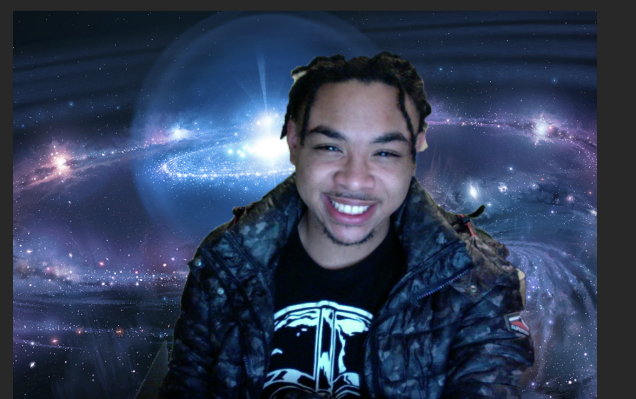
 Once I did that I then made sure my self-portrait was above the image of the universe, I then changed the effect of the layer from normal to overlay in order for the background image to come through.
Within the final stages, I used the dodge tool.
This allowed me to put in mid-tones and highlights making the transition between me and the universe seamless to achieve the double exposure effect.
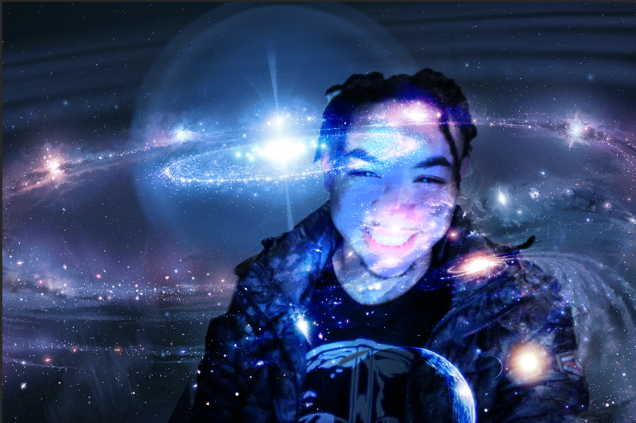
The finished piece has a nice effect to it however if I was to do this again I would remove the rest of the universe background just leaving myself with the double exposure effect rather than a more camouflage look.
Advertisements Share this: